This post will walk you through activating and utilizing the two-factor authentication feature in iOS 15.4 devices. Read on to learn how to turn on two-factor authentication iPhone 13.
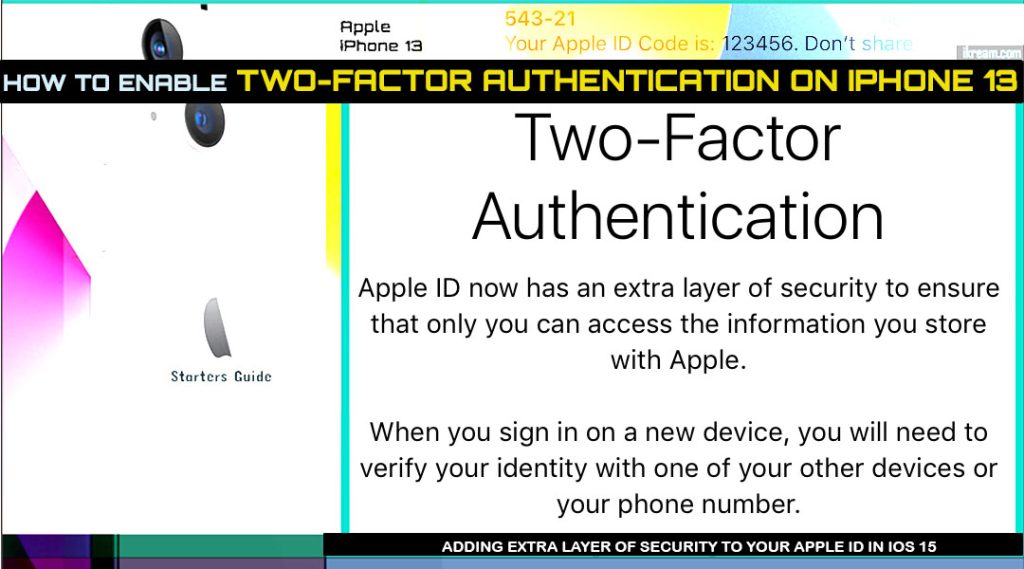
Your Apple ID password may not be enough to secure your account from any unauthorized access.
For more enhanced security, you can activate the two-factor authentication feature on your iPhone. Keep scrolling to view more detailed instructions.
iOS Two-Factor Authentication
Way back 2013, Apple introduced the two-step verification as an additional verification process aside from the traditional password for every Apple account’s security and likewise to protect the device from any unrecognized or unwanted access.
When enabled, a unique 4-digit verification code will be sent to the specified phone number via SMS or through Find My iPhone on your trusted devices.
Later on, a new upgrade to the two-step verification was introduced in iOS 9 and MacOS X El Capitan devices. This time, it’s called two-factor authentication. Compared to the two-step verification, the two-factor account security is deemed more advanced and a lot easier to use.
When enabled, you’ll be asked to provide your password and a six-digit verification code that’s automatically shown on your iPhone when signing into any Apple service linked to your Apple ID.
If you’re new to this iOS feature and need some input on how to activate and use this feature on your new iPhone 13, you can refer to the outlined steps below.
Steps to turn on two-factor authentication on iPhone 13
The following steps will walk you through activating and setting up a two-factor authentication to integrate more enhanced security for your Apple ID account that’s set up on your iPhone 13 and other iOS 15 or later devices.
Before you proceed, verify and ensure that the Apple ID account set up on the phone is valid and correct.
Once everything is verified, you may go ahead and proceed with these steps:
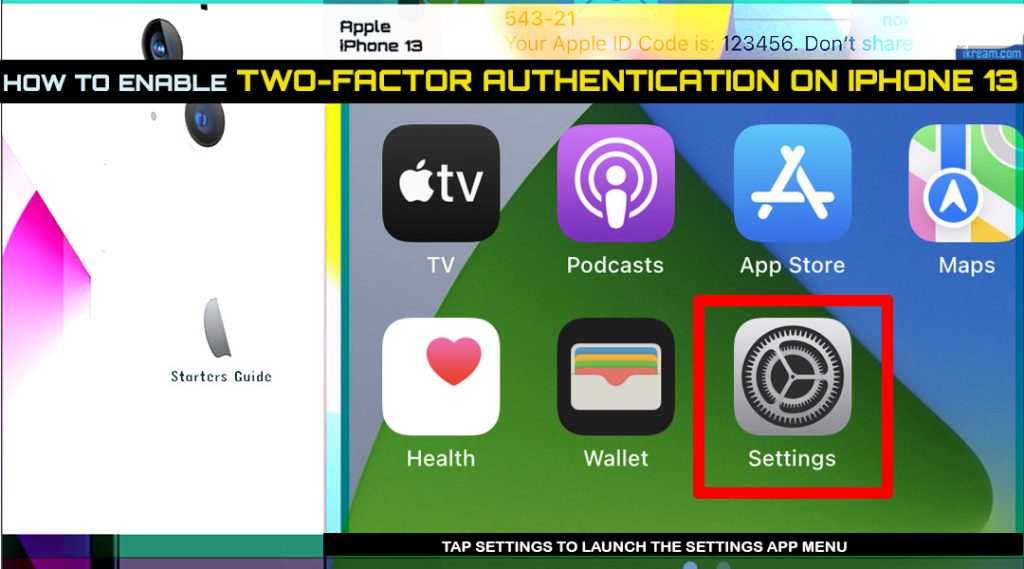
Step 1: Go to the Home screen and then tap Settings to open Settings app menu.
Step 2: In the Settings app menu, tap on your Apple ID profile header. Doing so will take you to the Apple ID menu.
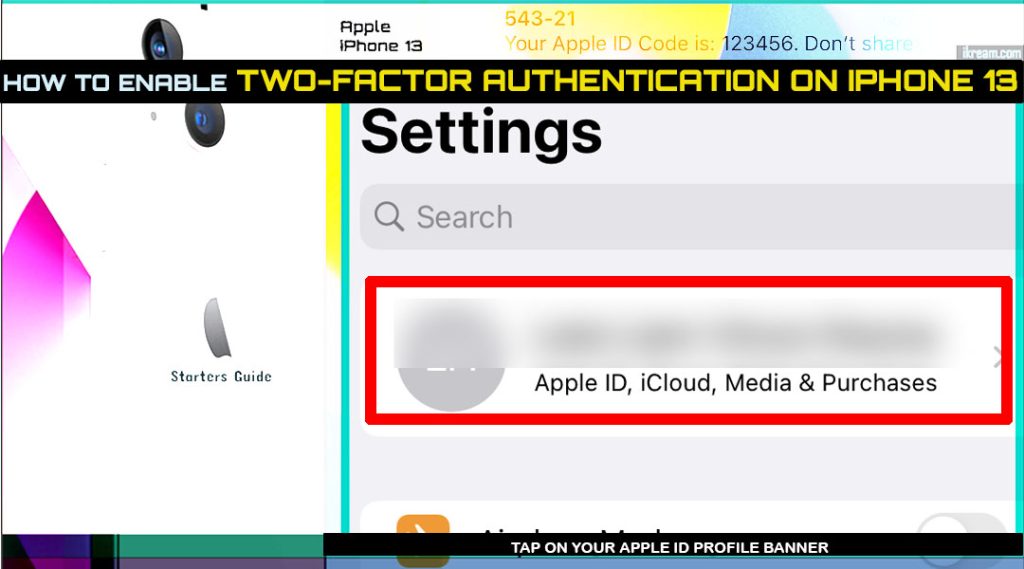
Here, you’ll see more Apple ID account details including the name, phone numbers, email, password & security, payment details and more.
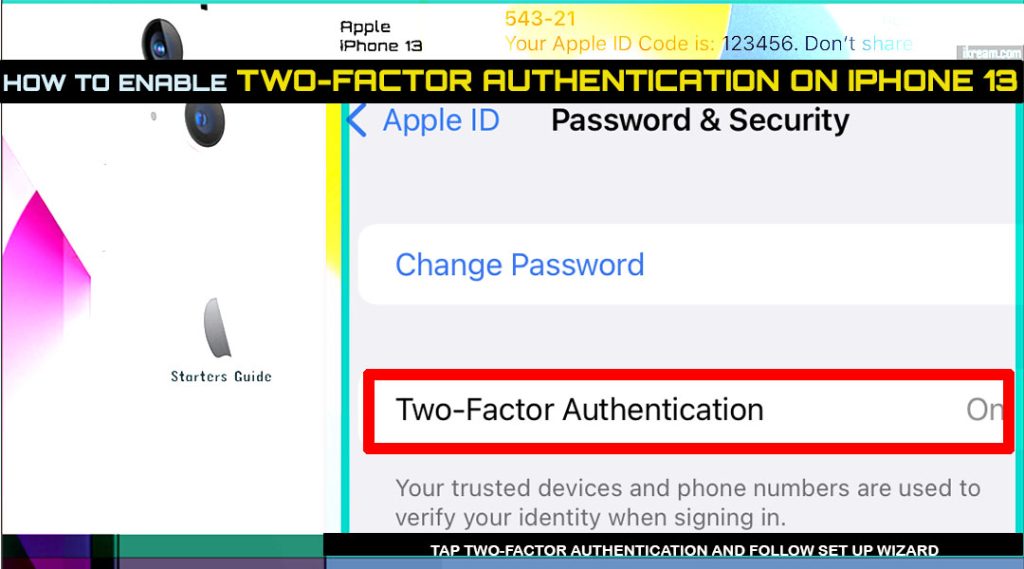
Step 3: Tap Password & Security to continue.

Step 4: On the next screen, tap Two-Factor Authentication and then tap Continue.
Step 5: Add your Trusted Phone Number. Be sure to enter the correct phone number and wait for the compatibility check result.
If the entered number is compatible, it will be successfully added.
Step 6: To save and apply the recent changes, tap Done.
The two-factor authentication is already activated for your Apple ID account. Be sure to note the trusted phone number as it will be used to verify your identity every time you sign in. It will also be used to recover your account in case you forget your password.
Two-factor authentication is not available in all regions or countries. To verify if your region is eligible, just visit the two-factor authentication availability page.
What happens when two-factor authentication is enabled?
When enabled, the two-factor authentication will provide an extra layer of security to your Apple ID account and prevent any unauthorized logins even if the correct password was entered.
In order to complete the login process and access account-related services, you will need to verify your identity by entering a randomized 6-digit code that the system automatically generated and sent to your phone (or alternative phone number) via text or voice call for every new login attempt you make.
Apple ID Account Recovery Setup
To set up and manage account recovery details, tap Account Recovery from the Apple ID menu. Then, follow the setup wizard to set up your Account Recovery Contact.
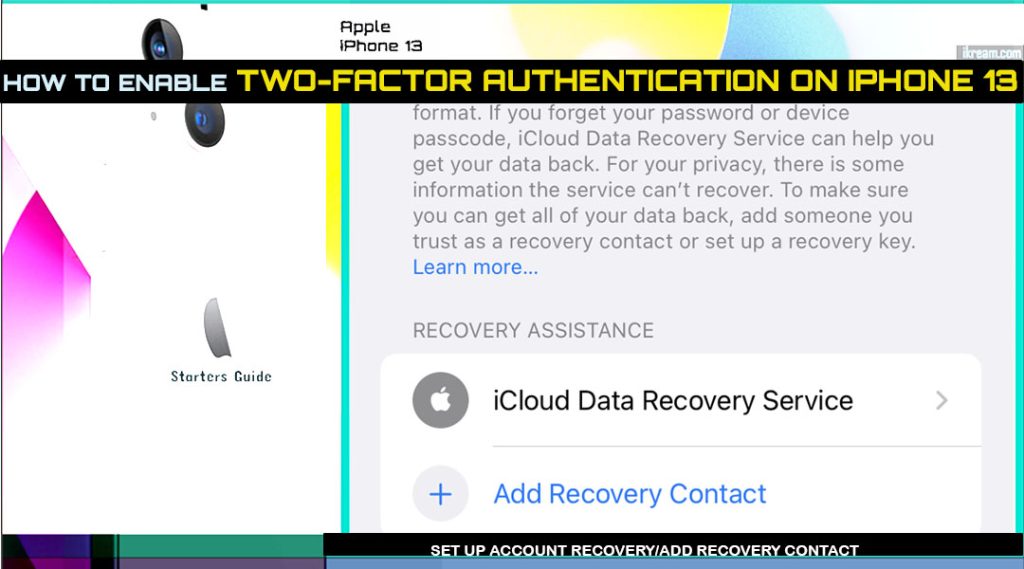
This information will be utilized to recover your iPhone data in case you forget your password or trusted device passcode.
Please note though that you can only add a recovery contact that’s using an Apple device. If the phone number you’ve entered is inserted in a non-Apple device, you’ll get a message saying that the number was not successfully added because only Apple devices are accepted or something similar. To correct it, just enter a valid number.
Want to Turn Off Two-Factor Authentication for your Apple ID?
Enabling two-factor authentication is highly recommended as it augments security for your Apple account and its associated devices. However, you still can have it disabled if you think you don’t need it.
To turn off two-factor authentication on your iPhone, you will need to do it through the official page of Apple. Just follow these steps:
- Open your browser and navigate to the applied.apple.com page then sign into your iCloud account.
- If prompted, enter the correct verification code. To get this code, you will need to click Allow to approve log in.
- Verify your account by entering the six-digit code then click Trust to proceed. You will then be redirected to the iCloud homepage.
- To manage your Apple ID information, click Settings then click Manage under Apple ID.
- Re-enter your Apple ID and password followed by the six-digit code you got earlier.
- On the succeeding menu, find Security and then click the Edit button to continue.
- Finally, click the option to Turn Off Two-Factor Authentication and follow the rest of the given instructions to confirm action.
Important Note:
- You may be asked to create and answer three security questions. Just provide the required information then click Done.
The two-factor authentication for your Apple account will then be disabled and verification codes will no longer be required to login.
Please keep posted for more comprehensive iOS tutorials and troubleshooting guides on this site. Or you can check out this YouTube channel to view more comprehensive tutorial and troubleshooting videos including recent iOS devices.