This post will walk you through setting up a phone number that will serve as the primary contact in case you bump into an emergency situation. Read on to learn how to set or add emergency contact on iPhone 13 and other iPhone devices running in iOS 15.4.
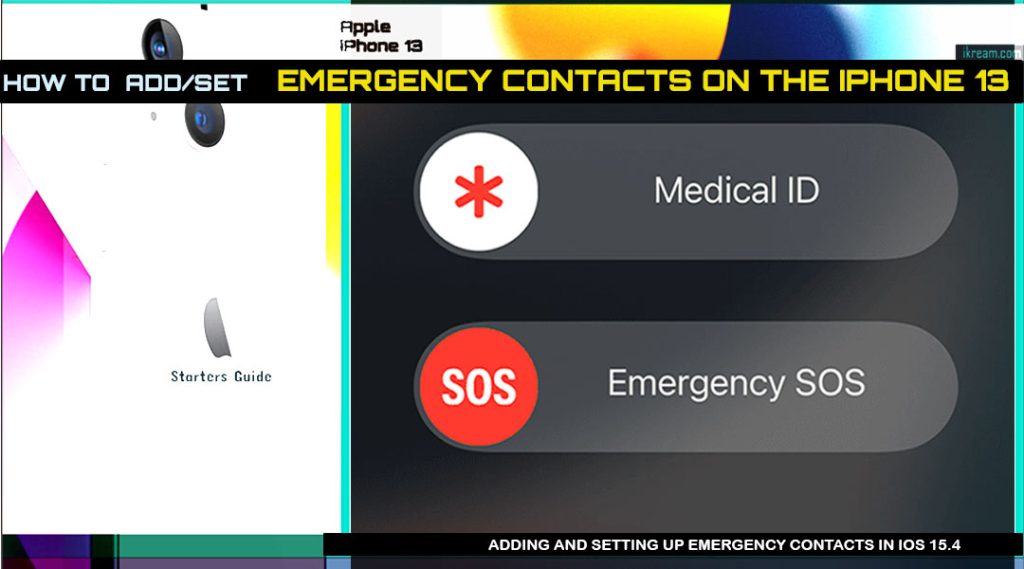
What’s an Emergency Contact and how does it work?
New iPhones allow you to set multiple emergency contacts for urgent situations.
An emergency contact can be anyone from your contacts list or address book like a family member, close friend, partner or someone whom you think can easily be contacted in the event of an emergency.
Setting up emergency contacts on an iPhone is highly recommended as they would be the first responders to access your essential contacts quickly when badly needed. This is also deemed another way to share critical information in case you’re not able to speak for yourself in emergency situations.
First responders already have the knowledge of getting this emergency information on your iOS device given that they’ve undergone training about it. Such is likewise deemed as life-saving information when it’s needed most.
Having said that, be sure to set this feature up on whatever Apple device you’ve got.
In case you’re wondering how to get this done on the new iPhone 13, I’ve mapped out a simple walkthrough for your reference.
Steps to Set/Add Emergency Contact on iPhone 13
The following steps are based on the iPhone 13 interface running in iOS 15.4. These methods are also applicable when setting or adding emergency contacts on other iPhone models with the same iOS version.
Feel free to start whenever you’re all set to configure your iPhone settings.
Setting Up Emergency Contact through Contacts app
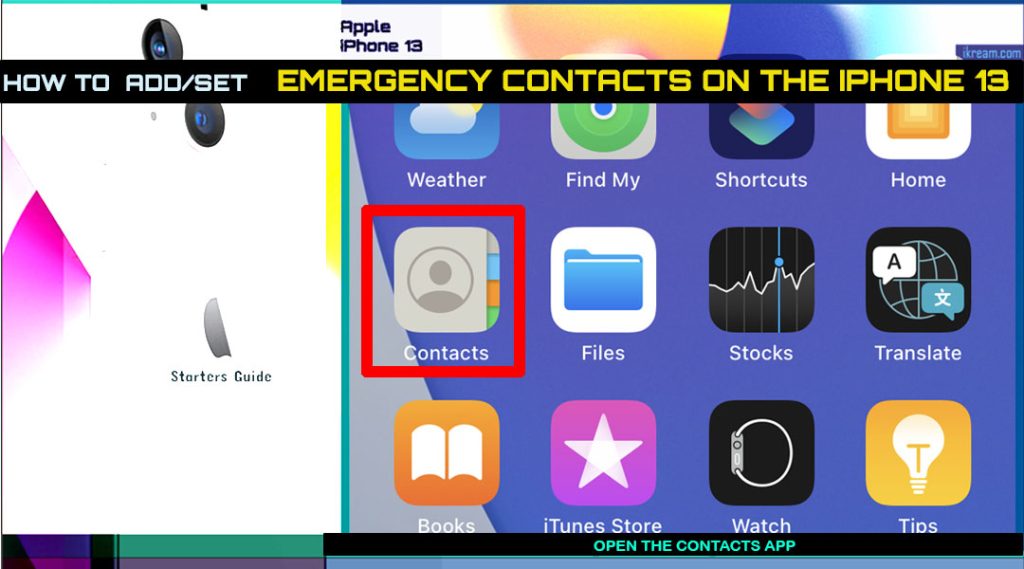
Step 1: Open the Contacts app.
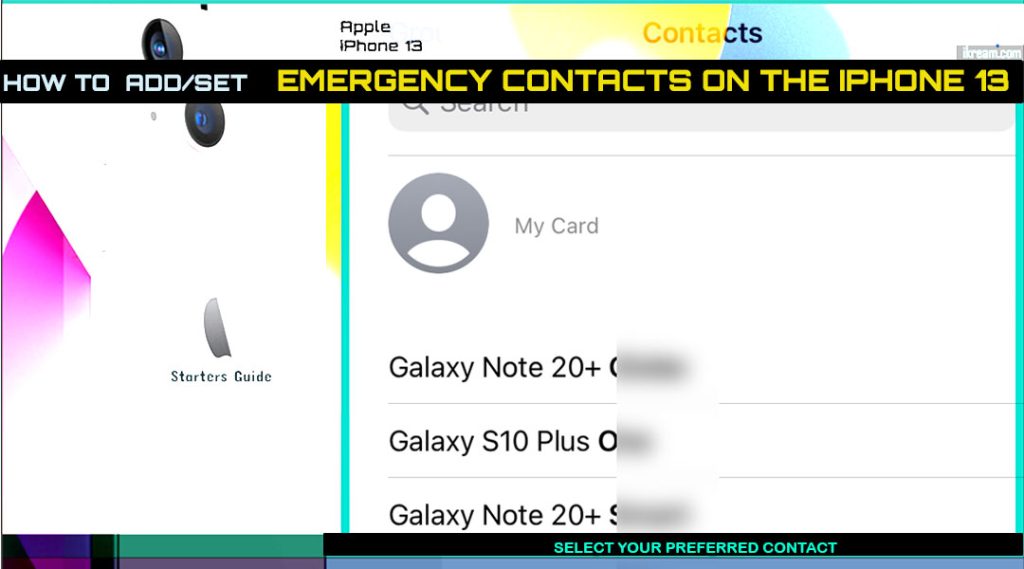
Step 2: Select your preferred contact to use as emergency contact.
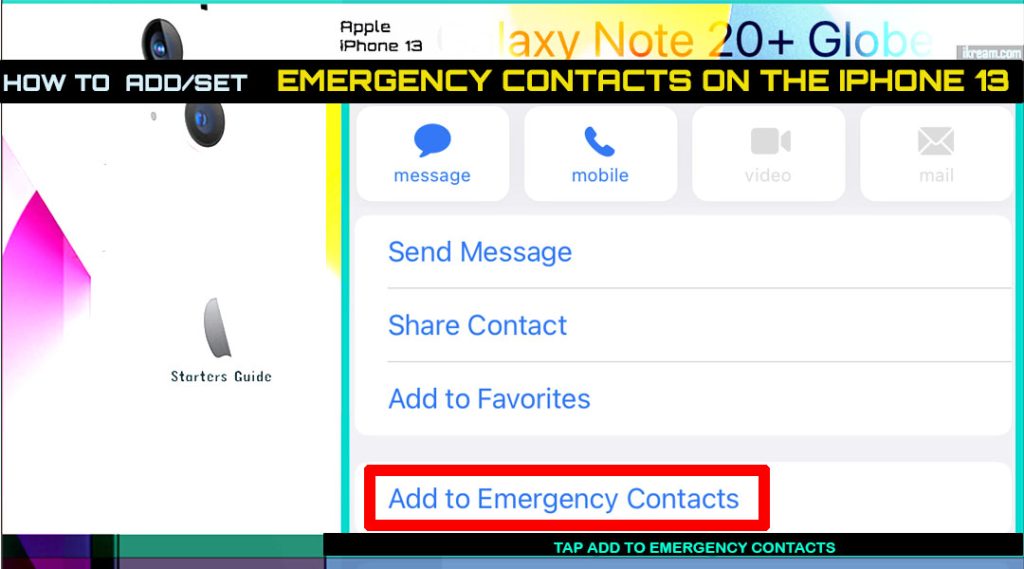
Step 3: On the Contact details menu, tap Add to Emergency Contacts.
Step 4: Specify your relationship to the selected contact.
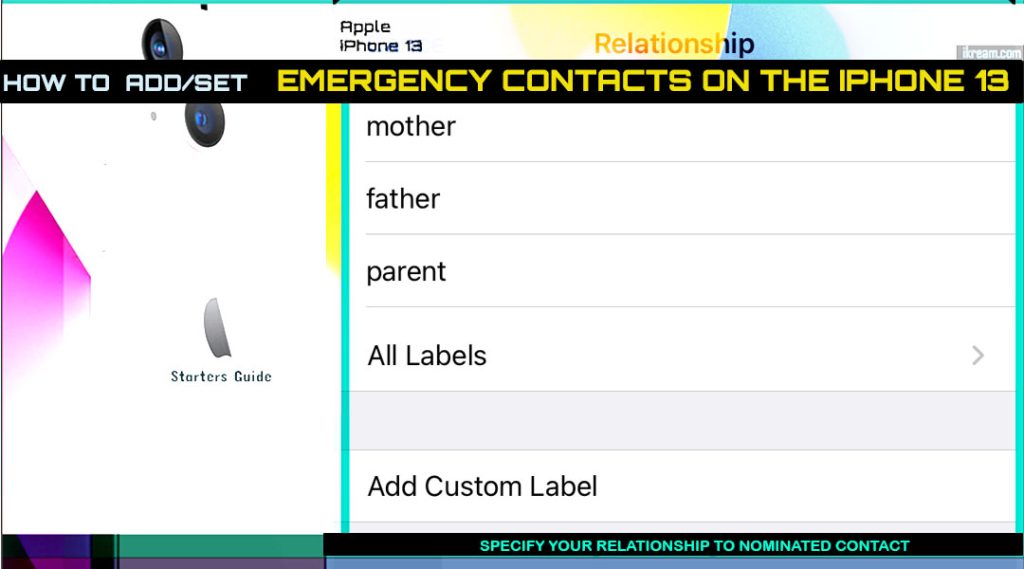
You may also opt to add a custom label if you want. You will then be taken to the Medical ID menu where you can enter all necessary information such as your name, birthdate, medical conditions, medical notes, allergies & reactions, medications and more.
And if available, you can also add more information such as your blood type, organ donor, weight, height, and primary language.
Just follow the onscreen instructions to complete all necessary details.
You can add multiple emergency contacts who will receive an emergency message when you use Emergency SOS on your device. These messages will include your current location.
Step 5: Be sure to enable the option to Show When Locked under Emergency Access so that your Medical ID can be viewed and accessed even when your iPhone is locked by tapping Emergency then Medical ID.

Step 6: Once you’re done adding all important information, tap Done on the top-rightmost corner to save it.

A red asterisk will then appear next to the contact number that’s set as emergency contact and the Emergency contact label appears beneath the contact’s name.

Adding/Setting an Emergency Contact through the Phone app
Alternatively, you can open nominate an emergency contact straight from the iOS 15 Phone application with these steps:

- Open the Phone app.
- Navigate to the Contacts tab.
- Select the contact that you’d like to nominate.
- Tap Add to Emergency Contacts and then follow the rest of the onscreen instructions to finish the setup process.
The recently nominated contact will then be marked among other emergency contacts you’ve set on your device.
View and Manage Emergency Contacts Details in iOS 15.4
Details of your emergency contacts can be accessed and managed through the Health app.
Here’s how:

- Open the Health app on your iPhone.
- Tap on your profile picture.
- Tap Medical ID.
- On the Medical ID screen, you’ll see the emergency contacts and emergency access details.
- To edit the details, just tap Edit and then enter necessary changes to the emergency contacts information.
- Finally, tap Done on the upper-right corner of the screen when you’re finished editing details so all recent changes will be saved.
The recent changes will then be saved and the existing emergency contacts information is updated.

How to access emergency contacts on other iPhones?
In an emergency situation wherein you’re one of the first responders of an iPhone owner and his/her device is locked, you can access their emergency contacts through the lock screen.
Here’s how:
- Go to the lock screen and press any button until it prompts you to enter the device passcode.
- Tap Emergency at the bottom section of the passcode entry screen.
- Then, tap Medical ID.
Here, you may find the emergency contacts if the owner of that phone managed to set up one on their Medical ID beforehand.
And that’s all about adding and setting up emergency contacts on the new iPhone 13 series.
Please keep posted for more comprehensive iOS tutorials and troubleshooting guides on this site. Or you can check out this YouTube channel to view more comprehensive tutorial and troubleshooting videos including recent iOS devices.