This post highlights potential solutions to a problem on a new iPhone that’s unable to download and install new OTA updates and instead gets prompted with an error message. Read on to learn how to deal with the “unable to verify update” error on iPhone 13.

What does “Unable to Verify Update” error mean?
Bumping into an error prompt when attempting to download and install over-the-air updates are inevitable among smartphone users be it with Android or iOS devices.
Normally, updating the phone wirelessly is effortless as it only takes a few minutes to implement the latest software version available.
But due to the fact that the entire procedure is carried out online, there’s always a chance for unexpected errors to occur especially when internet hiccups arise.
Among the errors that many iPhone owners faced when attempting to download over-the-air updates is the “unable to verify update” error.
As the error message implies, the iPhone can’t proceed with the new iOS version download because something is halting it from verifying the update.
The occurrence of this iPhone error is tied to many different factors with internet connection problems as the common culprit.
Typically, you’ll get a notification whenever a new iOS version is available for your device. And if there is, the next thing you’ll likely do is to view the new update from the Software update menu of your device.
If you’re getting the same error when trying to view or download and install the latest iOS version available for your iPhone 13, this post highlights a few possible solutions you can try on.
Troubleshooting “Unable to verify update” error on iPhone 13
Performing the following procedures will help eliminate common factors that might have barred your iPhone from accessing the iOS update server and thereby succumbs to the update verification error instead.
These methods are also applicable when resolving the same issue on other prior iPhone models that are running on the iOS version with that of the iPhone 13 series.
Before you proceed, make sure that your iPhone is sufficiently charged. A 50 percent or higher battery level is recommended. Also ensure that your device has ample storage space to allocate the new update file.
Feel free to start whenever you’re all set to troubleshoot your device.
Solution #1: End and restart the iOS settings app.
Bumping into unexpected errors in your first update attempts is inevitable as the system could glitch at some point. If the first update check attempt was unsuccessful, you can always retry. But to clear out any errant data fragments accumulated by the system from the previous action, ending the Settings app would be necessary to give it a clean fresh start.
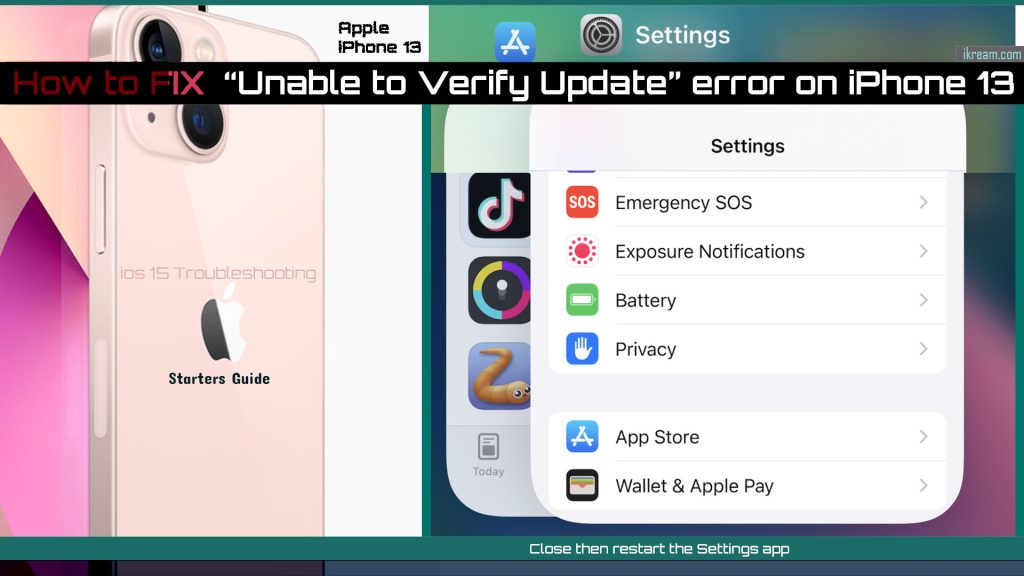
To do this, launch the multitasking view by swiping up from the bottom-left corner. Find the settings app preview and then swipe it up to close.
If you see other app previews aside from the Settings app, swipe up to end them all. Doing so will prevent any of these running apps from interfering with the settings app the next time you run it in the system.
Solution #2: Restart your iPhone (soft reset).
Performing a quick system restart is often what’s needed to clear out random errors inflicted by minor software bugs and glitches. Thus, if you haven’t already, you should consider restarting your iPhone first.
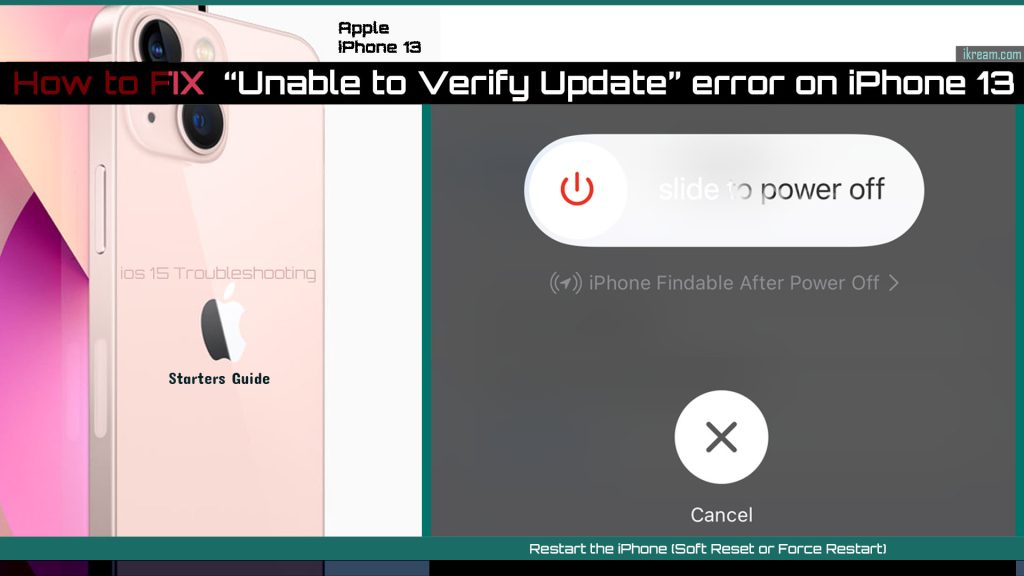
Restarting can be carried out in two ways — the typical restart process (soft reset) and the so-called forced restart.
Both these methods are safe because they don’t affect any data from the iPhone storage.
Restarting the iPhone from time to time is likewise recommended to clear out residual files accumulated as system cache.
Solution #3. Optimize/refresh your internet connection.
As explicated earlier, network connectivity issues are usually the underlying cause of this error. To deal with random internet problems, you can do the typical Wi-Fi refresh solutions.
The traditional methods to refresh wireless connections include disconnecting from and reconnecting to the Wi-Fi network, turning the Wi-Fi switch off and on, as well as enabling and disabling Airplane mode.
If you suspect that your iPhone’s internet connection is problematic due to a corrupted Wi-Fi network, forgetting and re-adding the Wi-Fi network will likely fix it.
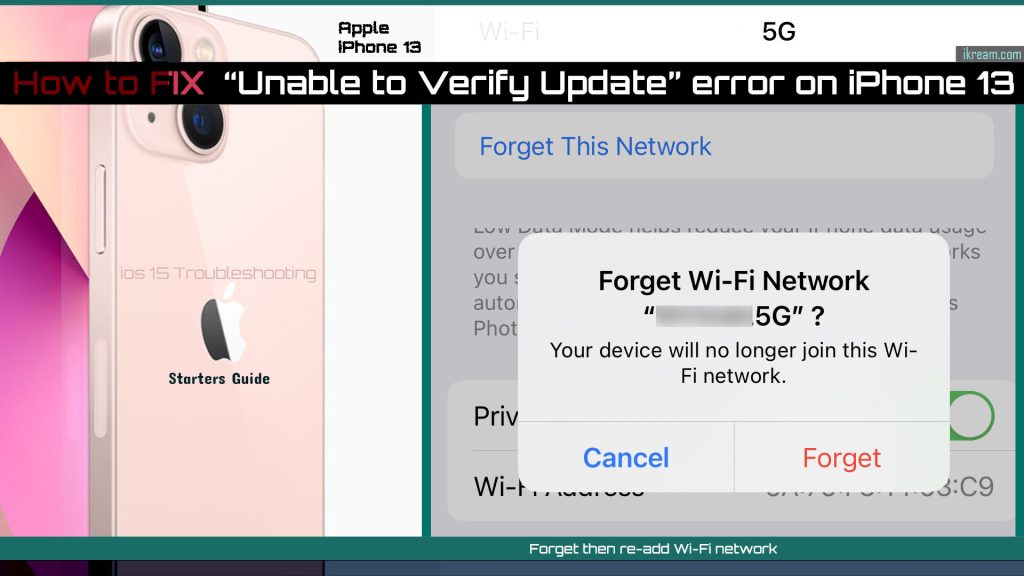
Here’s how to forget a Wi-Fi network in iOS 15 devices:
- Go to Settings-> Wi-Fi menu. Tap Wi-Fi and make sure that the switch is enabled.
- Tap the information (i) icon next to the Wi-Fi network that you want to delete and then tap Forget This Network.
- Read the warning prompt then tap Forget to confirm.
- The selected Wi-Fi network will then be deleted.
To add it back, just turn Wi-Fi off and on and wait for your iPhone to detect available networks.
Select your preferred network then connect and join like the first time. Be sure to enter the correct Wi-Fi network and password to ensure successful login.
Solution #4: Reset network settings.
To rule out complex network issues that might have prevented the iPhone from downloading new updates, you may go for a network settings reset by triggering the iOS reset network settings command.
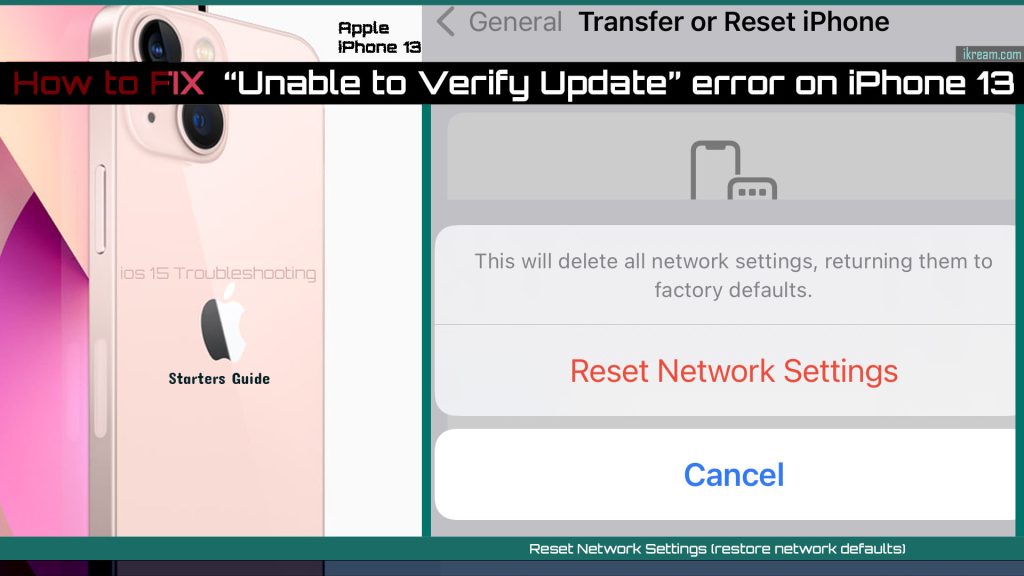
This reset deletes all current custom networks and other relevant settings recently made to your phone. As a result, existing networks will be deleted and then default values and options are restored.
It doesn’t affect any user data from the iPhone storage so you won’t lose essential documents.
Should you wish to proceed, just follow these steps to reset network settings on your iPhone 13:
- Open the Settings app.
- Tap General.
- Tap Transfer or Reset iPhone then tap Reset.
- On the next screen, choose Reset network settings from the list.
- Read then reset details then tap Reset settings to proceed.
- If prompted, enter your device passcode then tap Reset to confirm action.
The phone will then wipe all current network settings and put all network features back to their default state. When the reset is finished, the phone reboots automatically.
As soon as it boots up, you can start configuring network features, set up Wi-Fi and connect to the internet like the first time.
When it’s back online, retry going back to the Software update menu and see if the verify update error is gone.
Solution #5: Reset all settings.
If a network reset doesn’t fix the error, the next option you may opt to try is to reset all settings. As the term implies, this reset deletes all settings and restores default settings options without affecting any user data.
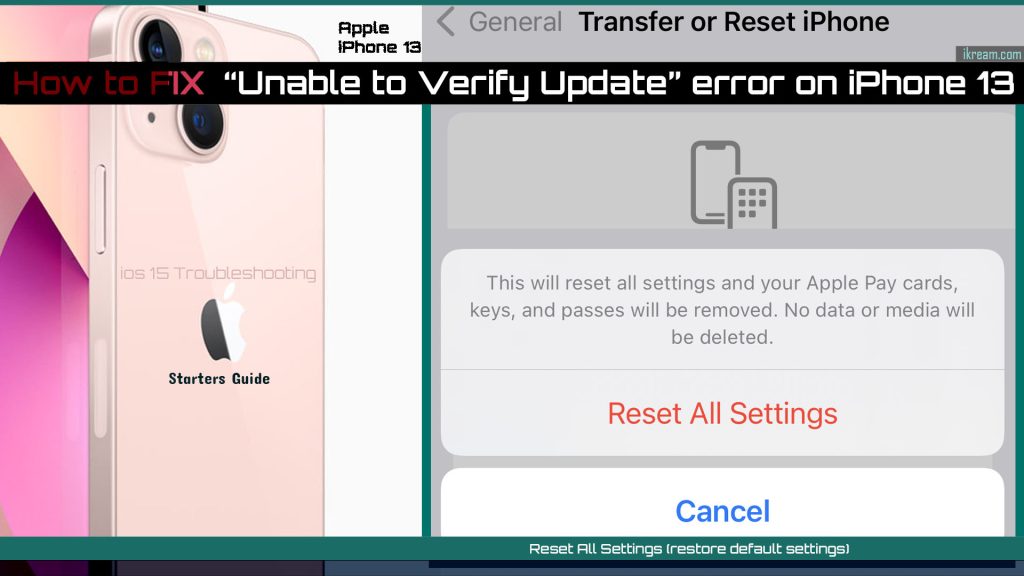
Custom settings for network, system and downloaded apps will be deleted in the process. Any faulty app update overrides resulting in some system conflicts will likewise be obliterated. So it’s like putting things back to their default state while retaining all user data, downloaded apps and documents.
- To do this reset, go to Settings-> General-> Transfer or Reset iPhone-> Reset menu and then tap Reset all settings. Read the reset details to learn what type of information will be deleted in the process. When asked, enter the iPhone passcode and then tap Reset to confirm.
Your phone will then start wiping all system settings and then restores the default values and options after rebooting.
When the reset is finished, you will need to re-enable necessary features that are disabled by default so you can use them again on your phone. Setting default apps for specific file types or data protocols is also necessary as all previous app preferences have been erased.
Solution #6: Factory reset (Master reset).
A drastic (optional) solution if the previous methods don’t work is a factory reset. This reset will wipe everything from your iPhone including all saved apps, files and documents. In exchange if losing files, any recurring system errors including those affecting the wireless update functions are likewise obliterated.
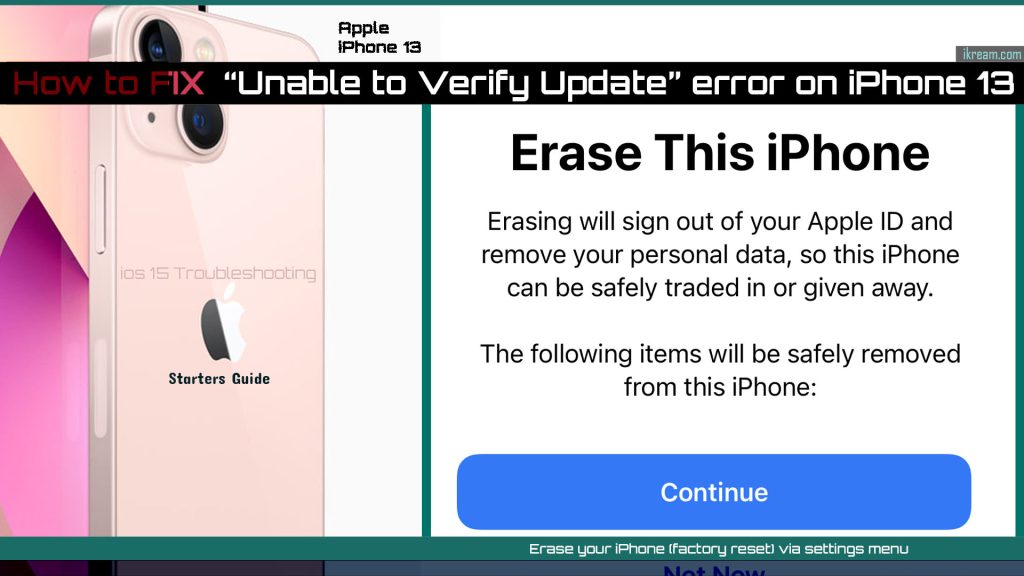
Should you wish to proceed, be sure to back up all important files from your iPhone storage to your cloud account or computer drive via iTunes.
Once your backups are secured, you can go ahead and factory reset your iPhone via settings with these steps:
- Go to Settings-> General-> Transfer or Reset iPhone menu then tap Erase All Content and Settings.
- Read the reset details then follow the rest of the onscreen instructions to start wiping your device.
After the reset, your iPhone will reboot automatically and then restore all factory default settings. By then you can proceed with the initial system setup and use your device as new.
The latest iOS version will also be installed automatically and so there’s no need to view new updates as your iPhone software is already updated.
Is your iPhone still unable to verify the new update?
Some iPhone users who have faced the same errors managed to resolve it by performing any of the following tweaks and alternative updating methods.
1. Delete existing iOS beta profile.
If you previously enrolled or installed a public iOS beta version, deleting the beta file is recommended beforehand. An existing iOS beta profile may cause some conflicts and thereby prevents your iPhone from getting access to the latest stable iOS update available.
To delete an iOS beta profile from the iPhone 13, just refer to these steps:
- Open the Settings app.
- Tap General.
- Tap VPN & Device Management.
- Tap the iOS Beta Software Profile and then tap the option to Remove Profile.
After deleting the beta profile, restart your iPhone to clear cache and to refresh system services.
As soon as it gets back online, head back to Settings-> General->Software Update menu to download and install the latest iOS version for your iPhone.
2. Use iTunes to update your iPhone.
If you have a Windows or Mac computer with the latest version of iTunes app installed, you can use it as an alternative solution to manually update your iPhone.
To get this done, you will need to connect your iOS device to your computer using the Apple-supplied USB/lightning cable.
Once your iPhone is connected, launch the iTunes app and use the built-in command to download and install the latest iOS version available for your device.
Your computer must have fast and stable internet connection to avoid bumping into some unexpected errors due to unstable or slow internet connection.
Still Unable to Verify Update?
Delete any corrupted iOS file. Another possibility is that the update doesn’t complete during prior attempts and thereby gets corrupted. If you’ve already attempted to download and install the update but were unsuccessful, then some corrupted fragments of the update file are present on your device and therefore need to be deleted.
- To delete corrupted update files in iOS 15, go to Settings-> General-> iPhone Storage menu. Find and select the iOS update file then tap Delete Update.
After deleting the broken iOS file, go back to Settings-> Software update menu and then try to download and install the new update again.
Check Server Downtime. Another possible reason as to why you’re getting this error is because the phone is unable to reach the update server. This is usually what happens if the Apple server is currently facing downtime issues, congested or unavailable.
You can visit the system status page to view the current status of Apple servers.
Contact Apple Support
If nothing else works, you can escalate the matter to the Apple Support team for further assistance and official recommendations. They may be able to perform some advanced system tweaks on their end to push the update on your device.
Please keep posted for more comprehensive iOS tutorials and troubleshooting guides on this site. Or you can check out this YouTube channel to view more comprehensive tutorial and troubleshooting videos including recent iOS devices.