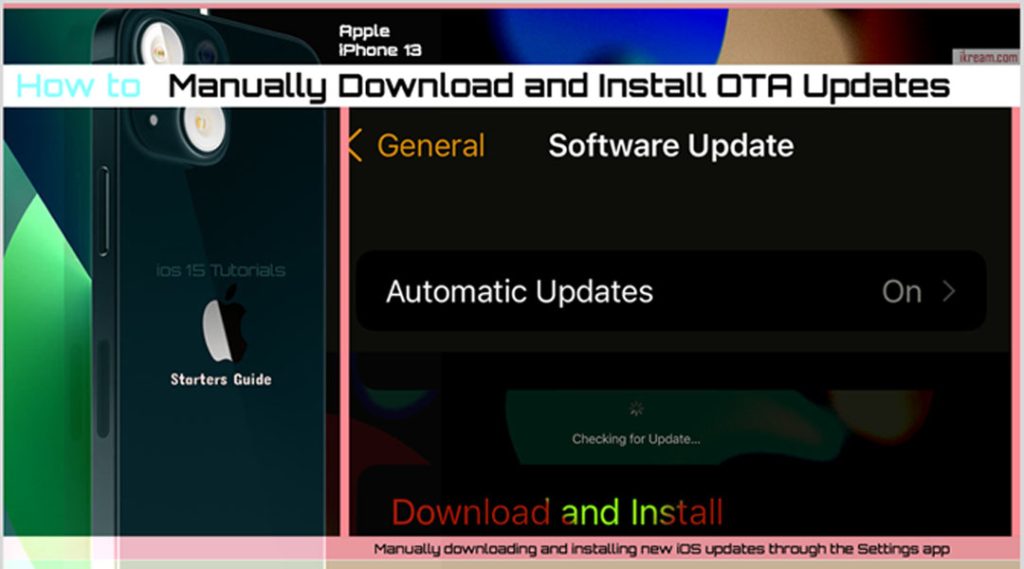
This post will walk you through downloading and installing the latest iOS version available on your new Apple iPhone 13 device through the settings app menu. Read on to learn how to manually download and install OTA updates on iPhone 13 wirelessly.

What are software updates?
Software updates are basically new or fixed software that’s programmed to alter the prior software versions.
In computers, updating the operating system also denotes installing the latest drivers, security patches, bug fixes and system utilities.
In mobile devices like smartphones and tablets, software updates also denote new and improved software features and user interface.
Software updates pushed by smartphone manufacturers can be implemented automatically or manually.
Over-the-Air iPhone Updates
Apple typically releases periodic iOS updates to roll out fix patches (bug fixes) and new features for specific iPhone models. Users may opt to update their iPhone automatically or manually.
To update automatically, you will need to enable the Automatic Updates feature of the phone so you can set a preferred time for your iPhone to install the available update.
To update manually, you will need to trigger the download and install command through the settings app.
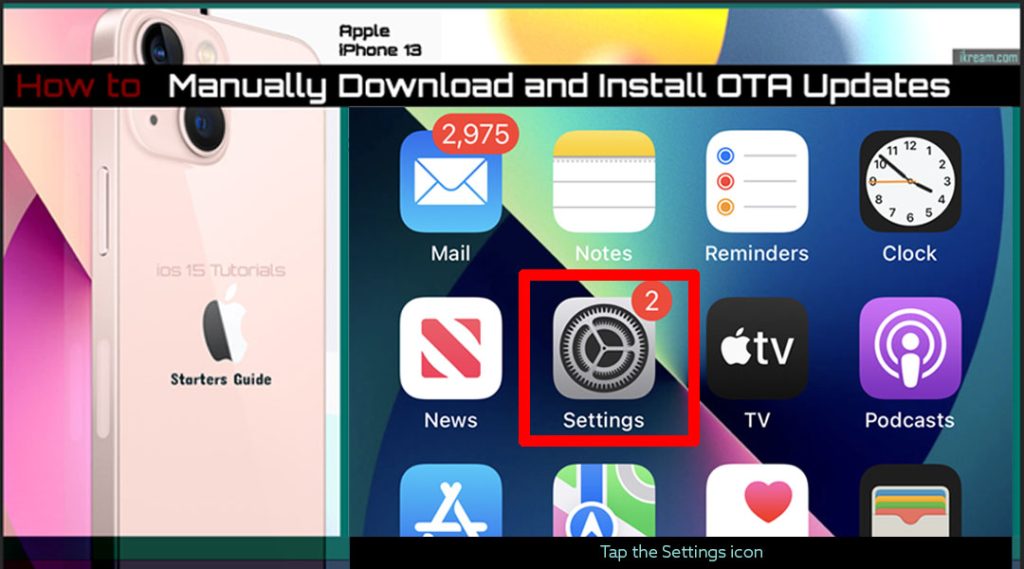
Typically, you’ll get a notification whenever a new iOS version is available for your iPhone. A red numeric notification icon also appears on the upper-right corner of the Settings icon. So when you see a red circle with a number inside resting on top of the Settings icon on the Home screen, that’s an indication that a new software version is up for grabs.
If you’re new to the iOS platform and need some input on how to manually download and install the latest iOS version available for your new iPhone 13, this post outlines the actual steps on how to do so.
Steps to download and install OTA updates on iPhone 13
The following steps are also applicable when downloading and installing over-the-air updates on other iPhones that have the same iOS version with that of the iPhone 13 devices. Actual screens and menu items may vary between device models and wireless carriers.
Prerequisites:
- Make sure that your phone is sufficiently charged so your device won’t end up facing unexpected errors due to incomplete updates. If necessary, charge your iPhone beforehand or update while charging.
- Also ensure that your phone has ample storage space to allocate the new update file size. If necessary, delete some old and unwanted contents to free up storage.
- Last and more importantly, make sure that your iPhone has a stable internet connection preferably through a Wi-Fi network.
Once you’ve got everything set, you may go ahead and proceed with these steps:
Step 1: Go to the Home screen and tap the Settings icon. Doing so opens the iOS settings menu that contains a list of all built-in features.

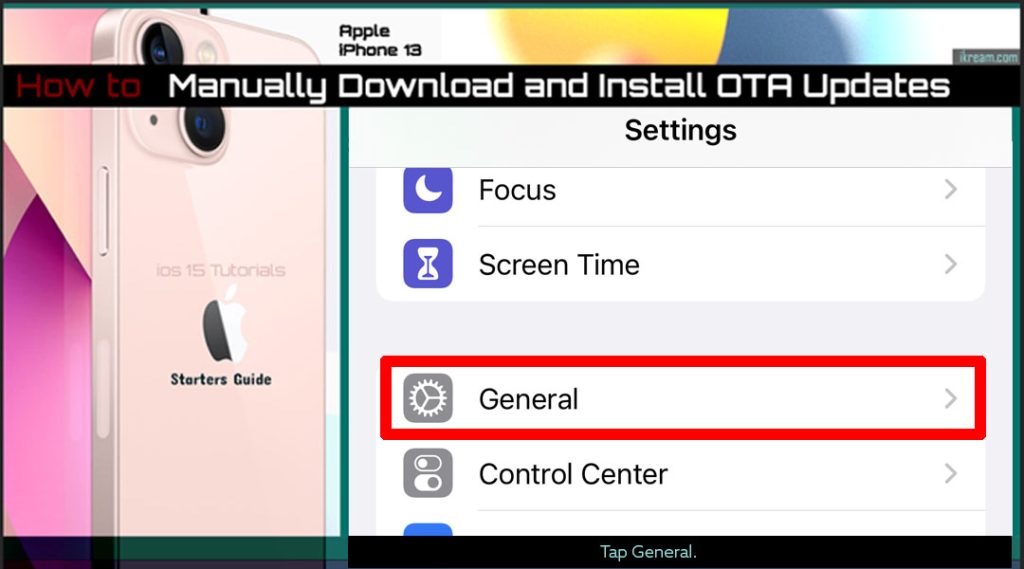
Step 2: Find and then tap General to continue. Another menu opens with relevant settings and options.

Step 3: Tap Software Update to continue. The phone will then start checking for new updates and then load up more details about the latest iOS version available.

Step 4: Read and review the update details to learn what exactly is the new update for and what new features it brings to your device. After reading the details, tap Download and Install.

The phone will then start downloading the new update file and then install it on your device. Just follow the rest of the onscreen prompts to finish updating.
When the update is completely installed, your phone will reboot by itself and then implement the recent software changes.
Having trouble updating your iPhone via settings?
Updating an iPhone through settings is supposed to be seamless for as long as all update requirements are met. However, there are just some unexpected instances wherein something occurs while updating and what’s supposed to be a seamless updating process ends up being complicated.
Address the Error
Typically, you’ll get to see an error or warning message telling that something went wrong and that the update was unsuccessful. If you see this prompt, be sure to read the details because it may likewise suggest the required action to correct the error. This is when you need to troubleshoot your device.
Use alternative updating tools.
Apple has its very own software management tool that’s designed to update and restore iOS devices through a computer. This tool is popularly known as iTunes.
If you’ve got a Windows or Mac computer with the latest iTunes app installed, you can use it to manually update your iPhone instead.
All you have to do is connect your iPhone to the computer using the Apple-supplied USB/lightning cable.
When the device is connected, launch the iTunes app on the computer and wait for it to detect your iPhone. Once your iOS device is recognized, select it and then click on the Summary pane. Finally, click the Update button to start updating your iPhone.
As much as possible, do not do anything on your computer that may interfere with the updating process.
Once iTunes is finished updating your iPhone, you can disconnect the device from the computer.
Note:
- Your computer must be connected to the Wi-Fi internet in order to update your device.
If updating through iTunes is successful, your iPhone should now be running on the latest iOS version with all recent patches and enhanced features.
Post-iOS Update Problems
If any of your iOS apps or the iPhone itself is suddenly misbehaving from the recent update installation, then it’s likely due to some random post-update iOS glitch. Simply reboot your iPhone to clear out minor system flaws and to refresh apps and system services.
And that’s all about manually downloading and installing the latest software version and security updates available for your iPhone 13.
Please keep posted for more comprehensive iOS tutorials and troubleshooting guides on this site. Or you can check out this YouTube channel to view more comprehensive tutorial and troubleshooting videos including recent iOS devices.