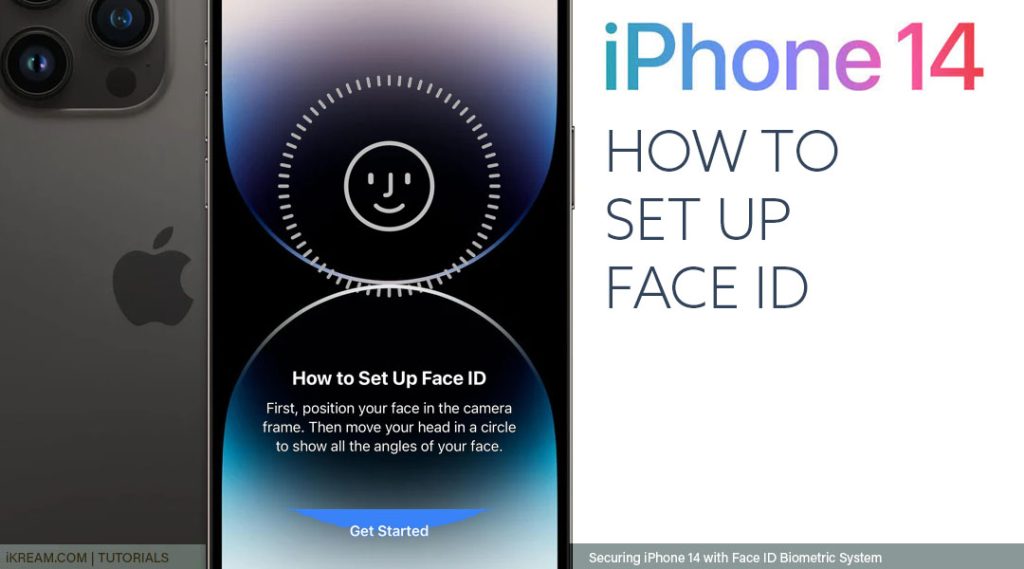
This post will walk you through augmenting the iPhone 14’s security by adding a Face ID to unlock the device and authorize future downloads and purchases. Here’s a quick guide to set up Face ID on the iPhone 14.

What is Face ID and how does it work on iPhone?
The primary unlock passcode may not be enough to secure your iPhone’s personal information including contacts and other confidential files.
To address this concern, Apple embeds an advanced recognition (biometric) system called Face ID to unlock new iOS devices and to authorize payments made on any of these respective devices.
It basically works by enrolling your face, just like in Touch ID when you enroll your fingerprint. Once your face is enrolled, you can use its associated Face Unlock feature.
The system basically works by comparing two face images and then determines how similar these images are. Based on a unique pattern recognition, your device would be able to tell whether or not the face recognition is successful.
In order to make use of this feature, you will need to set up a Face ID on your iPhone beforehand.
The entire process involves moving your head in a circle so that the iPhone camera can take multiple shots of your facial details to produce a 3D map.
If you’re new to iOS and wondering how to use this feature on your recently procured iPhone 14 smartphone, then you can refer to these subsequent instructions.
Steps to Set Up Face ID on Apple iPhone 14
Before you begin, remove any unnecessary hair or facial accessories so that only the important facial details are registered on your iPhone’s Face ID database.
Once you’ve got everything set, you may go ahead and proceed with these steps:
Step 1: Open the Settings app to begin. To do so, just locate then tap the Gear/Settings icon from the Home screen or Apps library of your iPhone.

Step 2: While in the main iOS settings menu, scroll to find then tap Face ID & Passcode. Relevant security features will load up on the next display.

Step 3: If you haven’t already, you will see the option to Set Up Face ID. Simply tap on it to proceed.

Step 4: On the succeeding window tap Get Started. The Face ID setup wizard will open next.

Step 5: Simply follow the instructions provided on the setup wizard to register or add your face ID.
During the Face ID Setup you may be asked to adjust the position of your head and face accordingly. Just do as you’re told to speed up the registration process.
Also, be sure to align your face within the provided crosshair lines on your iPhone screen. If prompted, follow the instructions to move or position your face within a circle to execute the capturing procedure.
Quick Notes:
- In some devices running on iOS 15.4 or later version, you may be prompted to choose whether you Use Face ID with a Mask or Don’t Use Face ID with a Mask.
- There is also an option to Set Up Later in case you decide to do the Face ID registration at a later time.

After successfully capturing your face, tap Done on the final screen. When asked, follow the additional instructions to set up a backup passcode in case your iPhone fails to scan or read your Face ID as well as when Face ID is not working as intended.
Using Face ID to Unlock iPhone
In order to unlock your iPhone with Face ID, you need to activate Face ID unlock in settings beforehand.
- To do this, simply go to Settings-> Face ID & Passcode menu then tap to turn on iPhone Unlock.

With your iPhone’s Face ID enabled, you’re all set to use this to unlock your device and use different apps and services that support face ID.
You may opt to use Raise to wake or tap to wake to wake your iPhone screen up. While on the Lock screen, swipe up from the bottom then hold your device in portrait orientation. Glance at it and it should validate your facial details.
If your Face ID matches the record, the face ID scan is successful and thus, your iOS device unlocks to the Home screen with just a glance.
Uses of Face ID on iPhone
Aside from unlocking and securing your new iPhone, you can also use Face ID to authenticate in-app purchases, sign in to different apps and other prime activities requiring identity verification.

You can also use Face ID with Apple Pay and authenticate purchases in App Store and iTunes Store.
Is Face ID setup not successful?
There are many factors that can result in unsuccessful Face ID setup. One of the common reasons as to why Face ID setup fails is that the iPhone is unable to capture or register your facial details because something is hindering the TrueDepth camera or your face.
To fix the problem, make sure that nothing is obstructing the TrueDepth camera of your iPhone. Also ensure that nothing is covering your nose or mouth like glasses or a face mask. If necessary, temporarily remove any of these items during the Face ID setup.
However, you may still be able to use Face ID with face masks when your iPhone is approximately 10 to 20 inches from your face.
Deleting the current Face ID and setting up a new one can also be considered among other potential solutions if authentication procedures with face recognition still fail on your iPhone. To do so, just trigger the reset face ID option on your iPhone.
And that’s how you add and set up Face ID on the new Apple iPhone 14 device.
Please keep posted for more comprehensive iOS tutorials and troubleshooting guides on this site. Or you can check out this YouTube channel to view more comprehensive tutorial and troubleshooting videos including recent iOS devices.