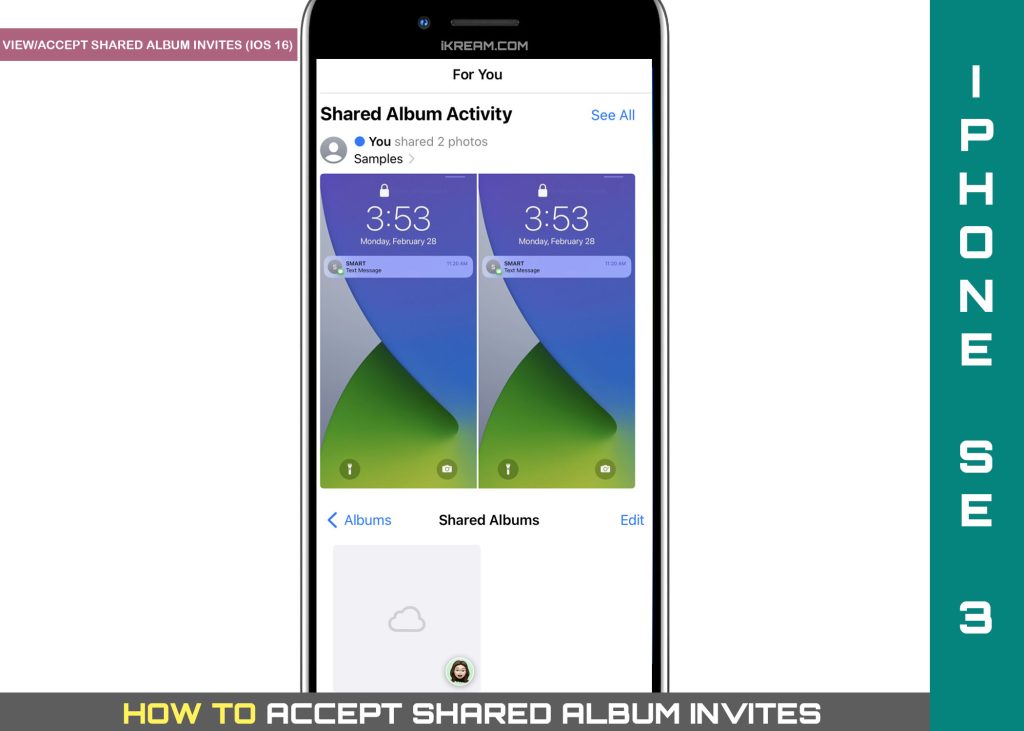
This post will walk you through viewing and accepting a shared album invitation on an iOS device. Here’s a quick guide to accept a shared album invite on an iPhone based on the latest iOS version.

What is a Shared Album?
With iCloud Photos, you can share your photos and videos with family and friends without having to tag them in a private post on social media. This is because iCloud Photos allows you to share albums privately through Shared Albums (formerly called iCloud Photo Sharing)
Shared Albums is one of the preloaded features of the iOS Photos app. It allows you to share photos and videos with and for certain people to comment on. Anyone whom you shared photos and videos with can also add their own photos and videos.
In order to use Shared Albums, it has to be enabled on your iCloud account.
If you have an iPhone with your iCloud account setup in it, you can turn on Shared Albums by heading over to Settings-> Your Name-> iCloud-> Photos menu then toggle to turn the Shared Albums switch ON.
Once the Shared Album is enabled on your iCloud account, you can start creating a new shared album and choose to invite people who can view your shared album.
If someone invited you to view a shared album, you’ll typically get a notification regarding the invite. By then, it would be up to you to accept or deny it.
Steps to Accept Shared Album Invite on iPhone
The steps outlined below are based on the updated interface of an iPhone SE 3. If you recently updated your iPhone to iOS 16 or iOS 16.1, accepting a shared album can also be carried out using the same procedure.
Feel free to start whenever you’re all set to configure your iOS device.
If you get a notification about a Shared Album invitation, a quicker way to accept it is to tap the invite notification from your iPhone’s notification center and then follow the rest of the onscreen prompts to accept the invite.
When you tap the Shared Album notification, you’ll be taken straight to the Shared Album invitation section in the Photos app.
Another way to accept is through the stock Photos app. And here’s how it’s done:
Step 1: To begin, tap Photos from the Home screen or Apps Library of your iPhone. Doing so opens the iOS Photos app.

Step 2: In the Photos app menu, scroll down to the bottom section and then tap For You.

Step 3: On the succeeding window, you will see the Shared Album invitation. On the succeeding window, you will find a Shared Album Activity that contains the invitations sent to you. Simply tap the Accept button for any Shared Albums you want to accept or join.

After accepting the invite, you will see the Shared Album Activity section updated and showing that you’ve joined the album. To open the album, just tap on the message.
If you don’t see the Shared album activity even after you accept the invitation, try to tap the Albums tab. There should be a Shared Albums heading with the See All header that you can tap on to view any albums you’ve created or joined.
Unable to Receive a Shared Album Invitation?
Make sure that you’re signed in to iCloud using the same Apple ID on all of your devices that you’d like to use with Shared Albums.
Again, also ensure that Shared Albums is enabled on your iPhone. This is imperative so you can share collections of photos.

And in order to receive a shared album invite, both parties (sender and receiver) must have iCloud Photos Sharing and iCloud Photo Library enabled on their respective Apple devices.
Also check and ensure that your iPhone is connected to the internet.
Viewing and accepting of Shared Album won’t work as intended if your device is experiencing any sort of internet problems like slow connection, intermittent or unstable internet or no internet connection at all.
Shared Albums works over Wi-Fi and cellular data networks so you can connect your iPhone to the internet using either connections.
Creating your Own Shared Album
You can also create your very own Shared Album to share with your friends and loved ones.

To do this, simply open the Photos app then tap on the Albums tab. On the next screen, tap the Plus (+) icon on the top-left corner to start creating a new album. Select New Shared Album from the given options then enter the desired name for your shared album. Tap Next then enter the email addresses of the people you’d like to invite to your album then tap Create. Aside from the recipient’s email address, you can also enter their name or phone number, based on their contact details.

You can add more people to your shared album. Even those without iCloud can view and access your Shared Album, for as long as you share your photos as Public Website. If you do, your photos will share to a public website so that anyone in your friends and family who doesn’t have iCloud would still be able to view them.
And that’s how you use iCloud Photo Sharing and accept a shared album invitation on an iPhone that’s running on the latest iOS version.
Please keep posted for more comprehensive iOS tutorials and troubleshooting guides on this site. Or you can check out this YouTube channel to view more comprehensive tutorial and troubleshooting videos including recent iOS devices.