Uploading eye-catching, professional videos to YouTube is important to build a popular channel. This comprehensive guide will walk you through optimizing video files, uploading seamlessly from your MacBook Air, customizing branding, engaging viewers, promoting your channel, analyzing performance, and more.
Follow these pro tips on how to upload video to Youtube from Macbook Air in this guide.
Step 1: Optimize Your Video File for the Best Playback Quality
Before even uploading, take the time to optimize your video file for maximum quality. This prepares the file specifically for smooth streaming on YouTube. Just a few tweaks make a big difference.
Choose the Absolute Best Format for YouTube
YouTube supports MOV, MPEG4, MP4, AVI, WMV, and MKV formats. But for optimal compression and quality, MOV or MP4 are your best options. These formats play perfectly on YouTube while maintaining smaller file sizes.
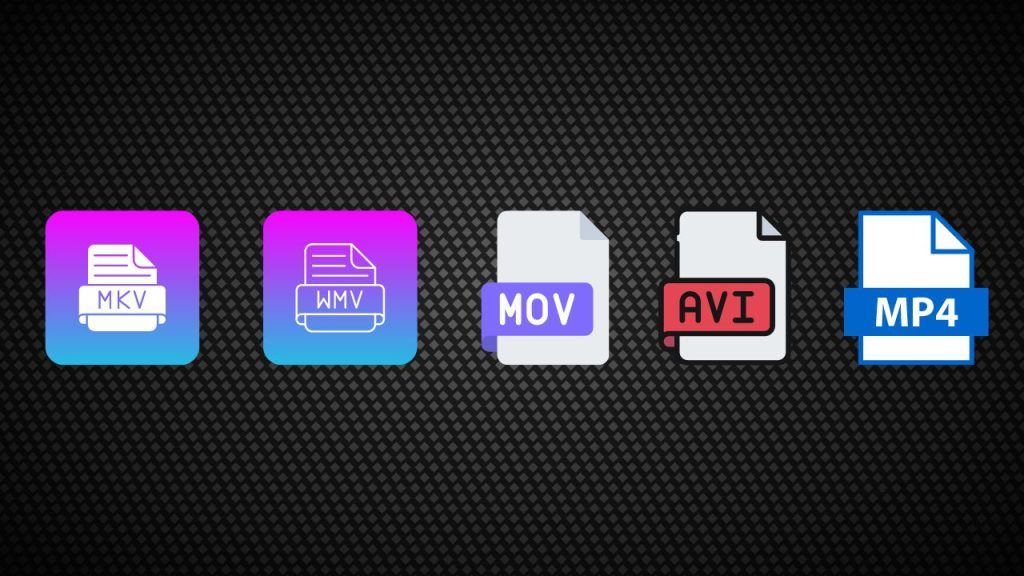
Never upload raw, unoptimized video straight from your camera if you can avoid it.
Dial in the Perfect Resolution
With YouTube, videos look best at either 1280×720 or 1920×1080 resolution. Anything lower than 720p will become pixelated and blurry. At the same time, avoid going over 1080p, as higher resolutions are unnecessary.
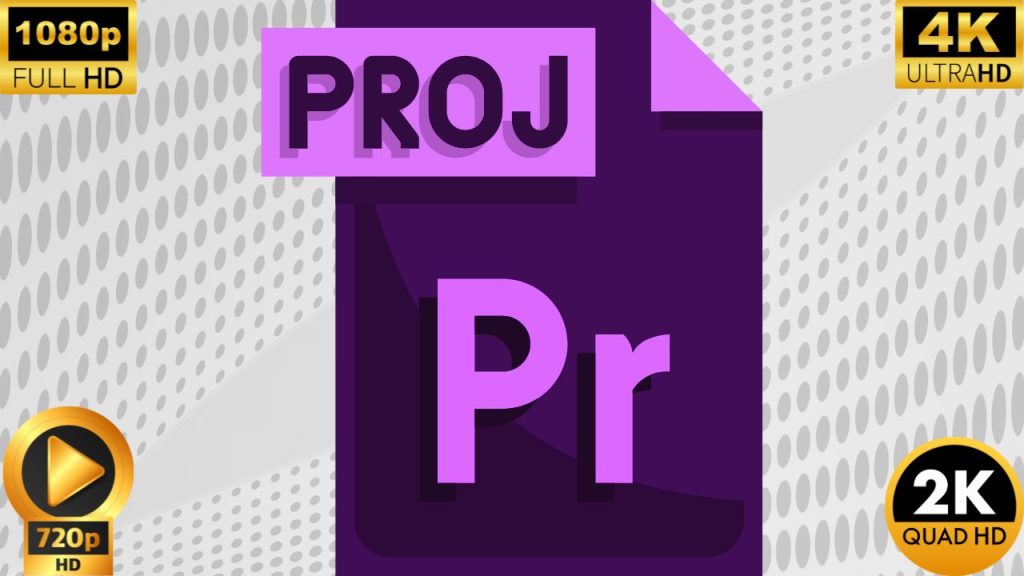
Use a video editing program like Adobe Premiere to export your final video at one of these ideal resolutions for perfect YouTube playback.
Select the Right Aspect Ratio
16:9 widescreen is the standard aspect ratio for YouTube. Their video player is designed specifically for this ratio. Avoid any formats that are too vertical or too wide. Use your video editor to crop or letterbox your video to fit the classic 16:9 ratio.

By optimizing resolution, formats, and aspect ratio before uploading, your videos will look crispy and clear to YouTube’s players. Pixelation and compression artifacts will be minimized.
Step 2: Effortlessly Upload Videos Straight From Your MacBook Air
YouTube makes uploading videos directly from your MacBook Air very straightforward.
Use the Upload Function in Youtube
 Open Safari and go to YouTube.com. Then, sign into your account, and click the Create/Upload button.
Select Your Optimized Video
 Use the file browser to select your optimized video from your Mac. YouTube will immediately start uploading it in the background.
Enter Video Details
 While the video uploads, you can fill out the title, description, tags, playlist additions, etc. Provide as much detail as possible to help with discovery.
Check Uploading Progress
 YouTube will show the uploading progress. Wait for it to reach 100% before publishing or sharing your video.
Share Your Video!
 Once fully uploaded and processed, your video will be ready to share on your channel! You can make it public, private, or schedule it for later.
Step 3: Customize Your YouTube Channel Branding
A professional-looking YouTube channel is key for making a great first impression on viewers.
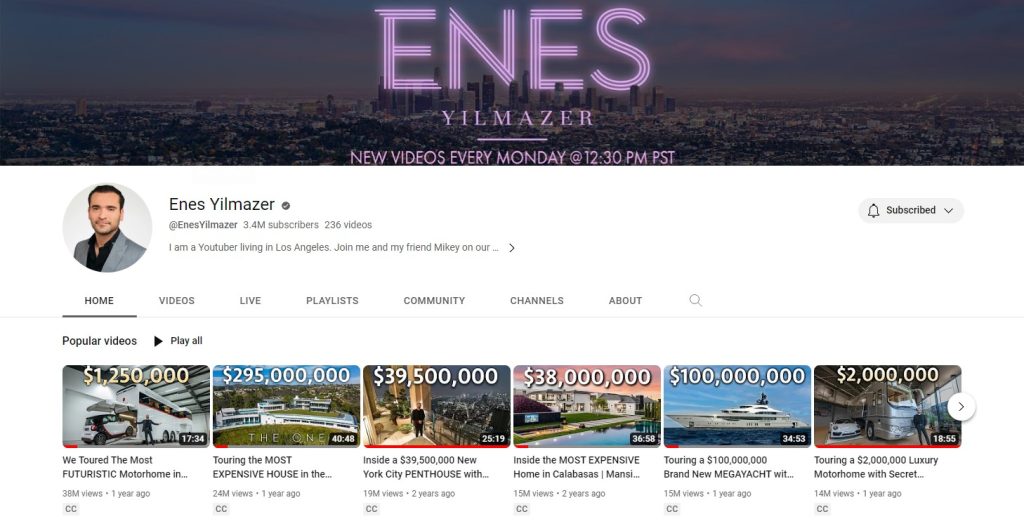
Pick an Icon and Art that Represents Your Brand
Set a channel icon and banner art that reflects your brand. This visual identity and logo will appear across your videos and channel pages. Keep it consistent.
Write an Engaging Channel Description
The channel description is valuable real estate for sharing what your channel is all about. Make it informative but also engaging so viewers subscribe.
Organize Playlists
Use playlists to categorize your content. For example, group workout videos, cooking tutorials, or comedy sketches.
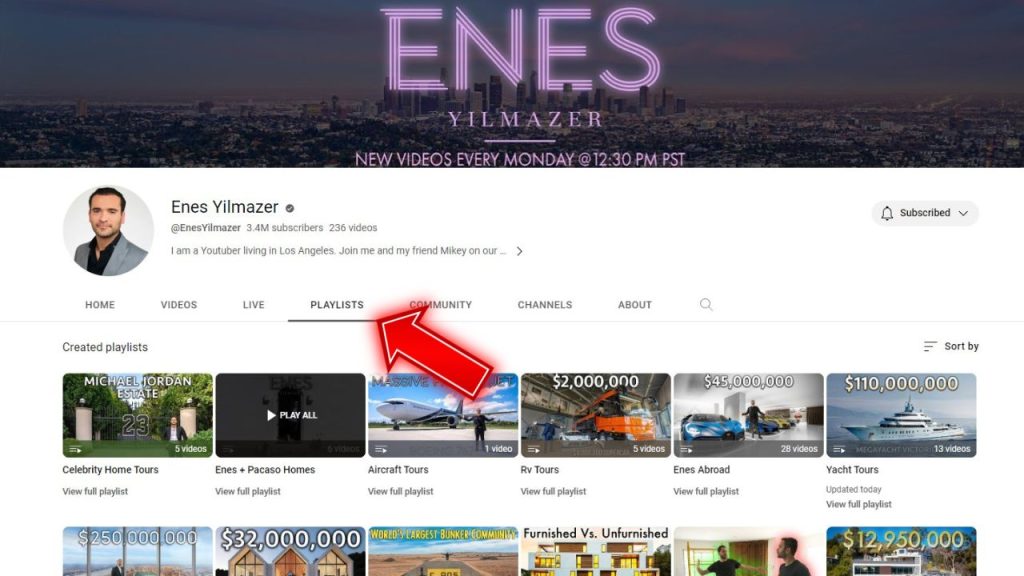
Playlists make it easier to watch related content.
With customized branding, your YouTube channel puts your best foot forward.
Step 4: Actively Engage Viewers to Build a Community
Simply uploading great videos is just the beginning. You also need to engage viewers to foster a sense of community.
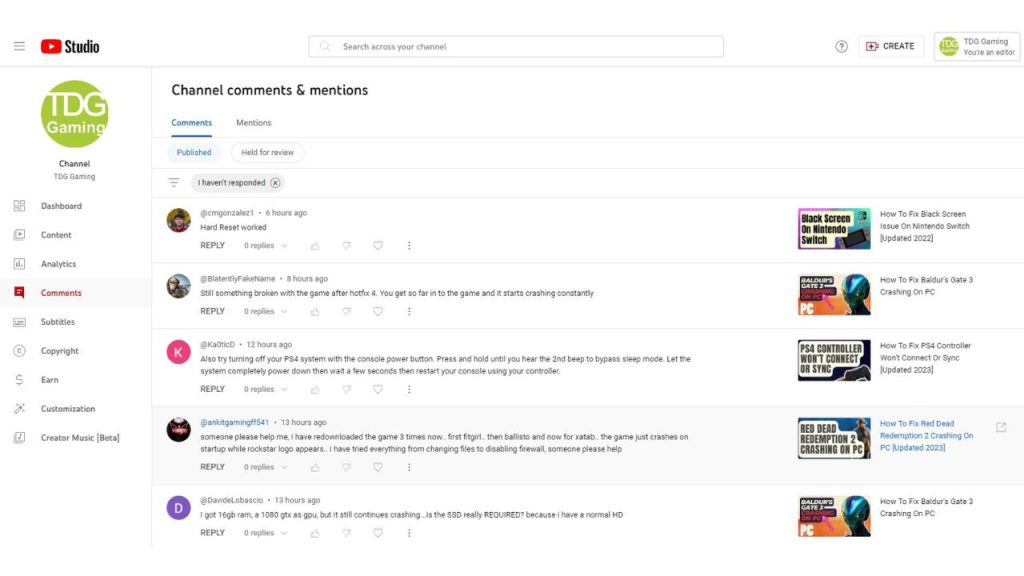
Give Back by Commenting Daily
Make it a rule to respond to every single comment. Reply to feedback with appreciation. Ask viewers questions to keep the dialogue flowing. Strive for a 100% response rate.
Encourage Likes, Shares, and Subscribes
Politely ask viewers to like, share, and subscribe to videos. Make it easy with links, cards, and end screens. Reminding people to subscribe is key to building your audience.
Recognize Channel Members
Feature comments or creative contributions from loyal channel members and subscribers in your videos. Recognizing supporters nurtures a positive community.
Go Live with Q&As
Host occasional live streams with real-time Q&As. This gives fans face time with you while being very shareable. Live video also boosts YouTube search rankings.
Actively engaging viewers, not just posting videos, leads to higher satisfaction, loyalty, and subscribers.
Step 5: Promote Your YouTube Channel Far and Wide
Don’t just rely on YouTube searches. Get the word out about your awesome channel!
Share Videos on Social Media
Post your best videos on Twitter, Facebook, Reddit, LinkedIn, and anywhere else relevant—embedding videos on social drives traffic.
Promote on Other Websites
Include video embeds or links to your channel in articles, blog posts, email newsletters, and other sites. Cross-promotion is powerful.
Collaborate with Others
Team up with creators in similar niches for shoutouts, shared content, and crossovers to tap into new audiences. More exposure equals more subs.
The wider your promotion, the faster your channel can grow. Spread the word for maximum viewership.
Step 6: Analyze Your YouTube Performance
YouTube provides a wealth of analytics to assess which videos and strategies work best.
Track Views, Likes, Comments, Shares
Analyze which videos get the most views, engagement, and shares. Then make more of that winning content. Listen to your audience.
Check Average View Duration
A high average view duration means people watch your videos longer – a great sign! Shorter durations tell you content may be missing the mark.
Review Traffic Sources
See where traffic comes from: YouTube search, suggested videos, playlists, or external sites. Optimize your metadata and promotion accordingly.
Analytics lets you double down on what succeeds while improving on less effective approaches.
Step 7: Set a Consistent Upload Schedule
Posting videos consistently according to a schedule keeps viewers engaged and coming back.
Stick to a Theme
Only post videos that match your channel’s niche. Random content needs to be clarified. Become the go-to source for your specific subject matter.
Schedule Video Uploads
Establish a consistent upload schedule, such as new videos every Monday and Friday at 10 am. Your fans will have a clear expectation of when new content will be released.
Promote Upcoming Videos
Use YouTube’s community and notification features to tease upcoming videos. Build anticipation and tune viewers into your release schedule.
You’ll run an organized YouTube channel optimized for loyal subscribers by sticking to a strategic theme and schedule.
Final Thoughts
The steps to upload video to Youtube from Macbook Air is simple for anyone to do. Optimizing your videos first guarantees the best playback quality. Use the official YouTube Uploader app for a seamless posting process. And focus on building your channel’s social presence to maximize viewership. Follow these best practices for YouTube success from your Mac!
FAQs on How To Upload Video To Youtube From Macbook Air
How Do I Upload a Video to YouTube from My MacBook Air?
To upload a video, sign in to your YouTube account, click the upload icon (camera), select your video file, add title, description, tags, and privacy settings, then click “Publish.”
What Video Formats Does YouTube Accept?
YouTube supports various formats like MP4, MOV, AVI, and more. For best results, use the H.264 codec and AAC audio.
How Do I Edit Video on MacBook Air Before Uploading?
Use iMovie, a built-in video editing software on Mac, to edit videos. Import your video, make edits, add transitions, titles, and effects, then export the edited video.
Why Is My Video Taking So Long to Upload on MacBook Air?
Video upload time depends on your internet speed, file size, and video quality. Consider compressing your video or choosing a lower resolution for faster uploads.
How Can I Schedule a Video Upload on YouTube?
After uploading, click “Schedule” instead of “Publish.” Set a future date and time for your video to go live on your YouTube channel.
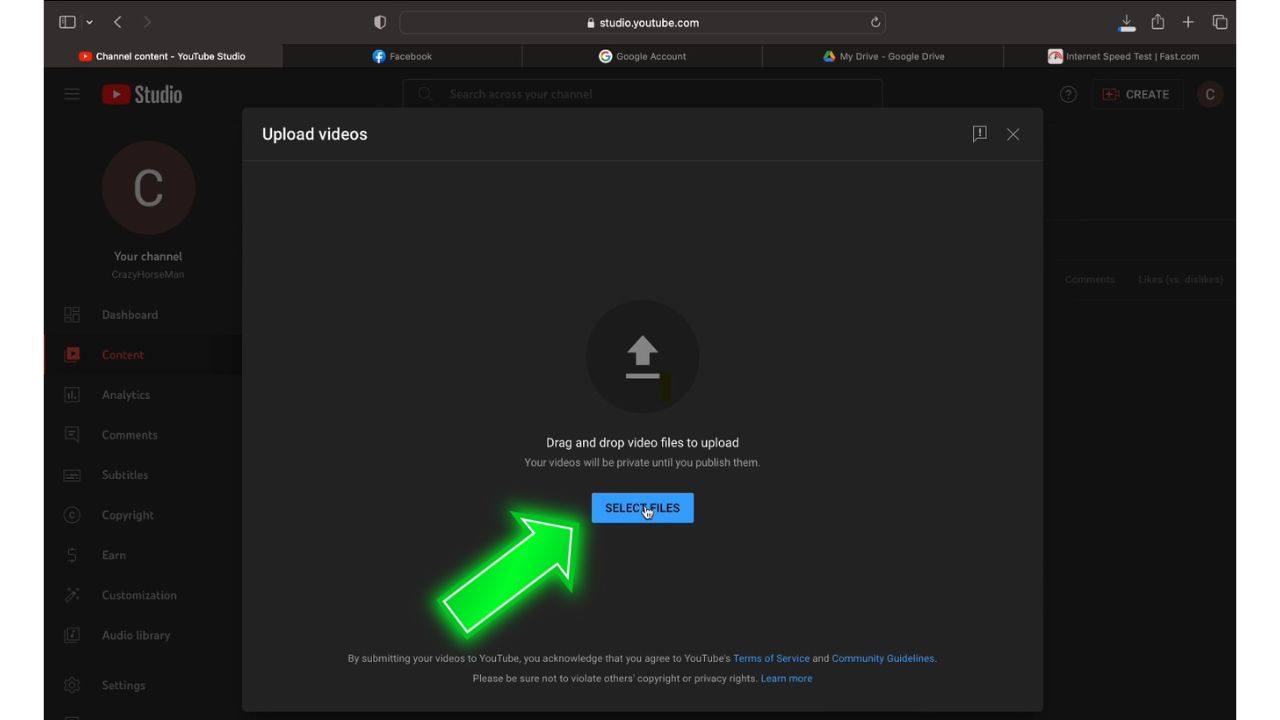 Use the file browser to select your optimized video from your Mac. YouTube will immediately start uploading it in the background.
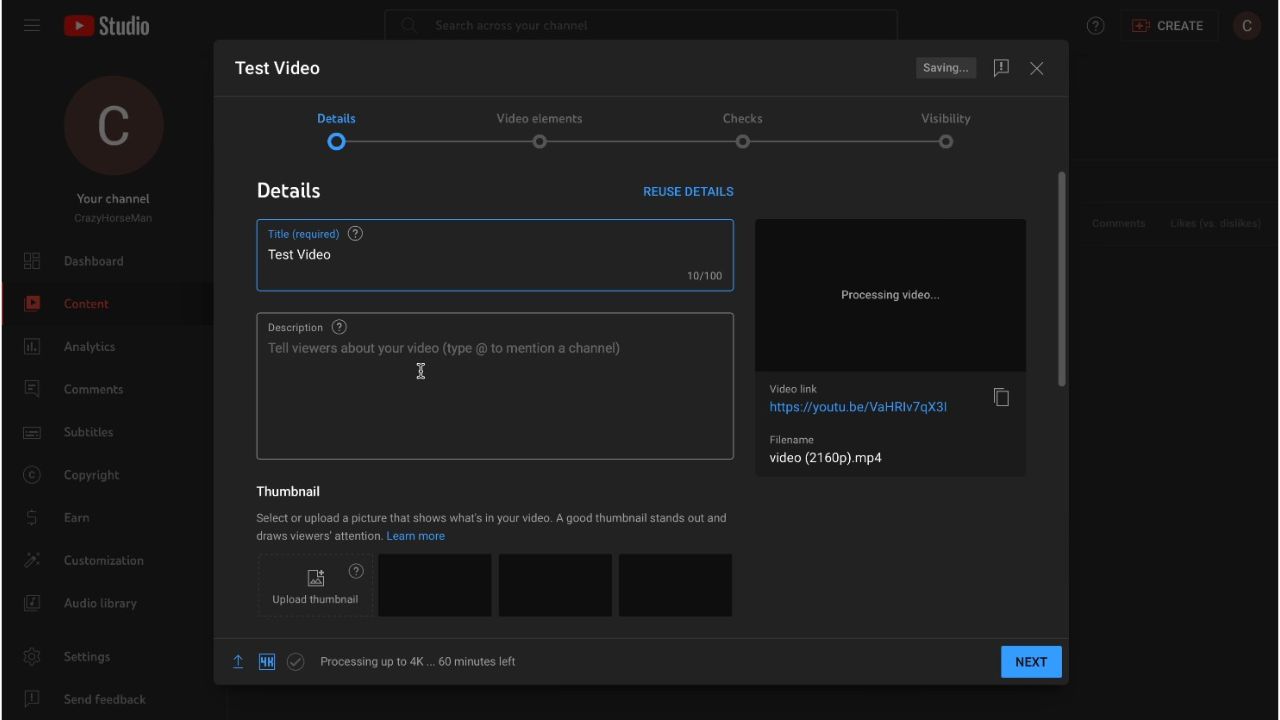 While the video uploads, you can fill out the title, description, tags, playlist additions, etc. Provide as much detail as possible to help with discovery.
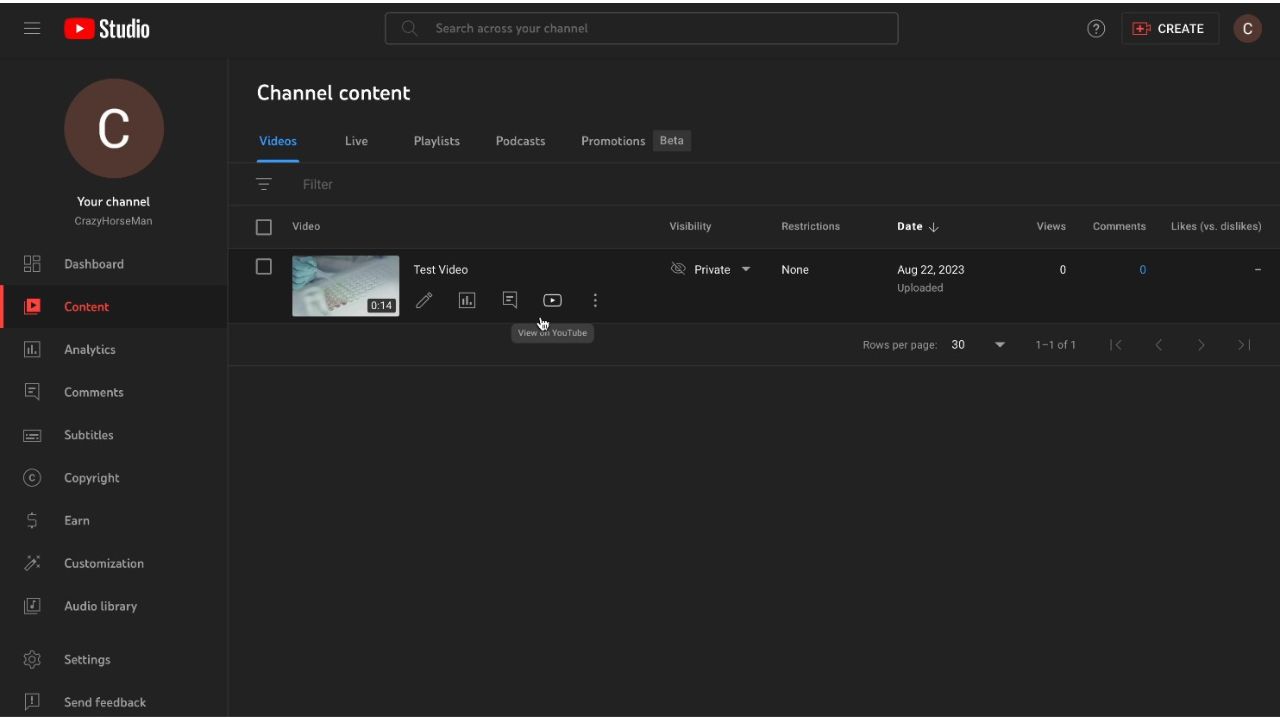 YouTube will show the uploading progress. Wait for it to reach 100% before publishing or sharing your video.
 Once fully uploaded and processed, your video will be ready to share on your channel! You can make it public, private, or schedule it for later.