Noticing discolored patches, splotches, or uneven performance from your iPhone 14 display can certainly be concerning. You likely want a sharp, vibrant display free of defects. While discoloration is frustrating, don’t panic just yet – many common causes of screen abnormalities and defects are fairly straightforward for users to identify and troubleshoot themselves before needing professional repair.
With the right information, you can methodically test different factors and variables to determine what exactly is causing the discolored display on your iPhone 14. This guide will outline potential reasons and practical troubleshooting tips. A few simple steps may be all that’s needed for a color-accurate display again.
Common Causes
Some typical culprits that can cause an iPhone 14 display to show discoloration include:
- Software calibration issue – The software color profile may need refreshing for accurate color reproduction.
- Uneven backlighting – LCD backlight bright spots or uniformity issues affect the perceived color.
- Overheated phone – Excessive heat can damage display components, causing discoloration.
- Moisture damage – Liquid seeping under the screen can short-circuit elements and alter colors.
- Physical damage – Direct cracks or pressure on the screen can distort color filters and crystals.
- Defective hardware – Rare manufacturing defects may make screens prone to quick discoloration.
- Chemical degradation – Gradual chemical breakdown of OLED materials changes the light output.
Troubleshooting Procedures
If you notice screen discoloration or unevenness on your iPhone 14 display, try the following troubleshooting methods:
Step 1: Hard Reset the iPhone (Force Restart)
A hard reset involves completely shutting down the device and then restarting it. This can often help resolve any color-related issues caused by software glitches and recalibrate the display.
To hard reset/force restart your iPhone 14, follow these steps:
- Press and quickly release the volume up button.
- Press and quickly release the volume down button.
- Press and hold the side button until the Apple logo appears.
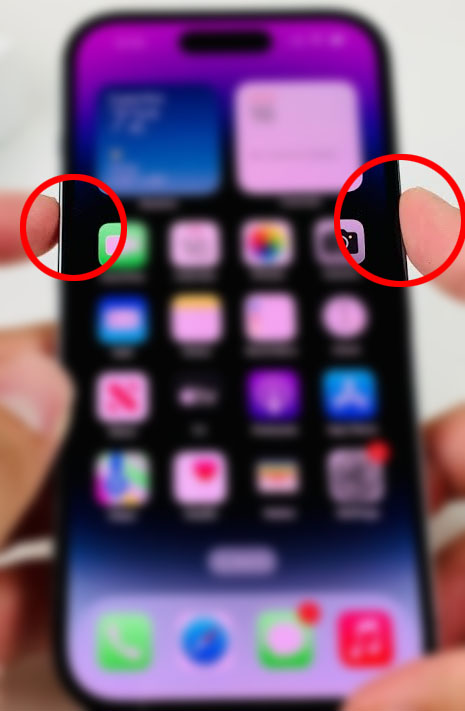
This will force your iPhone 14 to restart and hopefully fix any problems it is having.
Step 2: Adjust Color Profiles
When your device’s True Tone display is not calibrated correctly, switching between the standard and non-True Tone color profiles in the Settings can often help fix the issue.
The iPhone 14 uses a default color profile called DCI-P3. This color profile is used by most professional cameras and displays. It is designed to accurately represent the colors that you see in the real world.
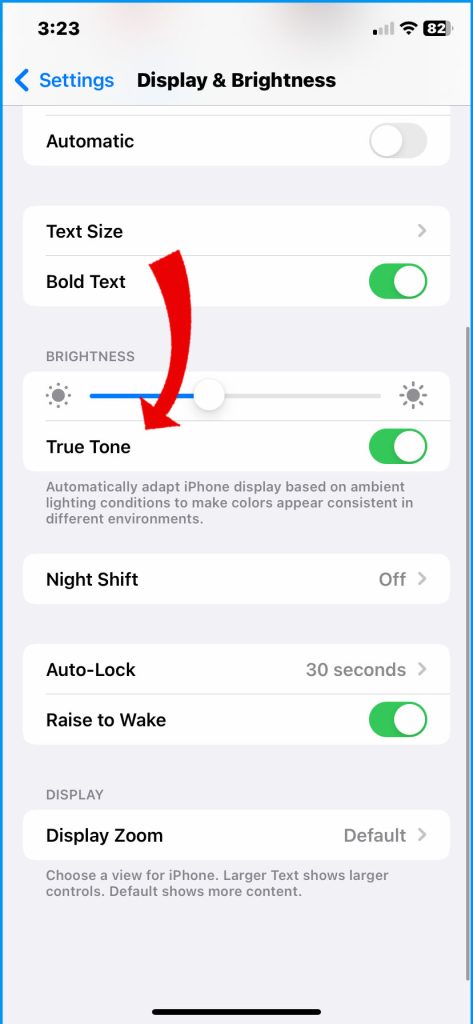
If you are not happy with the way the colors look on your iPhone 14, you can try adjusting the True Tone setting.
True Tone is a feature that automatically adjusts the color temperature of your display to match the ambient light in your environment.
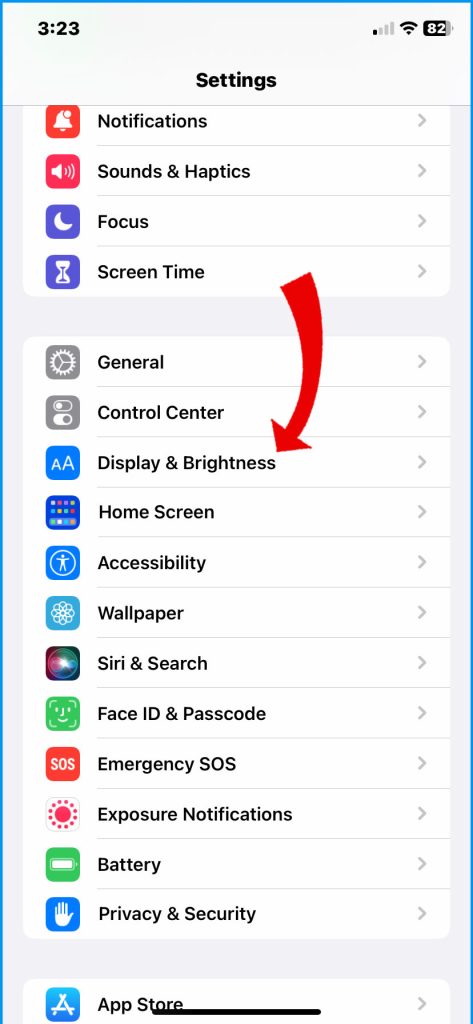
- To adjust True Tone, go to Settings > Display & Brightness > True Tone.
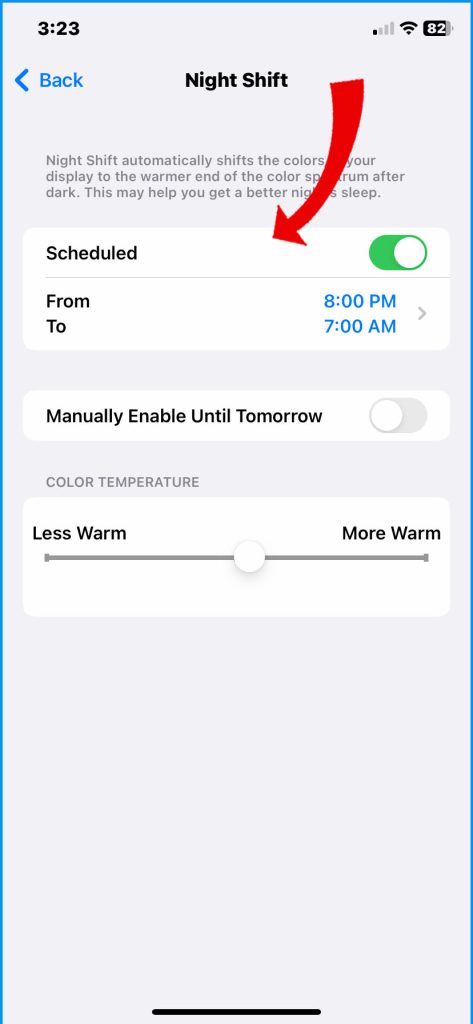
You can also try adjusting the Night Shift setting. Night Shift is a feature that reduces the amount of blue light emitted by your display. Blue light can interfere with sleep, so Night Shift can help you get a better night’s sleep.
- To adjust Night Shift, go to Settings > Display & Brightness > Night Shift.
By doing this, you can reset your device’s display settings and hopefully resolve any calibration problems you may be experiencing.
Step 3: Check for Overheating Issues
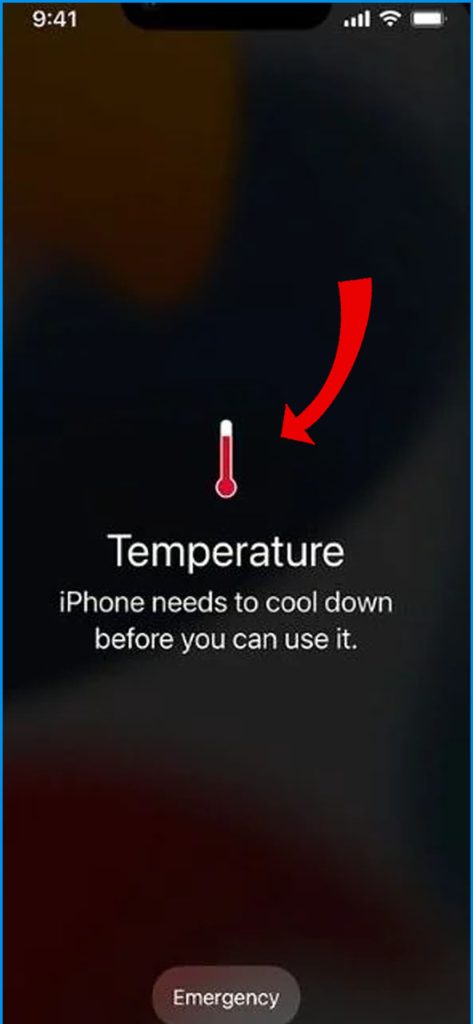
If your phone feels hot, it could be an indication of a problem with the battery or other internal components.
Allowing it to cool down completely to room temperature is a good first step in troubleshooting the issue. Once it has cooled down, check if any discoloration remains on the phone.
If there is discoloration, it could be a sign of overheating or damage to the device. In this case, it’s best to take your phone to a professional for further inspection and repair if necessary.
Step 4: Inspect for Physical Damage
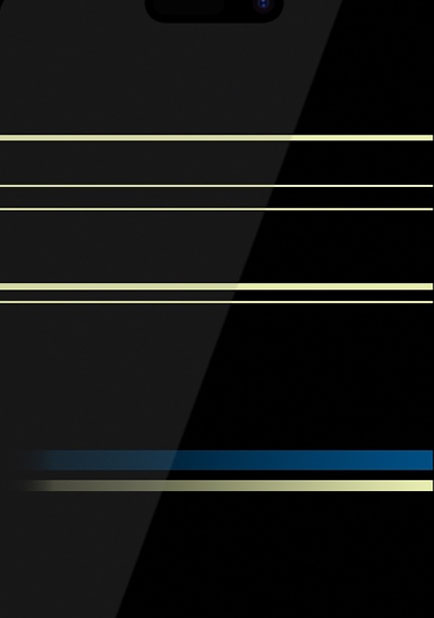
When inspecting the display screen, it’s important to check for any physical damage that could impact the quality of the image displayed.
Cracks, warping, bubbles, or pressure points could all potentially affect the color output and clarity of the screen.
It’s best to thoroughly examine the screen before use to ensure that it’s in good condition and will perform as expected.
Step 5: Restore and Update iPhone
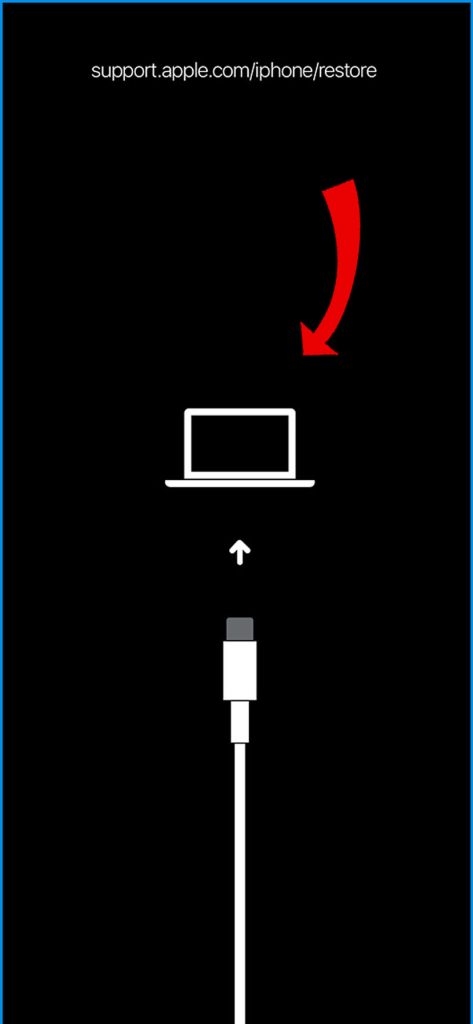
For persistent issues, try fully restoring your iPhone using iTunes and updating to the latest iOS version as a fresh software start.
Fully restoring your iPhone means erasing all of its data and settings and then reinstalling the operating system. This can be done through iTunes on a computer.
Here are the steps on how to restore your iPhone 14 in iTunes:
- Connect your iPhone 14 to your computer using a USB cable.
- Open iTunes.
- Click on the iPhone icon in the top left corner of the iTunes window.
- Click on the Summary tab.
- Click on the Restore button.
- If you have a backup of your iPhone 14, select it from the list.
- Click on the Restore button again.
Your iPhone 14 will now be restored to the state it was in when you made the backup.
Once you’ve completed the restore, you can then update your iPhone to the latest version of iOS.
Here are the steps on how to update your iPhone 14 in iTunes:
- Connect your iPhone 14 to your computer using a USB cable.
- Open iTunes.
- Click on the iPhone icon in the top left corner of the iTunes window.
- Click on the Summary tab.
- Click on the Check for Update button.
- If there is an update available, click on the Download and Install button.
Your iPhone 14 will now update to the latest version of iOS.
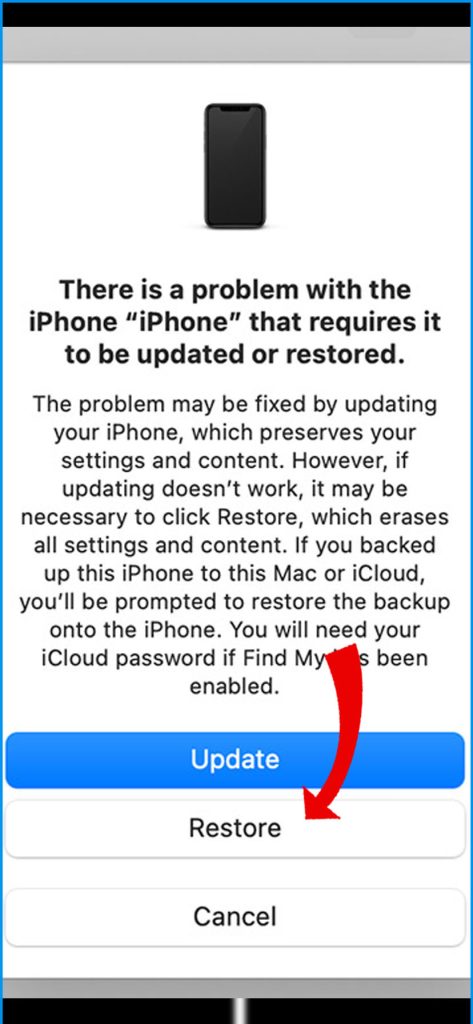
This process can help resolve any recurring issues you may be experiencing and give your device a fresh start. Just be sure to back up any important data before proceeding with the restore.
Step 6: Test Display with Alternate Images
When diagnosing screen discoloration, it’s important to use diagnostic images with fully saturated colors to determine the exact location and degree of the issue.
These images can help identify any color imbalances or discrepancies in the display.
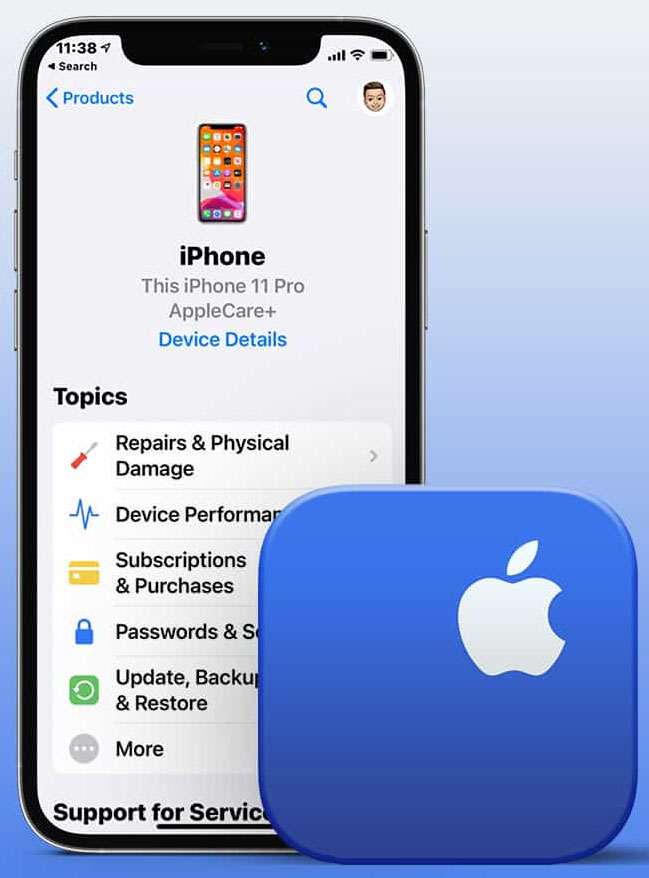
Contact Apple Support
Apple can run internal display diagnostics and determine if a defective panel or other hardware needs to be repaired or replaced under warranty.
You can also access the internal display diagnostics on your Apple device if you want. All you have to do is hold down the “D” key while powering on the device. This will start the diagnostics process, which will take a few minutes to complete.
Once the process is finished, you’ll be able to see if there are any issues with your device’s display or other hardware components.
If you do find any issues, be sure to contact Apple support to see if they can assist you in repairing or replacing your device under warranty.
Consider Replacing Display
For hardware-related discoloration not resolvable with troubleshooting, screen replacement may be the only permanent solution.
With the right combination of software resets, settings changes, diagnostics, and visual inspection, you should be able to isolate the root of iPhone 14 display discoloration in many cases. Just take a methodical approach to each variable.
FAQs
-
What are some common causes of an iPhone 14 display showing color issues or unevenness?
Common causes include software calibration problems, uneven backlight distribution, overheating damage, moisture seeping under the screen, physical cracks or pressure causing distortion, rare factory defects, gradual chemical breakdown of OLEDs over time, and depleted or defective backlight LEDs.
-
Why does my iPhone 14 display only show discoloration sometimes?
Intermittent discoloration usually results from overheating temporarily affecting the display, moisture that evaporates and restores normal function, physical pressure only sometimes applied, glitchy software calibration, and LED backlights beginning to fail but still functioning partially.
-
How can I troubleshoot an iPhone 14’s discolored display?
Hard reset the iPhone, adjust color profiles in settings, check for overheating issues, closely inspect for physical damage, restore and update the phone, use color diagnostic images to pinpoint problems, contact Apple for internal hardware diagnostics, and consider professional display replacement if needed.
-
When do I need to replace the screen to fix discoloration issues?
If troubleshooting cannot correct the discoloration, it likely indicates irreparable physical damage or gradual component breakdown requiring display replacement. Significant color distortion, dark spots, persistent unevenness, backlight bleed, or unresponsive OLEDs signify hardware failure only fixable with the installation of a new display.
-
What can cause an iPhone 14 display to start showing discoloration later in its lifespan?
Normal chemical degradation of OLED materials, declining backlight LEDs losing brightness, cumulative heat damage to filters and crystals, gradual physical damage like pressure points, and moisture permeating deeper over time can all contribute to discoloration becoming more apparent the longer an iPhone 14 is used.