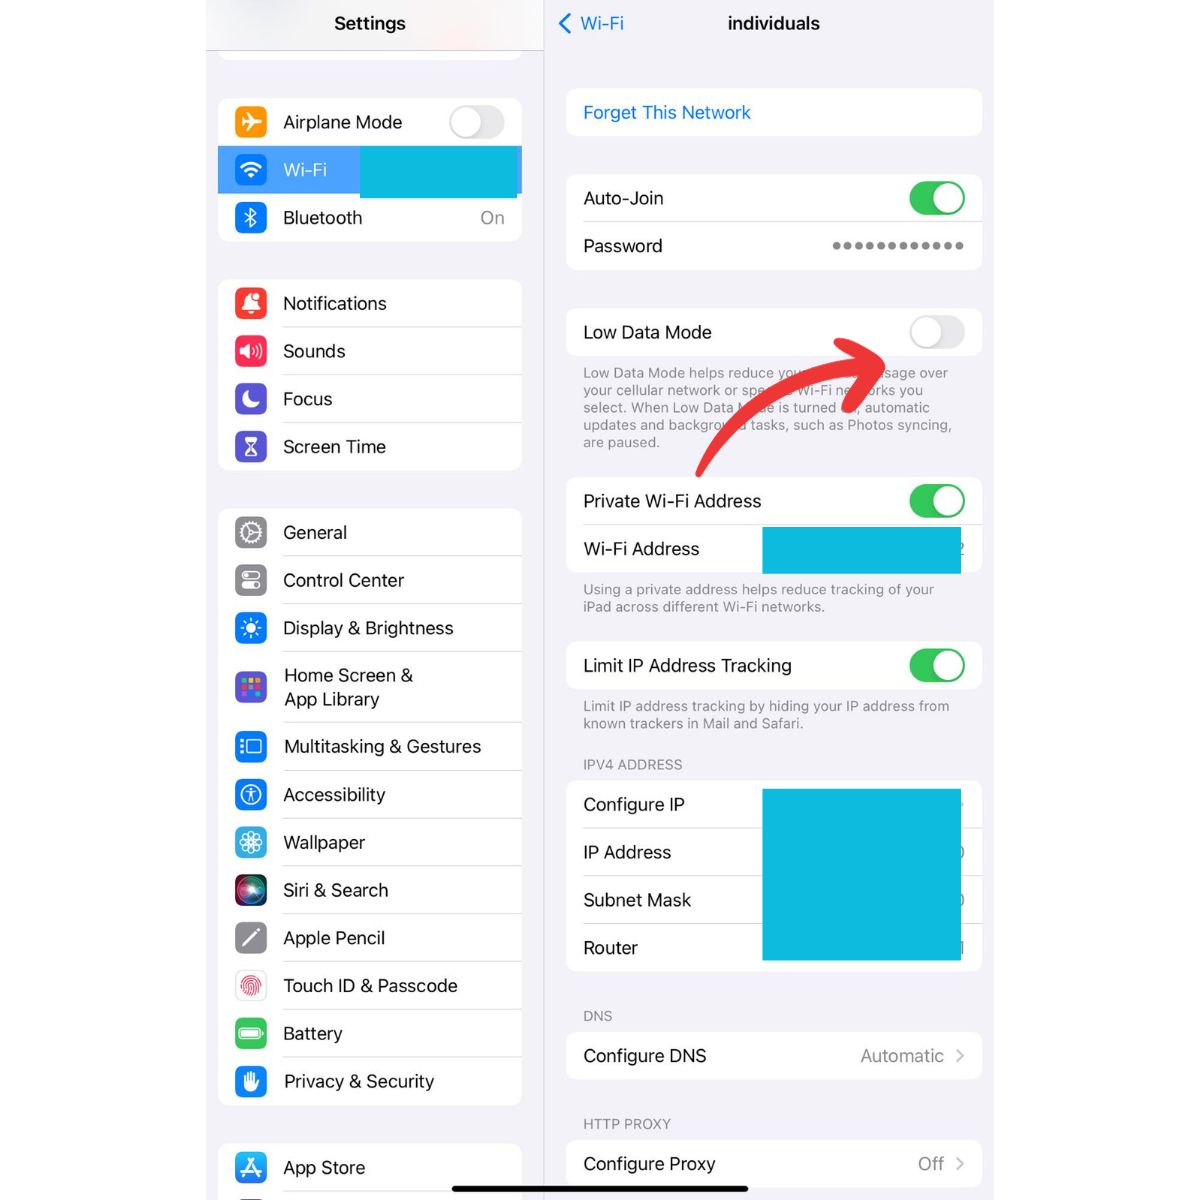
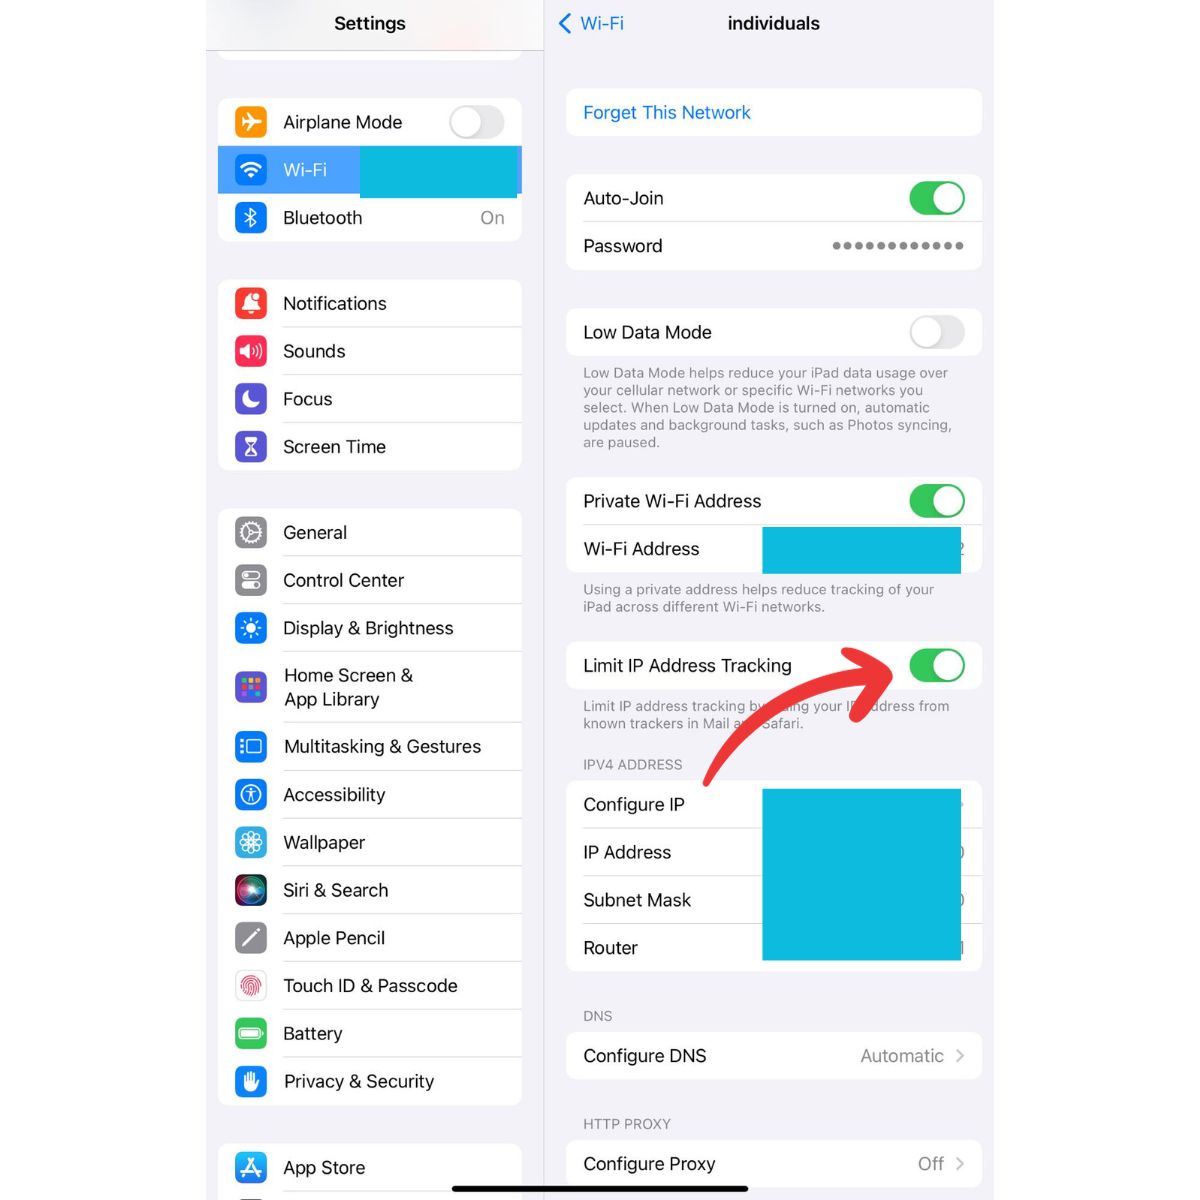
How to fix an iPad Air 3 that has no Internet access but connected to WiFi network

Internet problems are deemed among the most annoying issues in mobile devices even up to the present. And that goes to Apple’s iOS devices including the recently released iPad Air 3 slate. Given the fact that most of the iPad features are used for Internet purposes, having no Internet connection is definitely a bummer for its owner.

Nonetheless, Internet problems are inevitable no matter how robust the Internet service provider claims to be. And so there will always be a time when your device gives into random Internet issues. Tackled in this post is a relevant problem on the iPad Air 2019 device that has no Internet connection even when it’s connected to the Wi-Fi network. Read on to learn what to do in case you will encounter the same Internet connectivity issue on your iPad Air 3.

Before we move on to our troubleshooting, if you are looking for a solution to a different issue, make sure you drop by our troubleshooting page as we’ve already addressed some of the most common problems reported by our readers. Find issues that are similar with yours and use the solutions we suggested. If you still need our help after that, then feel free to contact us by filling up our iPad issues questionnaire.

What causes this problem?

Symptoms like this may occur when temporary network outage is occurring or when the modem/router is glitching. Incorrect network settings on the devices, malwares, and flawed updates like iOS network bugs are also among other possible triggers. In worst cases, the problem could be due to hardware damage on either the network equipment (modem or router in use) or on certain network components on the iOS devices itself. While this rarely happens to new devices, accidental dropping or liquid exposure on the iPad will make it a possible occurrence. Looking into the possible causes, it denotes the need for you to troubleshoot both network equipment and the iOS device. And both software and hardware factors must be ruled out.

YouTube video

Troubleshooting iPad Air 3 that has no Internet

The procedures I demonstrate below are used to rule out software-related factors that might have caused the network equipment and iPad Air to succumb to this problem. Don’t forget to run some tests after performing each procedure so that you will know whether or not the problem is solved. To test your Internet connection, navigate through various websites using your browser app. You can also launch some online services or Internet-based apps for further testing.

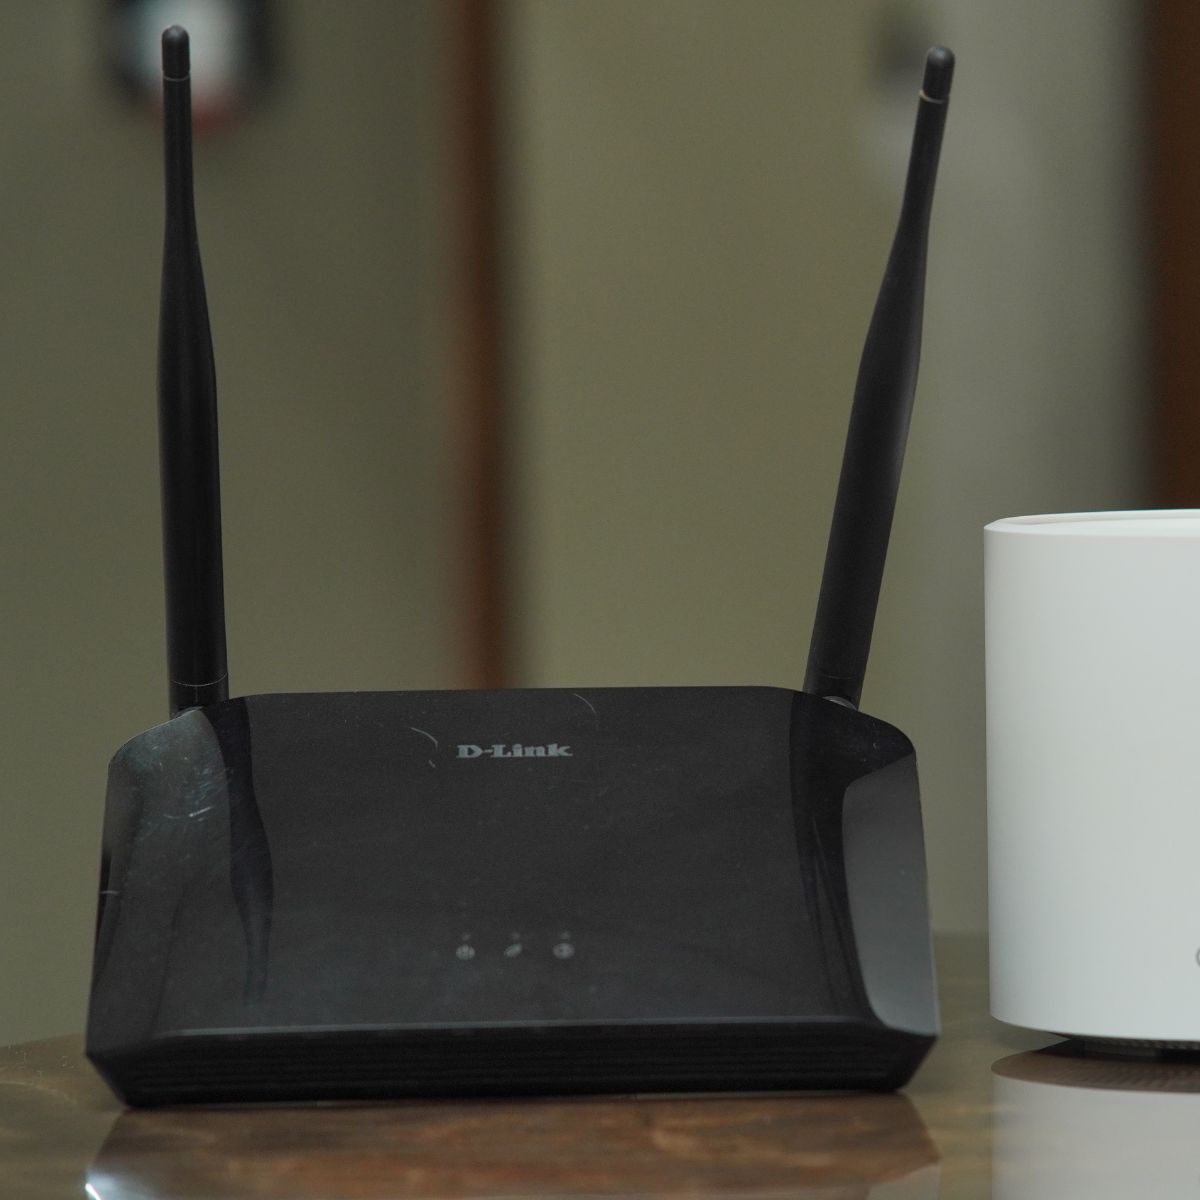
First solution: Power cycle the modem/router.

As mentioned earlier, random software issues on the modem or router in use can also trigger similar symptoms. This is usually the case if the modem/router is experiencing minor firmware crashes. To clear this out, performing the so-called power cycle on the modem or router will likely solve the problem. This process is equivalent to a reboot on your iPad. It effectively eliminates minor system errors that trigger random Internet symptoms. If you’re near the modem or router right now, then you can give it a try. Here’s how it works:

  1. On your modem or router, find its power button then press on it until it powers off.
  2. While it’s turned off, unplug its AC adapter from the power source.
  3. Keep it unplugged for about 30 seconds to 1 minute.
  4. After the elapsed time, plug it back in and turn it on again.

Wait for the Wi-Fi signal indicator to stabilize. If your iPad Air was set to auto-connect, it will reconnect to the Wi-Fi network automatically. After this and your iPad still has no Internet, then move on to the next procedure.

ALSO READ: How to fix an iPad Air 3 that is stuck on the Apple logo

Second solution: Reboot your iPad.

Another simple yet very effective solution to minor Internet issues in iOS devices is a soft reset or system reboot. Aside from refreshing the internal memory, it also clears out random symptoms inflicted by random system crashes. It does not affect any saved data on the iPad storage so it’s safe to reboot without backing up files. Here’s how it’s done:

  1. Press and hold down the Power/Top button for a few seconds until the Power off slider appears.
  2. Drag the slider to power off your device.
  3. After a few seconds, press and hold the Power/Top button until the Apple logo appears.

Wait for the iPad to finish booting up and reconnect to the Wi-Fi network. If it still has no internet, try the next method.

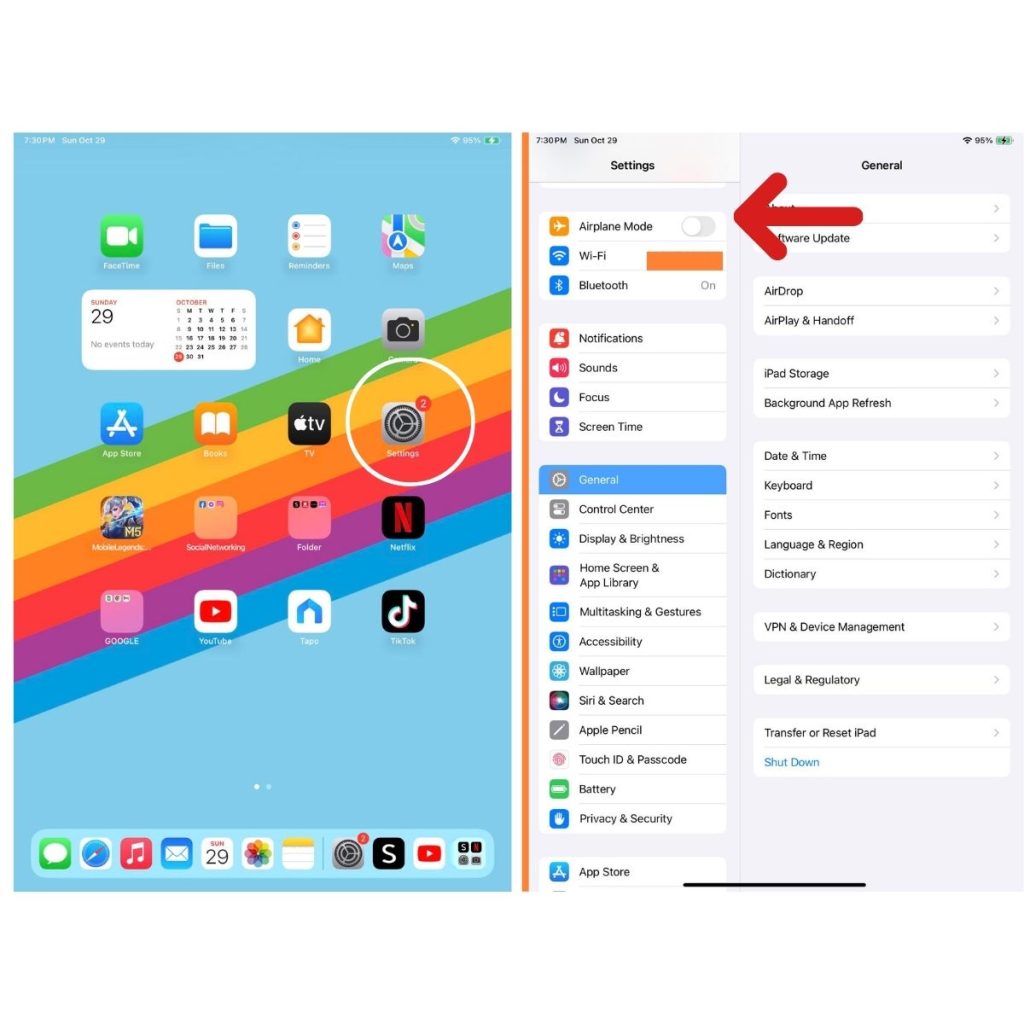
Third solution: Toggle Airplane Mode on and off.

This old trick is still being used by many iPhone and iPad users when dealing with various types of wireless problems. Performing this trick gives a simultaneous restart to the wireless features and thereby eliminates minor flaws that might have caused Internet problems. If you wish to try it, then here’s how it’s done:

  1. From your Home screen, tap on Settings.
  2. Select Airplane Mode.
  3. Then toggle the Airplane Mode switch to turn it ON. Doing so disables the iPad’s wireless features including cellular, Wi-Fi and Bluetooth connections.
  4. While Airplane Mode is turned on, reboot/soft reset your iPad Air to dump junk files from its cache.
  5. Then go back to Settings-> Airplane Mode menu and toggle the Airplane Mode switch to turn it OFF again.

Reconnect your iPad to the Wi-Fi network and once it’s connected, try browsing websites or launch Internet-based apps to see if the problem is fixed. If it may seem like your iPad still has no internet connection, then troubleshoot the WiFi network.

ALSO READ: How to fix an iPad Air 3 that won’t pair or connect to a Bluetooth accessory

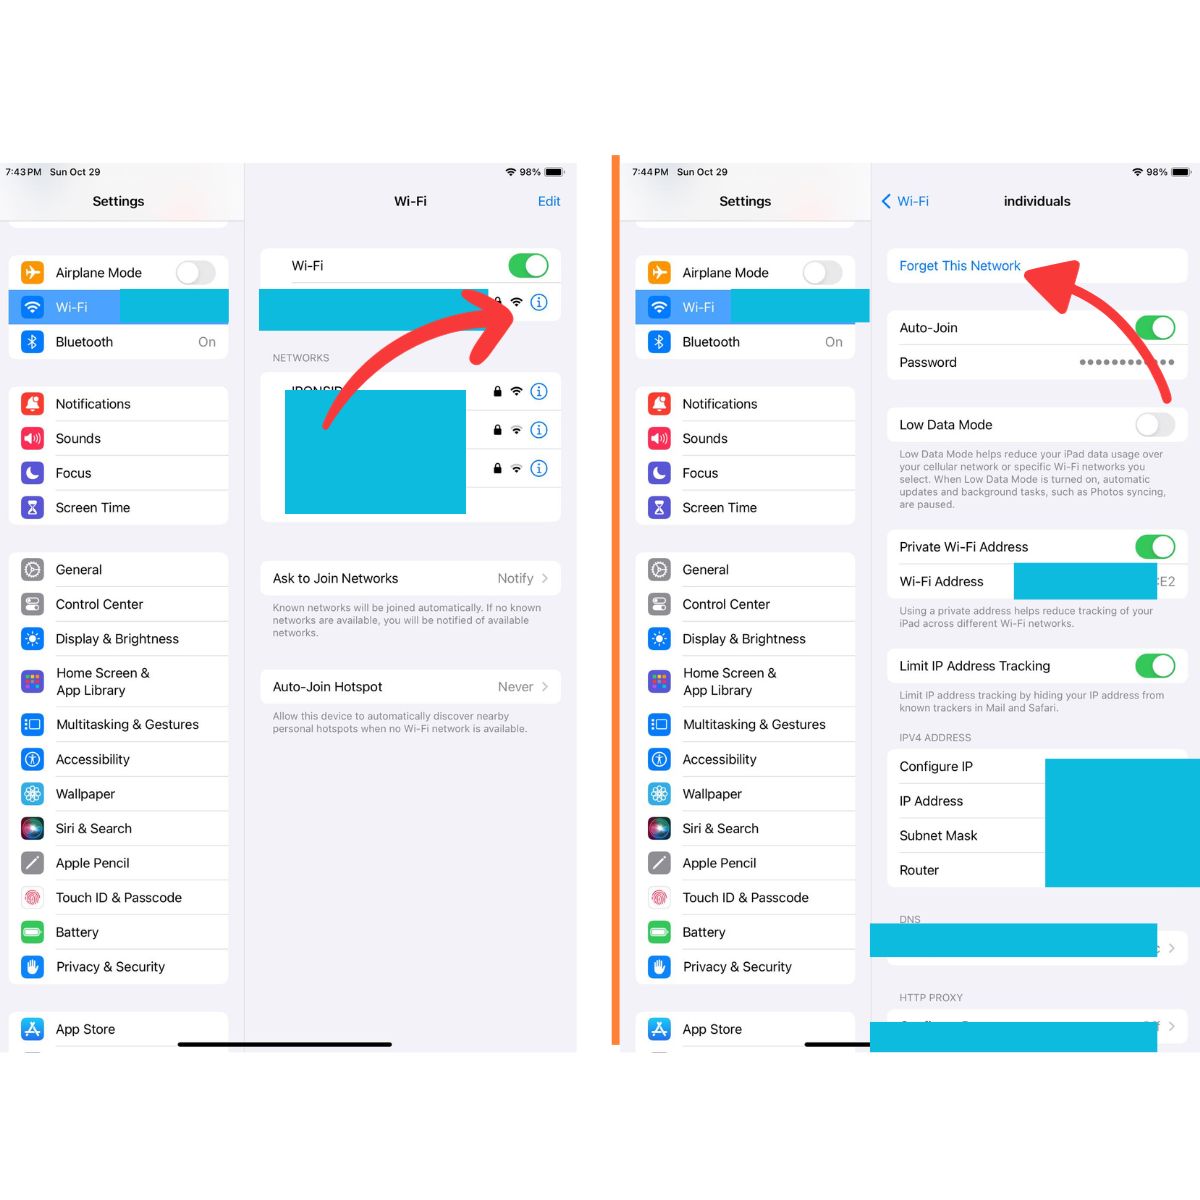
Fourth solution: Forget Wi-Fi network then add it back.

It’s possible that the Wi-Fi network you are using is corrupted and no longer working. In that case, you will need to delete the corrupted network and add it back. Doing this allows your device to reconnect to Wi-Fi like the first time. Here’s how to forget a Wi-Fi network on your iPad Air 3:

  1. Go to the Home screen and tap on Settings.
  2. Tap Wi-Fi and make sure that the Wi-Fi switch is enabled.
  3. Scroll to the list of available Wi-Fi networks.
  4. Then tap the information “i” icon next to the name of the Wi-Fi network that you want to forget.
  5. Next, tap the option to Forget This Network.
  6. Finally, select the option to confirm that you want to forget the selected Wi-Fi network.
  7. Follow the same steps to forget all other saved Wi-Fi networks from your iPad to prevent them from causing conflict to your current Wi-Fi network.

After deleting all Wi-Fi networks, reboot your iPad Air to dump junk files from its network caches. Then head back to Settings-> Wi-Fi menu. Select the name of your Wi-Fi network (SSID) to connect to. If you don’t set any network in the list, toggle the Wi-Fi switch off and then back on again. Let your device reconnect to the network and see if it still has no internet connection because if so, then try the next procedure.

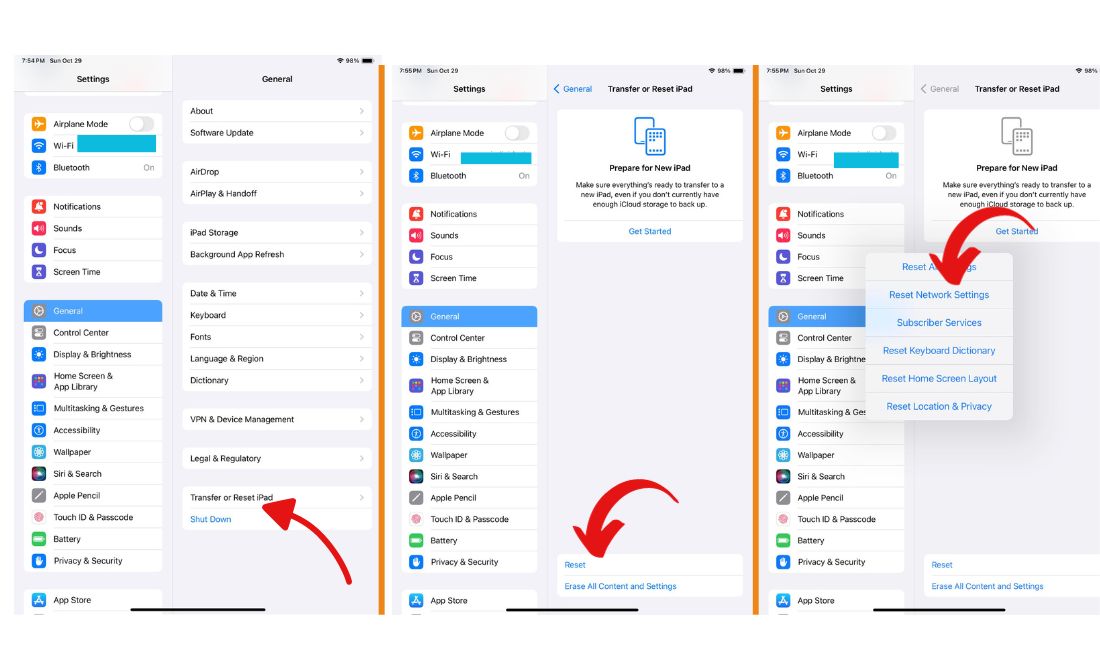
Fifth solution: Reset network settings on your iPad.

To eliminate incorrect network settings on the iPad Air that might have caused this symptom, performing a network reset is recommended. This reset erases your recent network configurations including customized networks, APNs, cellular, Bluetooth and Wi-Fi connections along with their associated errors. Resetting the network settings on the iPad Air 3 is carried out with these steps:

  1. From your Home screen, tap Settings.
  2. Tap General.
  3. Tap Reset.
  4. Select the option to Reset network settings.
  5. Enter your passcode when asked to proceed.
  6. Then tap the option to confirm network settings reset.

The iPad should restart automatically when the reset is finished. After it reboots, set up and connect to your Wi-Fi network to use the Internet and online services. And then try to see if it still has no internet or still can’t connect to the web.

Last resort: Factory reset your iPad.

The problem you’re dealing with may be due to some complex system errors that could not be rectified by any of the prior methods. In this case, resorting to a full system reset/master reset may be necessary. Doing so will wipe everything from your iPad system including fatal system errors that caused the Internet function to stop working. But before you do, be sure to back up all critical data from the iPad to iCloud or iTunes so you’d still be able to recover and use them again later. Once you’re ready, proceed with these steps to factory reset your iPad Air 3 via Settings menu:

  1. From the Home screen, tap on Settings.
  2. Tap General.
  3. Tap Reset.
  4. Select the option to Erase all content and settings.
  5. Enter your passcode when asked to proceed.
  6. Then tap the option to confirm full system reset on your iPad Air 3.

You can also use iTunes on a computer to manually erase and restore your iPad to its factory default settings and then install the latest software available. You will need to use a computer either Windows or Mac that is connected to the Internet, has ample of storage space, sufficient battery life and the latest version of iTunes apps installed to get this done.

What to do if your iPad Air 3 still doesn’t have Internet access?

If you ended up facing the same problem after exhausting all possible solutions, it’s very possible that hardware damage is present. If all your devices are experiencing the same problem while connecting to the same Wi-Fi network, then it’s possible that the modem or router is at fault. If the modem/router is provided by your Internet service provider/carrier, then contact your carrier to report the problem and ask them to reset your network equipment remotely. Also verify and ensure that your account is in good status. Some carriers would impose a soft disconnect to accounts with unsettled issues like unpaid bills. When the account is in soft disconnect, it may still be able to connect to the Wi-Fi but has no Internet access. To restore Internet connection, you need to settle any existing account problems with your carrier.

Another option you can try if you have a computer that has Internet connection is to update your iPhone in iTunes. This will likely fix the problem if system bugs and malwares are to blame. Just be sure to have the latest version of iTunes app on your computer to ensure no system conflicts with your iPad Air 3.

If you suspect that the problem is with the iPad Air 3 and it’s still covered by warranty, then you can avail for service warranty or new unit replacement, if the problem is found to be a factory defect.

Connect with us

We are committed to helping our readers fix the problems with their phones as well as learn how to properly use their devices. So, if you have other issues, you may visit our troubleshooting page so you can check by yourself the articles we’ve already published that contain solutions to common problems. Also, we do create videos to demonstrate how things are done on your phone. Visit our Youtube Channel and please subscribe to it. Thanks.

RELEVANT POSTS: