If your iPhone 7’s microphone has stopped working, you’re not alone. This is a relatively common problem that can be caused by a variety of factors, including software glitches, hardware issues, and physical damage.
In this article, we’ll walk you through the most common solutions for fixing a microphone that stopped working on iPhone 7. We’ll also cover some additional tips that may help you troubleshoot the issue.
Contents
Possible Causes
The common causes of a microphone that stopped working on iPhone 7 are:
- Software glitches: Minor software glitches can sometimes cause the microphone to stop working. A restart or software update can often fix these glitches.
- Outdated iOS version: An outdated version of iOS may contain bugs that can cause the microphone to stop working. Make sure to keep your iPhone 7 up to date with the latest version of iOS.
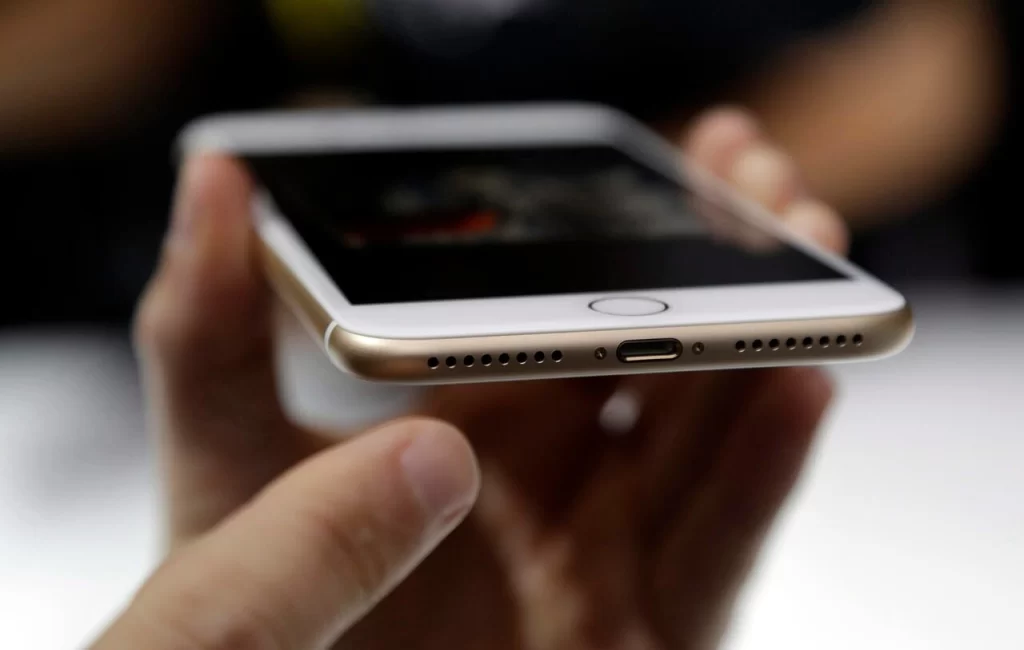
- Blocked microphone openings: The microphone openings on the iPhone 7 are located at the bottom of the phone, near the charging port. If these openings are blocked by dirt, dust, or debris, the microphone will not work properly. You can use a soft toothbrush or a can of compressed air to clean the microphone openings.
- Hardware issues: In some cases, the microphone on the iPhone 7 may stop working due to a hardware issue. This can be caused by a drop, water damage, or other physical damage to the phone. If you suspect that the microphone on your iPhone 7 is not working due to a hardware issue, you will need to have the phone repaired by a certified Apple technician.
- Physical damage: If your iPhone 7 has been dropped, submerged in water, or otherwise physically damaged, the microphone may stop working. In this case, you will need to have the phone repaired by a certified Apple technician.
Restart your iPhone
Restarting your iPhone is a simple but effective way to fix many common problems, including a microphone that stopped working. Here are a few reasons why restarting your iPhone can help:
- It can clear out any temporary memory glitches that may be causing the problem.
- It can force all of your apps to close and restart, which can fix any problems that may be occurring with those apps.
- It can refresh the operating system and give your iPhone a fresh start.
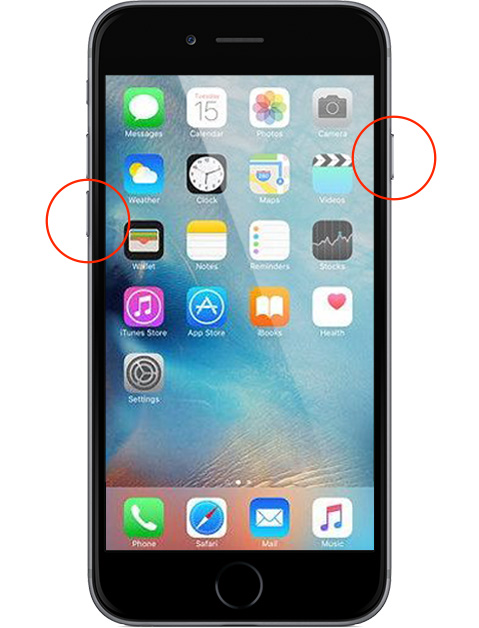
To restart your iPhone 7, press and hold the side button until the power-off slider appears. Then, drag the slider to the right to turn off your iPhone. Once your iPhone is turned off, press and hold the side button again until you see the Apple logo.
Once your iPhone has restarted, try using the microphone again to see if it is working. If the microphone is still not working, you can try the other troubleshooting steps listed above.
Check the microphone openings
You need to check the microphone openings on your iPhone 7 if it is not working because the openings may be blocked by dirt, dust, or debris. If the microphone openings are blocked, the microphone will not be able to pick up sound properly.
To check the microphone openings, look for the small holes at the bottom of the phone, near the charging port. Use a flashlight to inspect the openings and see if there is any dirt, dust, or debris blocking them. If you see any debris, you can use a soft toothbrush or a can of compressed air to clean the openings.
Here are some tips for cleaning the microphone openings on your iPhone 7:
- Use a soft toothbrush to gently brush away any dirt or dust.
- If you are using compressed air, be careful not to hold the can too close to the openings, as this could damage the microphone.
- Do not use any sharp objects to clean the openings, as this could also damage the microphone.
Once you have cleaned the microphone openings, try using the microphone again to see if it is working. If the microphone is still not working, you may need to try other troubleshooting steps, such as restarting your iPhone or updating to the latest version of iOS.
Test the microphone in different apps
Testing the microphone in different apps can help you determine whether the problem is with the microphone itself or with a specific app. If the microphone is working in some apps but not others, it is likely that the problem is with the specific app. Try restarting the app or reinstalling it.
To test the microphone in different apps, you can try:
- Phone app: Make a call and see if the other person can hear you.
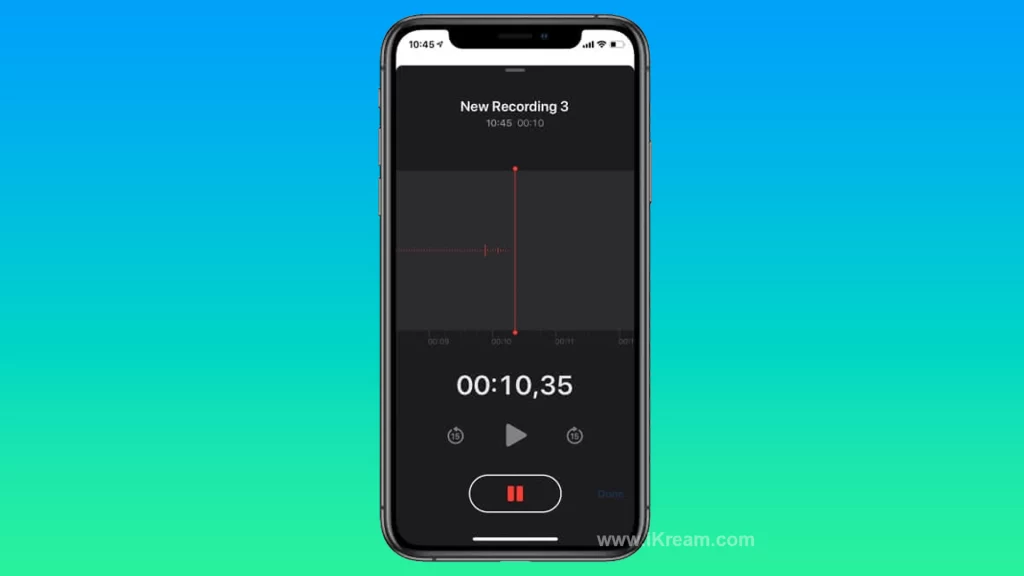
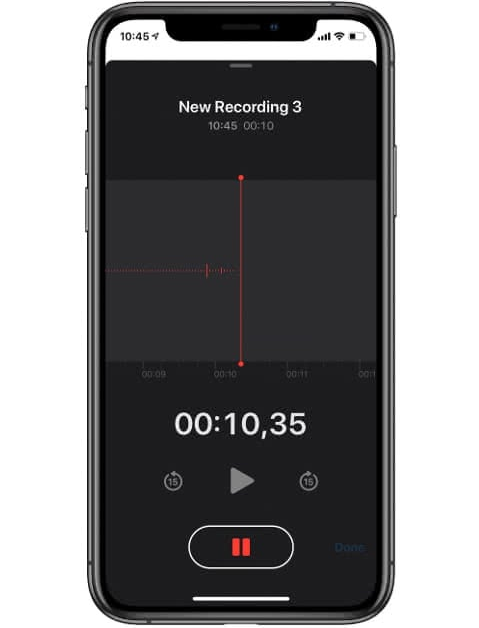
- Voice Memos app: Record a voice memo and play it back to see if you can hear yourself.
- Siri: Ask Siri a question and see if she responds correctly.
If the microphone is not working in any apps, then the problem is likely with the microphone itself. You can try the other troubleshooting steps listed in the article, such as restarting your iPhone, checking the microphone openings, and updating to the latest version of iOS. If the problem persists, you will need to contact Apple Support for further assistance.
Update to the latest version of iOS
You should update to the latest version of iOS because it can fix bugs and improve performance, including fixing problems with the microphone. Apple often releases updates that address specific issues, and it’s possible that the latest version of iOS includes a fix for the problem you’re experiencing with your microphone.
To update to the latest version of iOS, go to Settings > General > Software Update. If there is an update available, you will see a button to download and install it.
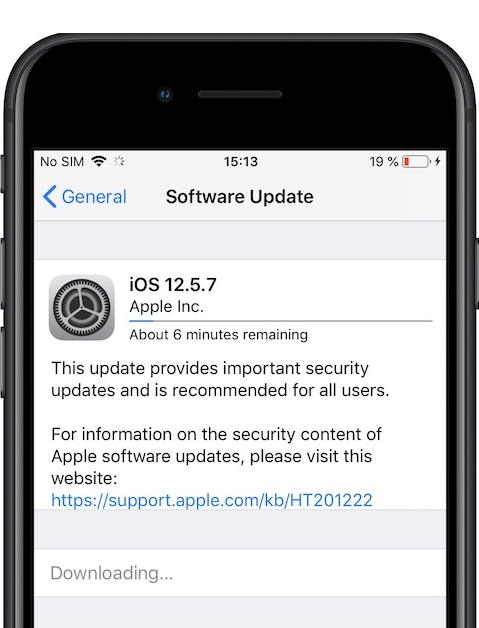
Here are some of the things that iOS updates can do to fix problems with the microphone:
- Update the microphone drivers
- Fix bugs that are preventing the microphone from working properly
- Improve the performance of the microphone
If you’ve tried all of the other troubleshooting steps listed above and the microphone is still not working, updating to the latest version of iOS is the next thing to try.
Reset all settings
Resetting all settings restores all of your iPhone’s settings to their factory defaults. This includes settings for Wi-Fi, Bluetooth, cellular data, notifications, location services, and more.
Resetting all settings can sometimes fix problems with the microphone, as it can clear up any software glitches or incorrect settings that may be causing the problem.
To reset all settings, go to Settings > General > Transfer or Reset iPhone > Reset > Reset All Settings.
It is important to note that resetting all settings will not erase any of your personal data, such as photos, videos, music, or contacts. However, it will reset all of your custom settings, so you will need to re-enable any settings that you want to use.
Contact Apple Support
You may need to contact Apple Support if you have tried all of the troubleshooting steps above and the microphone on your iPhone 7 is still not working. It is possible that there is a hardware issue with your iPhone 7 that needs to be repaired by a certified Apple technician.
Apple Support has the tools and expertise to diagnose and repair hardware issues with iPhone 7. They can also help you determine if your iPhone 7 is still under warranty and if you are eligible for a replacement device.
To contact Apple Support, you can visit their website or call them at 1-800-275-2273. When you contact Apple Support, be prepared to provide your iPhone 7’s serial number and a description of the issue you are having. The more information you can provide, the better equipped Apple Support will be to help you.