
How To Backup iPhone to HP Laptop
Backing up your iPhone to HP Laptop is an essential practice to keep your data safe, secure, and easily accessible for future use. This comprehensive guide enlightens you on methods such as using iTunes, iCloud, or a direct USB connection to back up various iPhone data, including photos and videos. Follow these simple steps to ensure your valuable iPhone content is never lost and always at hand.
Backing Up Your iPhone to an HP Laptop
One of the most essential aspects of digital data protection is backing up your device. In this case, backing up your iPhone ensures vital data such as contacts, messages, photos, and videos are safe and can be restored in case of data loss. This guide provides step by step process for backing up an iPhone using an HP laptop.
Using iTunes for Backup
To back up your iPhone to an HP laptop, the most common software utilized is iTunes. This application acts as an effective medium for iPhone users to back up their content on a more stable platform like a laptop or desktop. Here’s how to use iTunes for iPhone backup:
Step 1: Get the Latest Version of iTunes
Ensure that your HP laptop has the latest version of iTunes installed. If not, update or download it from Apple’s official website. Having the current version helps to avoid any mishaps that might happen during the backup process due to software incompatibility.
Step 2: Connect your iPhone to your HP Laptop
Using an original USB cable, connect your iPhone to your HP laptop. In some instances, you’ll see an alert that you need to “trust this computer” simply follow the instructions given on-screen.
Step 3: Launch iTunes and Back Up
Once you have connected your device successfully, launch iTunes on your laptop. Click on the phone icon at the top left corner, then select “summary.” Under “Backup,” click “Back up now” to start the backup process.
If you want more privacy, click “encrypt local backup,” which will encrypt and protect your backups with a password. Make ensure to remember this code, as it’s crucial when restoring your backups.
Once completed successfully, you essentially have a copy of all key information currently available on your iPhone on your HP laptop’s hard drive.
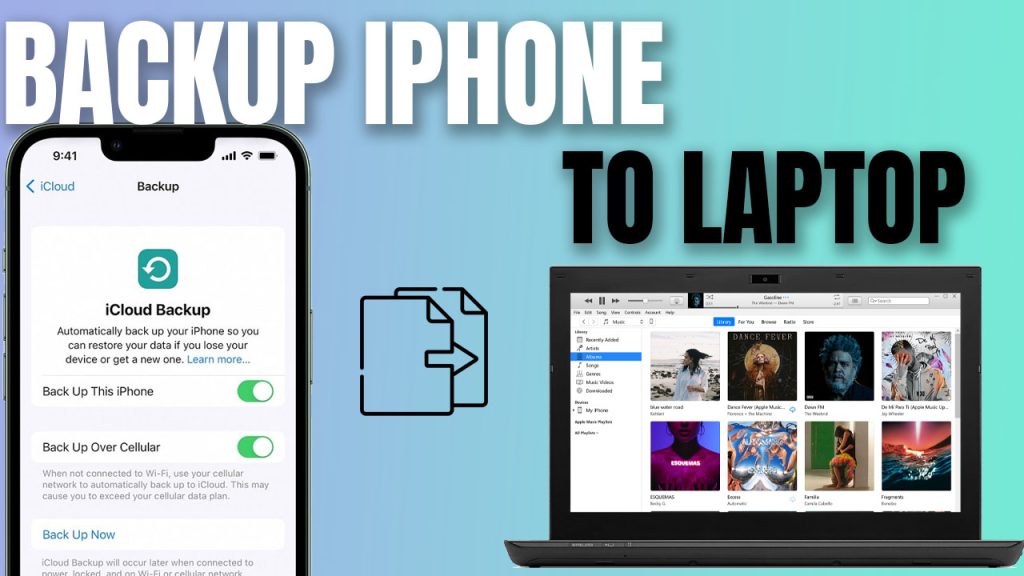
Using iCloud for Backup
If you do not want to use iTunes or don’t have enough hard drive space on your HP laptop, iCloud is another option for creating an iPhone backup. To effectively back up using iCloud, follow these steps:
Step 1: Connect Your iPhone to Wi-Fi
Ensure that you’re connected to Wi-Fi. Without internet connectivity, iCloud backup will not function effectively, as all backed-up data is stored online.
Step 2: Head Over To Settings For Backup
Go into “Settings” on your iPhone, tap on “iCloud,” then select “Backup.” In older iOS versions (prior to iOS 10.2), this option appears under Settings > [your name] > iCloud > Storage > Manage Storage.
Step 3: Perform A Backup
Turn on iCloud Backup and tap “Back Up Now.” Ensure that you stay connected to Wi-Fi till the process is finished.
For future automated backups, keep iCloud Backup turned ON. iCloud will auto-back up overnight if the device is connected over Wi-Fi and charged.
This method allows users convenience as one does not have to remember pit stops for backups; however, make sure there is ample storage space on iCloud.
While using both iCloud and iTunes can efficiently back up all data from iPhones onto a PC or online server, respectively, they both have storage limits (5 GB free space for iCloud and depends upon disk limit in the case of iTunes.) It remains crucial for users wanting high-volume data backup regularly understand their storage needs before choosing either method.
Backing Up Photos And Videos
Those wanting specifically back up only photos and videos from their iPhones may want options focusing primarily on media files:
Step 1: Connect Your iPhone To PC
Using a USB cable provided with the device package, connect your iPhone directly to your PC. It simplifies the transfer process without requiring extra interface software like iTunes or so.
Step 2: Trust Computer
On connecting the device with the PC first time, a dialog box may pop up asking ‘Trust This Computer?’. Tap ‘Trust’ or ‘Allow’ to proceed with file access needed for transfer/storage purposes.
Step 3: Open Device To View Media
On a successful connection, i.e., post trusting device with a respective computer system, under the Devices & Drives section/files explorer of Windows PC, look for a recently connected Apple device (iPhone/iPad). Click open it & access Internal Storage/DCIM folder containing all photos/videos ready waiting transfer-backup interest area/style!
By copying these contents directly over into desired folders among PC directories, one easily achieves simple, easy, no-extra-frills attached photo/video backup tasks at hand daily/weekly personal/business needs basis!
These steps remain compatible across a range of iPad/iPod Touch Apple devices providing seamless user experience efficiently amidst anytime-anywhere situation basis! Because we understand users like keeping things smooth and hassle-free, hence these steps deliberated simplifying backups just way preferred!
In today’s digital age, our smartphones carry a wealth of personal information, including valuable memories in the form of family photos and videos. Safeguarding this data through regular and consistent backups is critical to prevent loss due to unexpected events like theft, accidental damage, or software/hardware failure.
Therefore, taking time for backups according to your schedule and needs rather than merely following trends is crucial. Always place data safety first, as it not only ensures that your precious information remains secure but is also easily accessible for future use.