
FaceTime Not Working on iPhone? Learn Why & How To Fix Them
FaceTime is a great way to stay connected with friends and family, but it can be frustrating if you’re having connection issues. If you’re having trouble connecting to FaceTime, there are a few things you can try to fix the problem.
In this article, we’ll walk you through the most common solutions for fixing FaceTime connection issues on iPhone. We’ll also cover some additional tips that may help you improve FaceTime connection quality.
Possible Causes
The common causes of FaceTime connection issues on iPhone are:
- Weak internet connection: FaceTime requires a strong internet connection to work properly. Make sure that you’re connected to a Wi-Fi network or that you have good cellular reception.
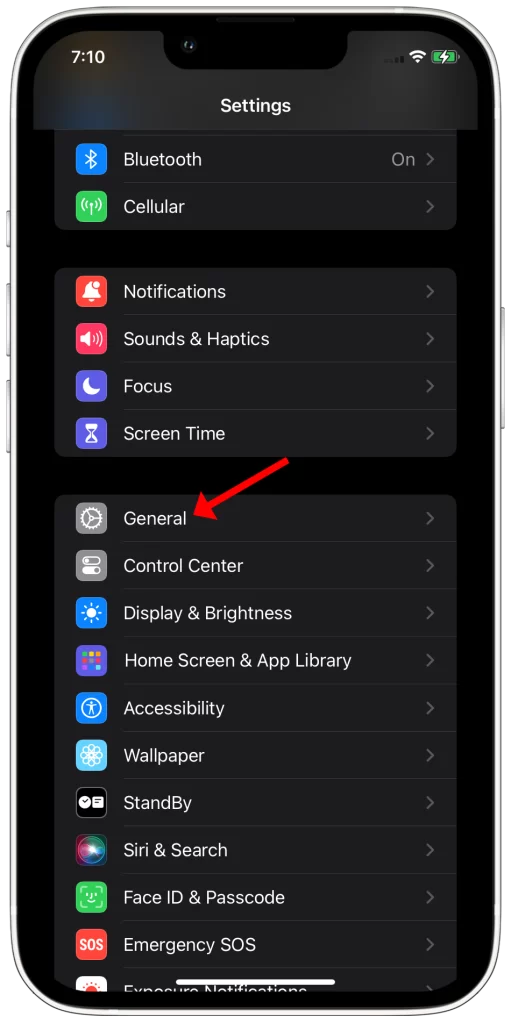
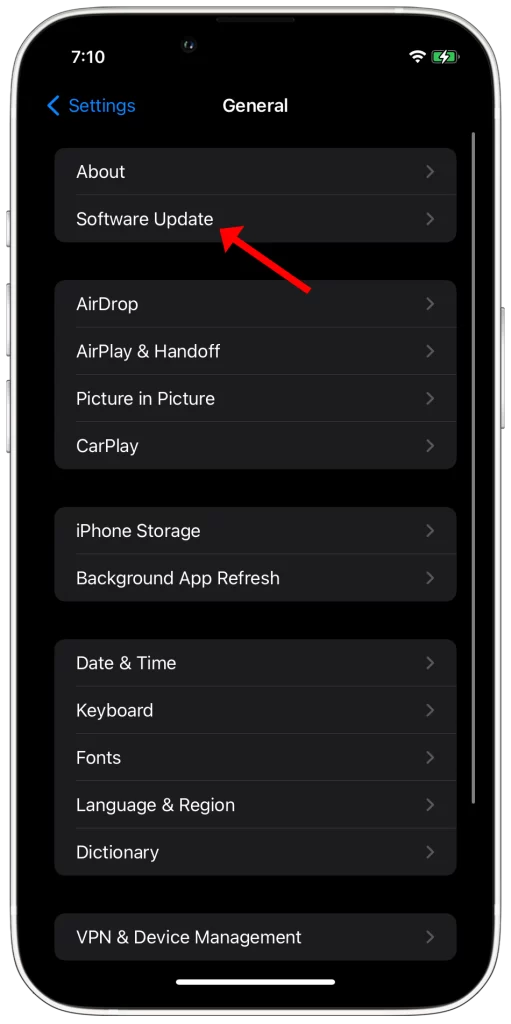
- Outdated iOS version: Apple regularly releases updates to iOS that fix bugs and improve performance. Make sure that your iPhone is running the latest version of iOS by going to Settings > General > Software Update.
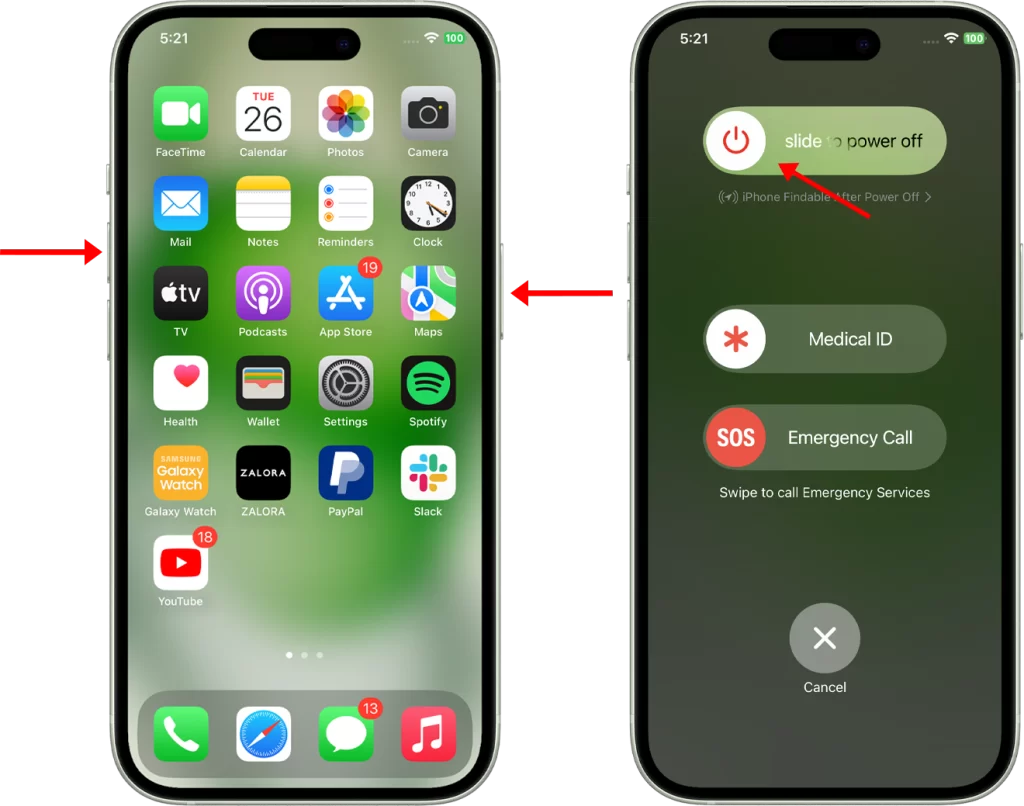
- Minor software glitches: Minor software glitches can sometimes cause FaceTime connection issues. A simple restart can often fix these glitches. To restart your iPhone, press and hold the side button until the power-off slider appears. Then, drag the slider to the right to turn off your iPhone. Once your iPhone is turned off, press and hold the side button again until you see the Apple logo.
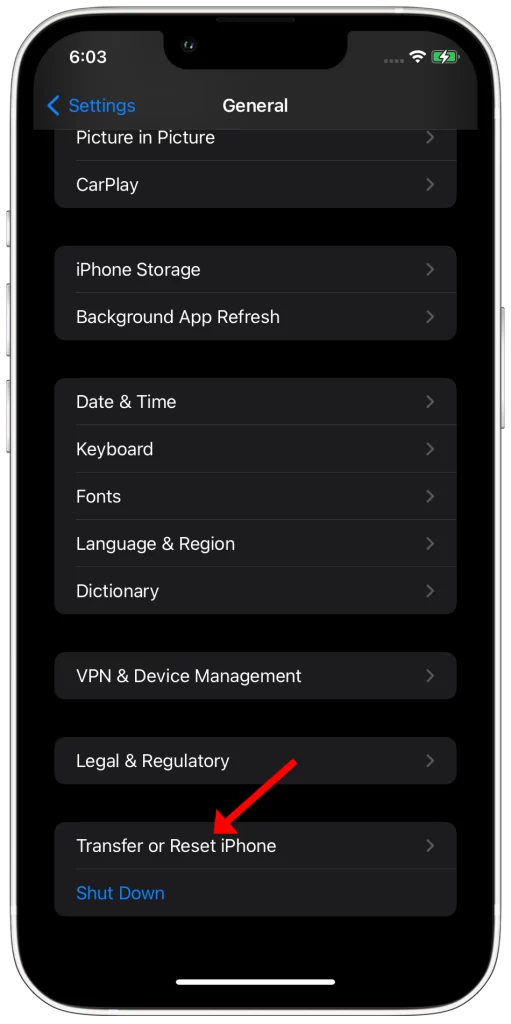
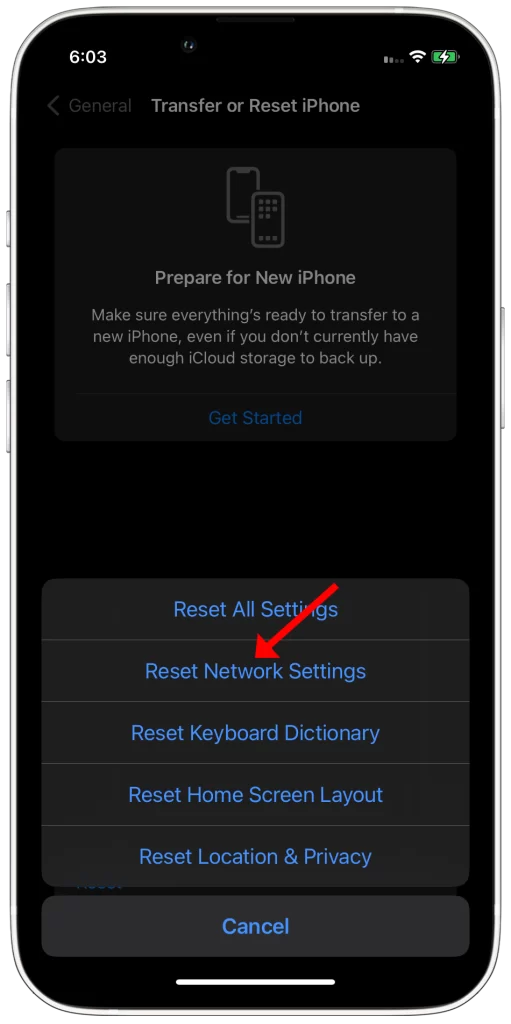
- Network settings issues: Incorrect or corrupted network settings can also cause FaceTime connection issues. To reset your network settings, go to Settings > General > Transfer or Reset iPhone > Reset > Reset Network Settings.
- Hardware issues: In some cases, FaceTime connection issues can be caused by a hardware issue with your iPhone. If you’ve tried all of the troubleshooting steps above and you’re still having connection issues, it is possible that there is a hardware issue with your iPhone. In this case, you may need to have your iPhone repaired by a certified Apple technician.
Check your internet connection
You need to check your internet connection because FaceTime requires a strong internet connection to work properly. If your internet connection is weak or unstable, you may experience FaceTime connection issues such as dropped calls, poor video quality, or audio lag.
To check your internet connection, you can try the following:
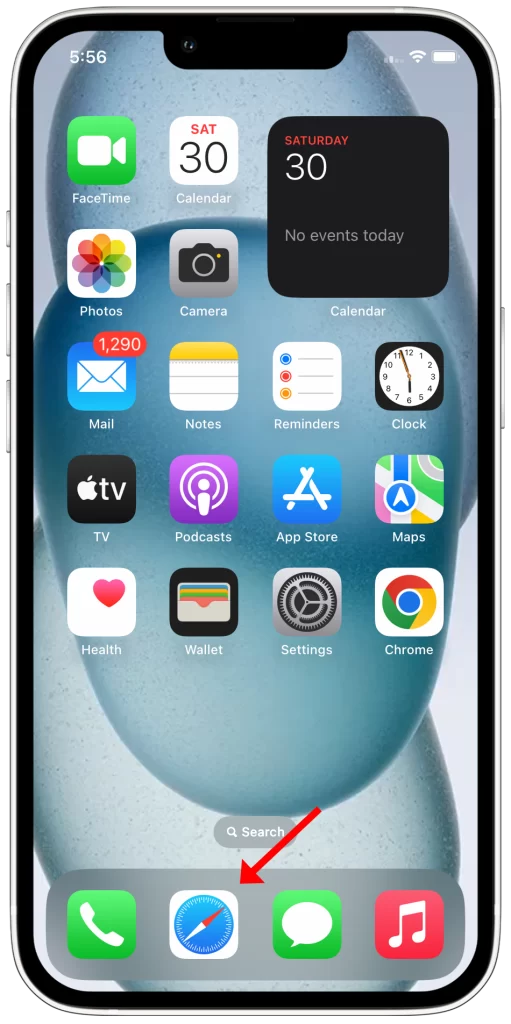
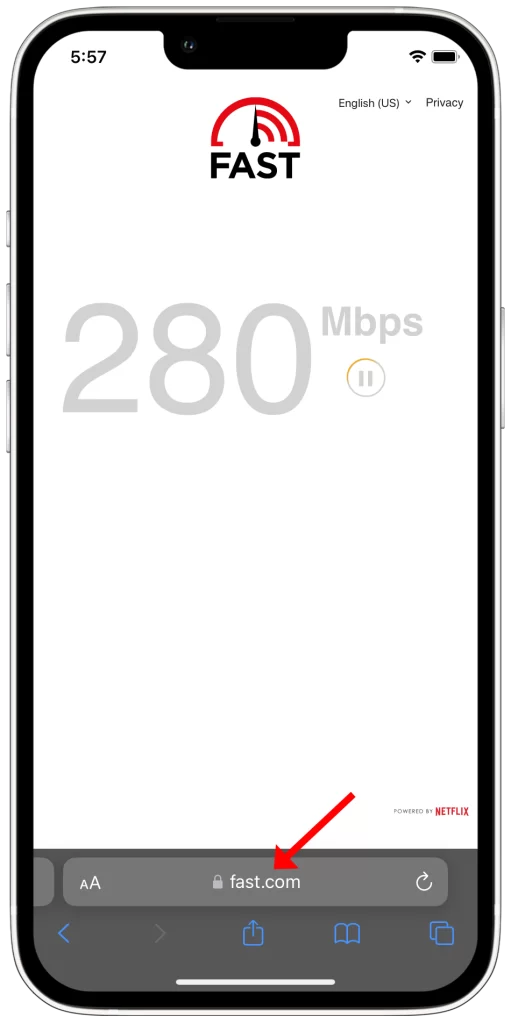
- Open a web browser and try to load a website. If the website loads quickly and without any problems, then your internet connection is likely working fine.
- If you’re connected to a Wi-Fi network, try moving closer to the router. The closer you are to the router, the stronger your signal will be.
- If you’re using cellular data, make sure that you have good reception. You can check your signal strength by looking at the bars in the upper-right corner of your iPhone’s screen.
If you’re still having trouble with your internet connection, you can try restarting your router or modem. You can also contact your internet service provider for further assistance.
Restart your iPhone
You need to restart your iPhone because it clears the temporary memory and refreshes the operating system. This can often fix minor software glitches that may be causing the problem.
To restart your iPhone, press and hold the side button until the power-off slider appears. Then, drag the slider to the right to turn off your iPhone. Once your iPhone is turned off, press and hold the side button again until you see the Apple logo.
Here are some of the things that restarting your iPhone can do:
- Clear the temporary memory: The temporary memory, also known as the cache, stores temporary data that apps use to improve performance. However, over time, the cache can become corrupted and cause problems with apps. Restarting your iPhone clears the cache and can fix these problems.
- Refresh the operating system: Restarting your iPhone also refreshes the operating system. This can fix minor software glitches that may be causing problems with FaceTime.
If you’re having trouble with FaceTime, restarting your iPhone is a good first step. It’s a quick and easy way to fix minor software glitches that may be causing the problem.
Update to the latest version of iOS
You should update to the latest version of iOS for a few reasons:
- Security: Apple regularly releases updates to iOS that fix security vulnerabilities. These updates can help to protect your iPhone from malware and other attacks.
- Performance: Apple also releases updates to iOS that improve performance and fix bugs. This can help to make your iPhone faster and more reliable.
- New features: Apple updates sometimes include new features and improvements. For example, iOS 16 includes a new lock screen with widgets, new Focus modes, and new iMessage features.
To update to the latest version of iOS, go to Settings > General > Software Update. If there is an update available, tap Download and Install.
Updating to the latest version of iOS can help to fix FaceTime connection issues in a few ways:
- Bug fixes: Apple updates often include bug fixes for FaceTime and other apps. These bug fixes can resolve issues that may be causing FaceTime connection problems.
- Security improvements: Apple updates also include security improvements. These improvements can help to protect your iPhone from malware and other attacks that could be disrupting your FaceTime connection.
- New features: Apple updates sometimes include new features for FaceTime. For example, iOS 16 includes a new FaceTime feature called SharePlay that allows you to watch movies and TV shows with friends and family while on a FaceTime call.
If you’re having FaceTime connection issues, updating to the latest version of iOS is one of the first things you should try.
Sign out of FaceTime and sign back in
You may need to sign out of FaceTime and sign back in if you’re having connection issues. This can sometimes fix minor software glitches that may be causing the problem.
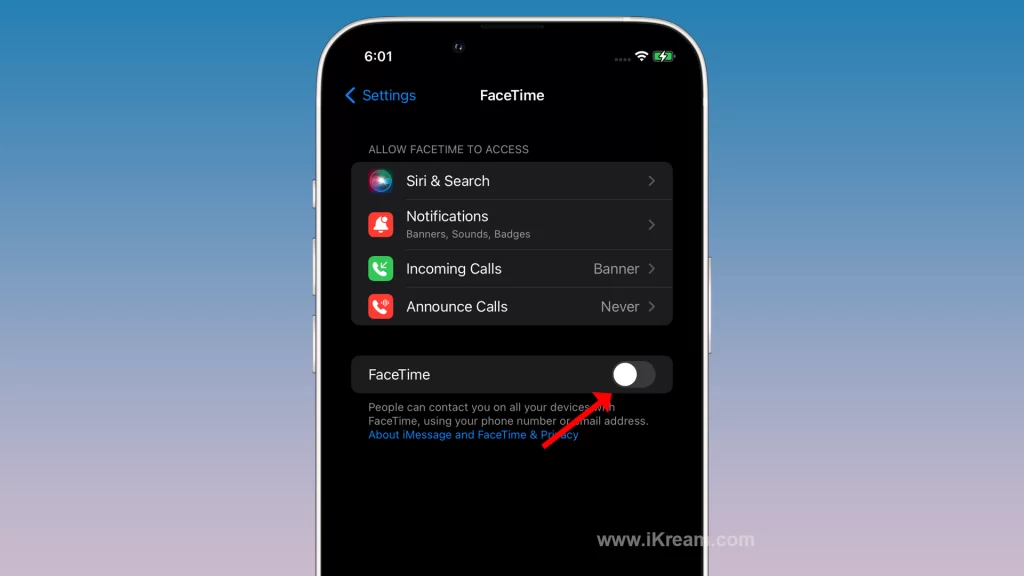
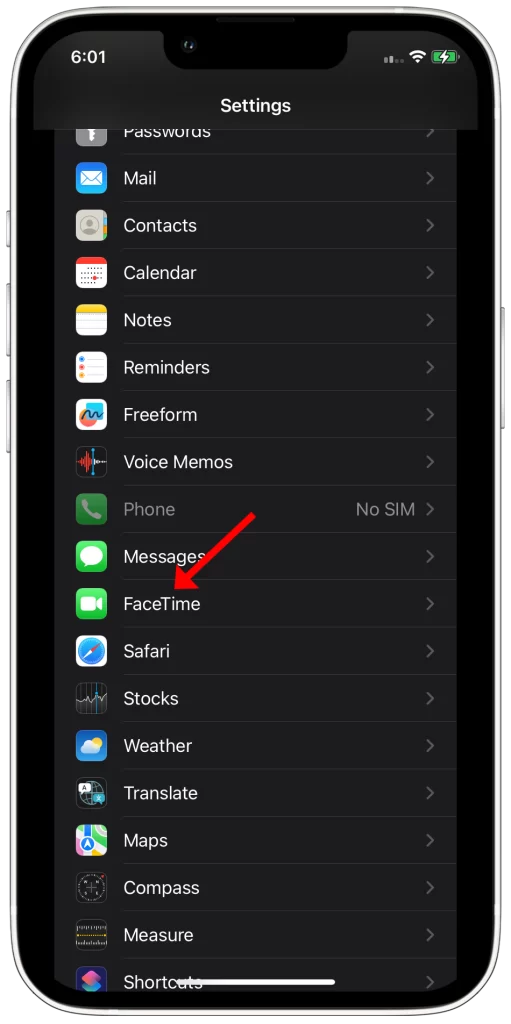
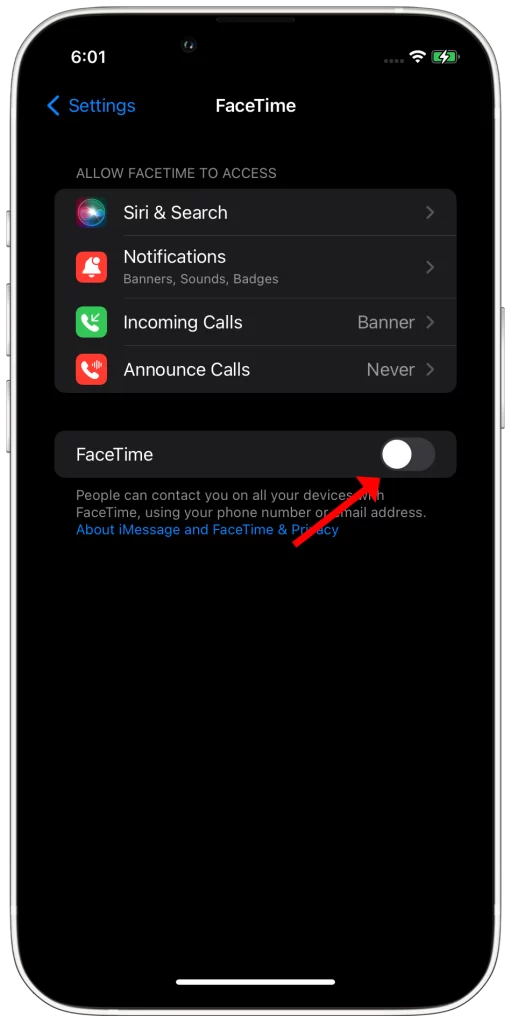
To sign out of FaceTime, go to Settings > FaceTime and toggle off FaceTime. Then, toggle it back on and sign in with your Apple ID.
When you sign out of FaceTime and sign back in, it refreshes your connection to the FaceTime servers. This can help to resolve any connection issues that you may be having.
Here are some of the things that signing out of FaceTime and signing back in can do to help fix connection issues:
- Clear any temporary data that may be causing the problem
- Refresh your connection to the FaceTime servers
- Reset any network settings that may be affecting FaceTime
- Force FaceTime to restart
Reset your network settings
You may need to reset your network settings if you are having FaceTime connection issues on your iPhone. Resetting your network settings will erase all of your network settings and restore them to their factory defaults. This can sometimes fix FaceTime connection issues caused by incorrect or corrupted network settings.
To reset your network settings, go to Settings > General > Transfer or Reset iPhone > Reset > Reset Network Settings.
Here are some of the things that resetting your network settings will do:
- Remove all saved Wi-Fi networks and passwords
- Reset all cellular settings
- Remove all VPN settings
- Reset all network preferences
Please note that resetting your network settings will not erase any other data on your iPhone, such as your photos, videos, or apps. However, you will need to reconnect to all of your Wi-Fi networks and enter your passwords again after resetting your network settings.
If you are having trouble connecting to FaceTime, resetting your network settings is a good troubleshooting step to try. It is a relatively simple process and it can often fix FaceTime connection issues caused by network settings problems.
Contact Apple Support
You may need to contact Apple Support if you have tried all of the troubleshooting steps above and you are still having FaceTime connection issues on your iPhone. It is possible that there is a hardware issue with your iPhone that needs to be repaired by a certified Apple technician.
Apple Support has the tools and expertise to diagnose and repair hardware issues with iPhone. They can also help you determine if your iPhone is still under warranty and if you are eligible for a replacement device.
To contact Apple Support, you can visit their website or call them at 1-800-275-2273. When you contact Apple Support, be prepared to provide your iPhone’s serial number and a description of the issue you are having. The more information you can provide, the better equipped Apple Support will be to help you.