The “iPhone is disabled. Connect to iTunes” error message is displayed when you have entered the wrong passcode too many times in a row. This is a security feature designed to prevent unauthorized access to your iPhone. If you’re seeing this frustrating error on your iPhone, you can refer to this guide as it will walk through practical solutions to bypass it and regain access to your device.
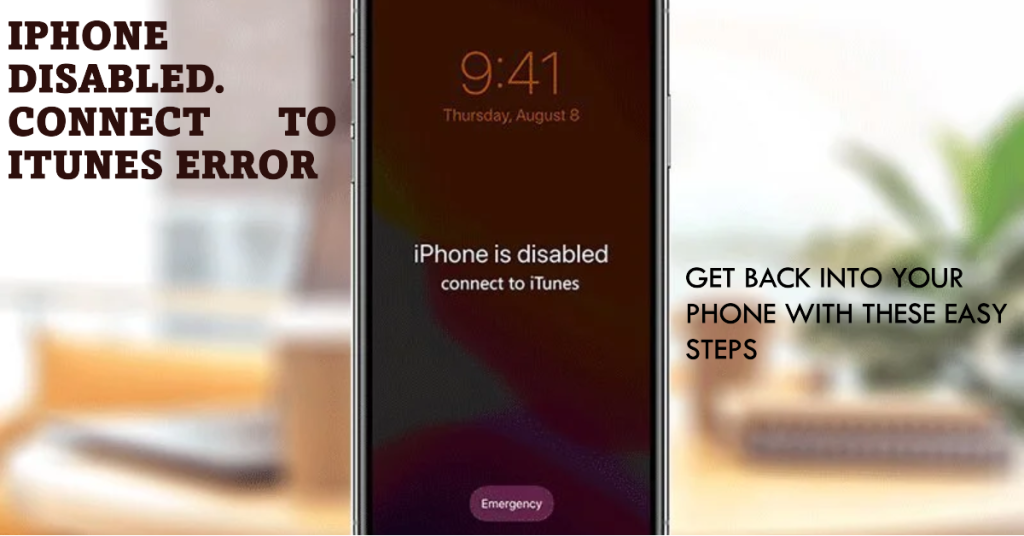
Few things are more stressful than being locked out of your iPhone due to the dreaded “iPhone Disabled Connect to iTunes” screen. No matter what you try, you cannot get past it without connecting to a computer running iTunes.
While this disabling security measure is intended to deter unauthorized access after too many failed passcode attempts, it often inadvertently locks out legitimate users too. Thankfully, with the right troubleshooting approach, you can bypass the error and reclaim your iPhone access. Let’s explore proven techniques.
What Causes the iPhone Disabled Screen?
There are a few reasons why people might get the “iPhone is disabled. Connect to iTunes” error message:
- Entering the wrong passcode too many times. This is the most common reason for getting this error message. It’s easy to do this accidentally, especially if you have a complex passcode or if you’re using your iPhone in a hurry.
- A software glitch. Sometimes, a software glitch can cause your iPhone to become disabled. This can happen for a variety of reasons, such as a failed update or a corrupted file.
- Physical damage. If your iPhone has been dropped or submerged in water, it may be causing problems with the hardware or software. This can lead to the “iPhone is disabled. Connect to iTunes” error message.
- Malware infection. Malware can damage your iPhone’s software and cause a variety of problems, including the “iPhone is disabled. Connect to iTunes” error message.
Solutions to “iPhone Disabled Connect to iTunes” error
Understanding what triggered the error points us toward the required solutions. So let’s start troubleshooting and try these subsequent workarounds on your disabled iPhone.
1st solution: Force Restarting Your iPhone
A force restart is a hardware-based restart that can be used to fix a variety of device problems, including a disabled iPhone. A force restart works by clearing the device’s RAM and reloading the operating system. This can fix software glitches that may be causing the device to be disabled.
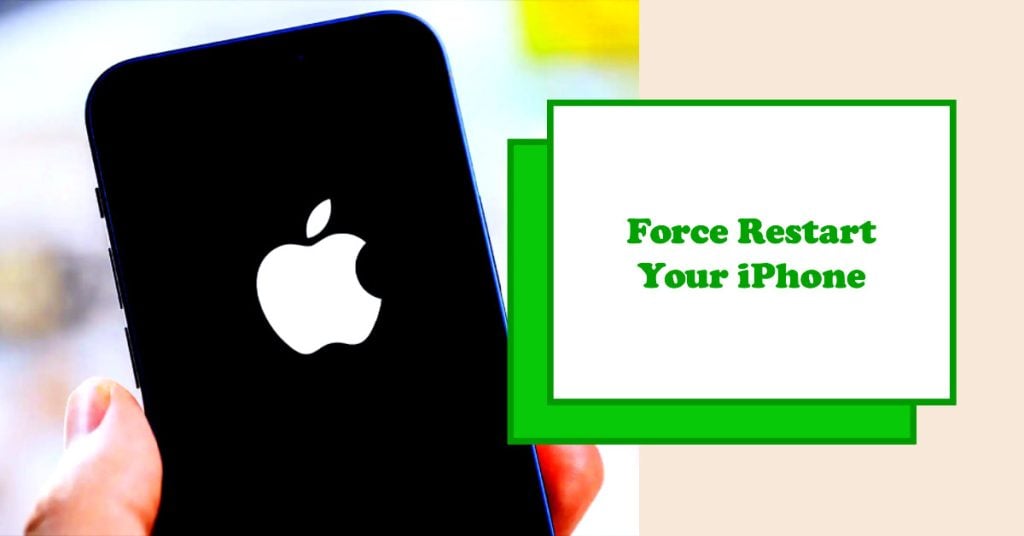
A force restart will not erase any of your data or settings, so it’s a safe procedure to begin with. To force restart an iPhone, follow these steps:
- Press and quickly release the volume up button.
- Press and quickly release the volume down button.
- Press and hold the side button until you see the Apple logo.
Once you see the Apple logo, release the side button. Your iPhone will then restart.
A force restart can help fix a disabled iPhone in a few ways. First, it can clear any software glitches that may be causing the device to be disabled. Second, it can reset the device’s security settings, which may allow you to enter your passcode and unlock the device. Third, it can power-cycle the device, which can sometimes fix minor hardware problems.
Important Note:
- A force restart will not fix all problems that can cause an iPhone to be disabled. For example, if the device has been physically damaged or if it is infected with malware, a force restart will not likely fix the problem.
2nd solution: Connecting iPhone to iTunes
If force restarting doesn’t work, try to connect your iPhone to a computer with iTunes installed. This may clear the disabling message and allow passcode reset. Launch iTunes after connecting and see if it offers device restore options.
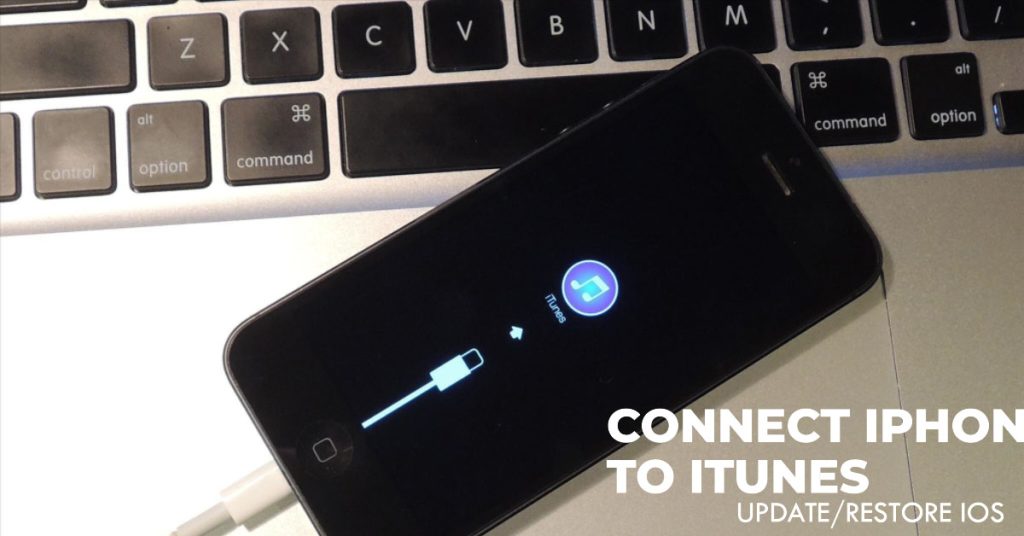
When you connect your iPhone to a computer with iTunes installed, the following things will happen:
- iTunes will launch automatically, if it is not already running.
- iTunes will recognize your iPhone and display it in the sidebar.
- You will be able to see information about your iPhone, such as the model, serial number, and iOS version.
- You will be able to manage your iPhone’s content, such as music, photos, and videos.
- You will be able to back up your iPhone to your computer.
- You will be able to restore your iPhone from a backup.
- You will be able to update your iPhone to the latest version of iOS.
In addition to these basic functions, iTunes also offers a number of other features for managing your iPhone, such as:
- Syncing your iPhone with your computer: You can use iTunes to sync your iPhone’s content with your computer. This means that you can add new content to your iPhone from your computer, or back up your iPhone’s content to your computer.
- Restoring your iPhone to factory settings: If you are having problems with your iPhone, you can use iTunes to restore it to factory settings. This will erase all of your iPhone’s data and settings, but it may also fix the problem.
- Updating your iPhone to the latest version of iOS: iTunes can be used to update your iPhone to the latest version of iOS. This will give you access to the latest features and security updates.
If you have an iPhone, it is a good idea to have iTunes installed on your computer. This will give you a variety of options for managing your iPhone’s content and settings.
Note: If you are using a Mac with macOS Catalina or later, you will use Finder instead of iTunes to manage your iPhone. Finder has all of the same features as iTunes for managing your iPhone.
To restore your disabled iPhone using iTunes:
- Connect your iPhone to your computer using a USB cable.
- Open iTunes.
- When iTunes recognizes your iPhone, it will display a message asking you to restore or update your device. Click Restore.
- iTunes will download the latest iOS software for your iPhone and restore it to factory settings.
- Once the restore is complete, you can set up your iPhone as new or restore it from a backup.
To restore your disabled iPhone using Finder:
- Connect your iPhone to your computer using a USB cable.
- Open Finder.
- In the Finder sidebar, select your iPhone.
- Click the Restore button.
- Finder will download the latest iOS software for your iPhone and restore it to factory settings.
- Once the restore is complete, you can set up your iPhone as new or restore it from a backup.
If you don’t have a backup of your iPhone, you will need to set it up as new. This will erase all of your data and settings.
Important Note: If you are unable to restore your iPhone from a backup, you may need to update iTunes or Finder.
3rd solution: Recovery Mode to Reset iPhone
If iTunes doesn’t recognize your connected iPhone, your next option is to put it in Recovery Mode.
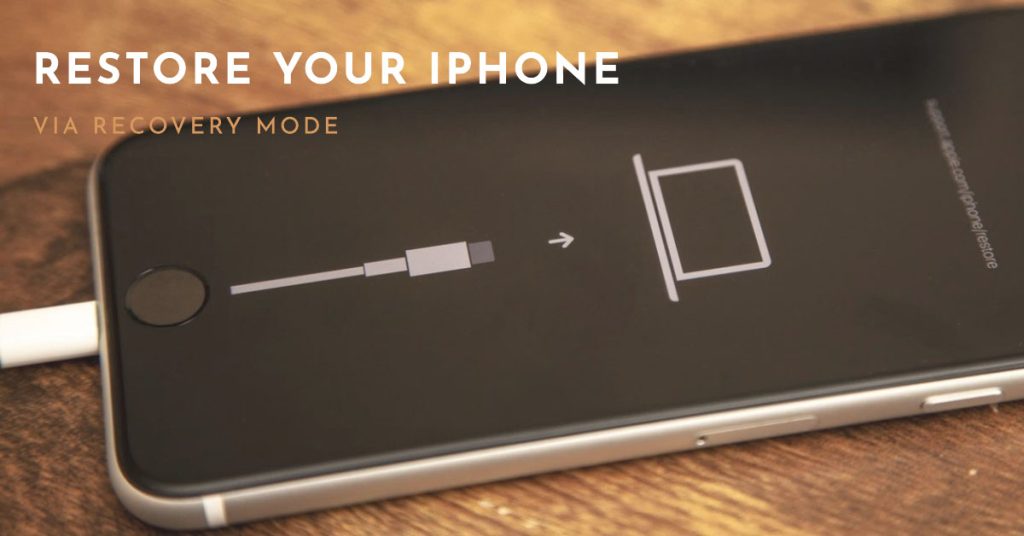
A recovery mode restore works by erasing all of the data and settings on your iPhone and installing a fresh copy of iOS. This can be useful for fixing a variety of problems, including a disabled iPhone.
To put your iPhone into recovery mode, follow these steps:
- Turn off your iPhone.
- On iPhone 8 or later, press and quickly release the volume up button. Then, press and quickly release the volume down button. Finally, press and hold the side button until you see the recovery mode screen.
- On iPhone 7, press and hold the volume down button until you see the recovery mode screen.
- On iPhone 6s and earlier, press and hold the Home button until you see the recovery mode screen.
Once your iPhone is in recovery mode, you can connect it to your computer and restore it using iTunes or Finder. Just refer to the above steps to restore your iPhone in iTunes or Finder.
4th solution: DFU Mode for Full Restore
As a last resort if above steps fail, put your iPhone in DFU (Device Firmware Update) mode.
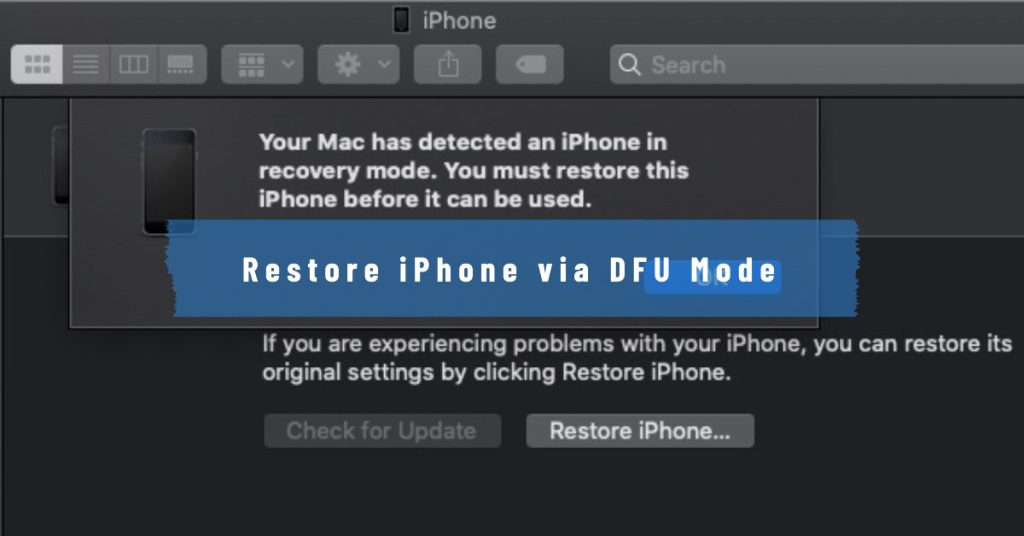
DFU mode restore works by erasing all of the data and settings on your iPhone and programming the device with a fresh copy of iOS. It is the deepest type of restore that can be performed on an iPhone and can be used to fix a variety of problems, including a disabled iPhone.
To put your iPhone into DFU mode, follow these steps:
- Turn off your iPhone.
- On iPhone 8 or later, press and quickly release the volume up button. Then, press and quickly release the volume down button. Finally, press and hold the side button until you see the screen go black.
- Continue to hold the side button and press and hold the volume down button for 5 seconds.
- Release the side button while continuing to hold the volume down button for 5 seconds. If your iPhone screen remains black, it is in DFU mode.
In later iPhone models, you can enter DFU mode with these steps:
- Press and hold Side + Volume Down for 10 seconds
- Release Side button while still holding Volume Down for 5 more seconds
- Release Volume Down once DFU mode screen appears
Once your iPhone is in DFU mode, you can connect your iPhone to your computer and restore it using iTunes or Finder.
To restore your iPhone in DFU Mode using iTunes, follow these steps:
- Open iTunes.
- When iTunes recognizes your iPhone, it will display a message asking you to restore or update your device. Click Restore.
- iTunes will download the latest iOS software for your iPhone and restore it to factory settings.
- Once the restore is complete, you can set up your iPhone as new or restore it from a backup.
To restore your iPhone in DFU Mode using Finder, follow these steps:
- Open Finder.
- In the Finder sidebar, select your iPhone.
- Click the Restore button.
- Finder will download the latest iOS software for your iPhone and restore it to factory settings.
- Once the restore is complete, you can set up your iPhone as new or restore it from a backup.
A DFU mode restore can help fix a disabled iPhone in a few ways. First, it can clear any software glitches that may be causing the device to be disabled. Second, it can reset the device’s security settings, which may allow you to enter your passcode and unlock the device. Third, it can power-cycle the device, which can sometimes fix minor hardware problems.
However, it is important to note that a DFU mode restore will erase all of the data and settings on your iPhone. Therefore, it is important to back up your iPhone before putting it into DFU mode.
Important:
- Putting your iPhone into DFU mode can be risky and should only be done as a last resort. If you are not comfortable putting your iPhone into DFU mode, it is best to contact Apple support for assistance.
If DFU Mode restore is successful, you should be able to bypass the disabled screen.
Avoiding iPhone Disabled Errors
Let’s say that you’ve managed to fix this error and regained access to your iPhone, you can prevent future disabled errors by observing the following suggestions:
- Never force restart iPhone during an iOS update
- Avoid entering wrong passcodes repeatedly
- Set Auto-Wipe after 10 failed attempts
- Use longer, stronger alphanumeric passcodes
And that’s all there is to troubleshooting the dreaded “iPhone is disabled. Connect to iTunes” error. If none of the given solutions is able to help you out and your iPhone is still disabled, your next best option is to escalate it to Apple Support for further assistance and recommendations.