This post will walk you through configuring the iPhone 14 to display driving compass information when using the stock Apple Maps application. Here’s a quick guide to set the iPhone 14 to show driving compass in Maps.
Time Needed : 4 minutes
Just like other smartphones, Apple's newest iPhone also integrates a Compass app that shows you the direction your iPhone is pointing as well as your current location and elevation. Such functionality is also integrated in other relevant iOS apps like the stock Apple Maps app.
Depicted below is a step by step walkthrough about configuring the iPhone 14 Maps app to show compass information such as direction coordinates and elevation when driving a car that supports Apple Maps. Feel free to refer to these outlined instructions if needed.
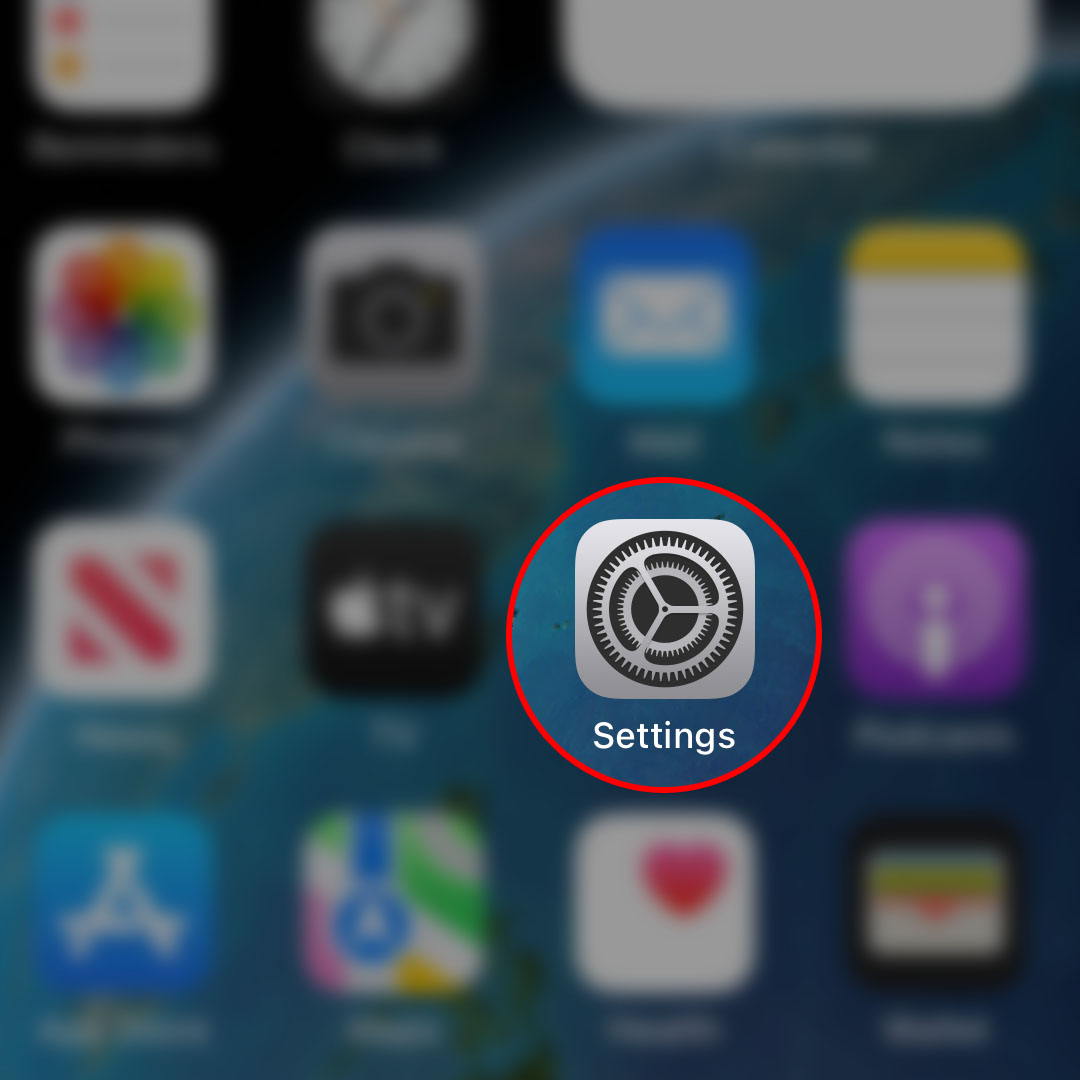
To get started, launch the iOS Settings app menu by tapping on the Settings icon from the Home screen of your iPhone.

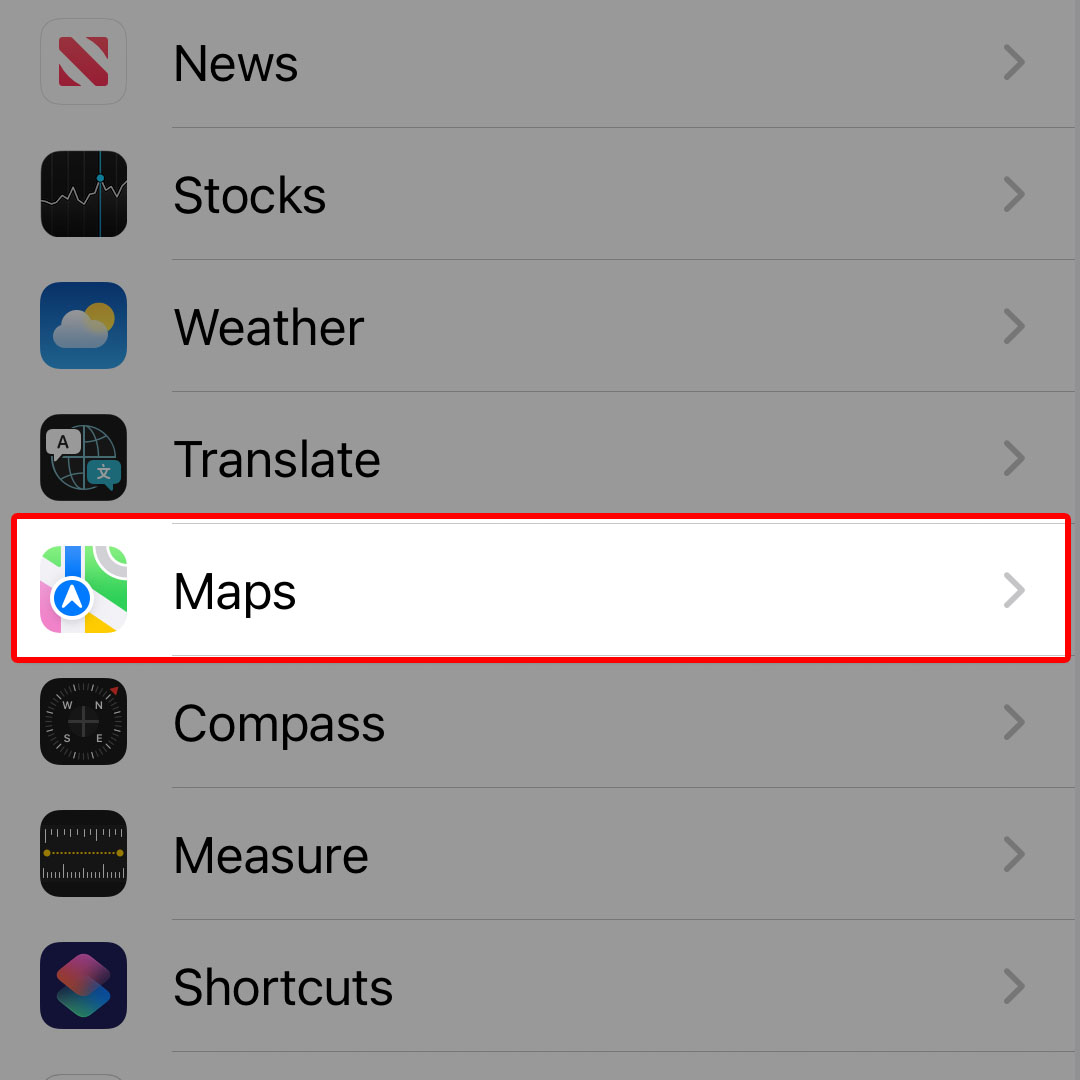
You can also launch the Settings app by tapping on the gear icon from the App library. Just swipe right from the Home screen to access the App library and locate the gear icon from the categorized app shortcuts.While in the Settings app menu, scroll to find Maps from the given items and then tap on it to proceed.

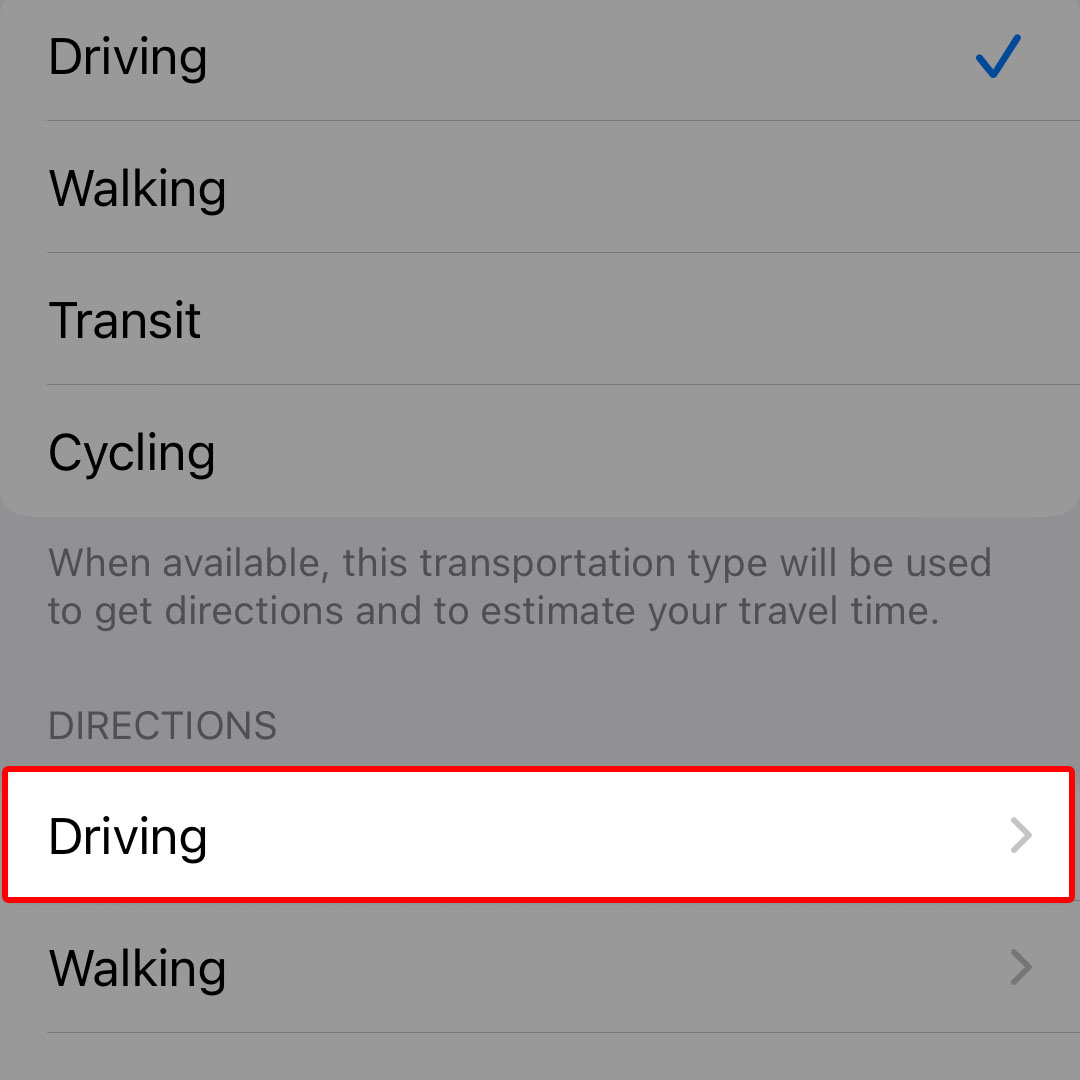
The Maps app settings menu will load up next.In the Maps app menu, navigate to the Directions section and then tap Driving.

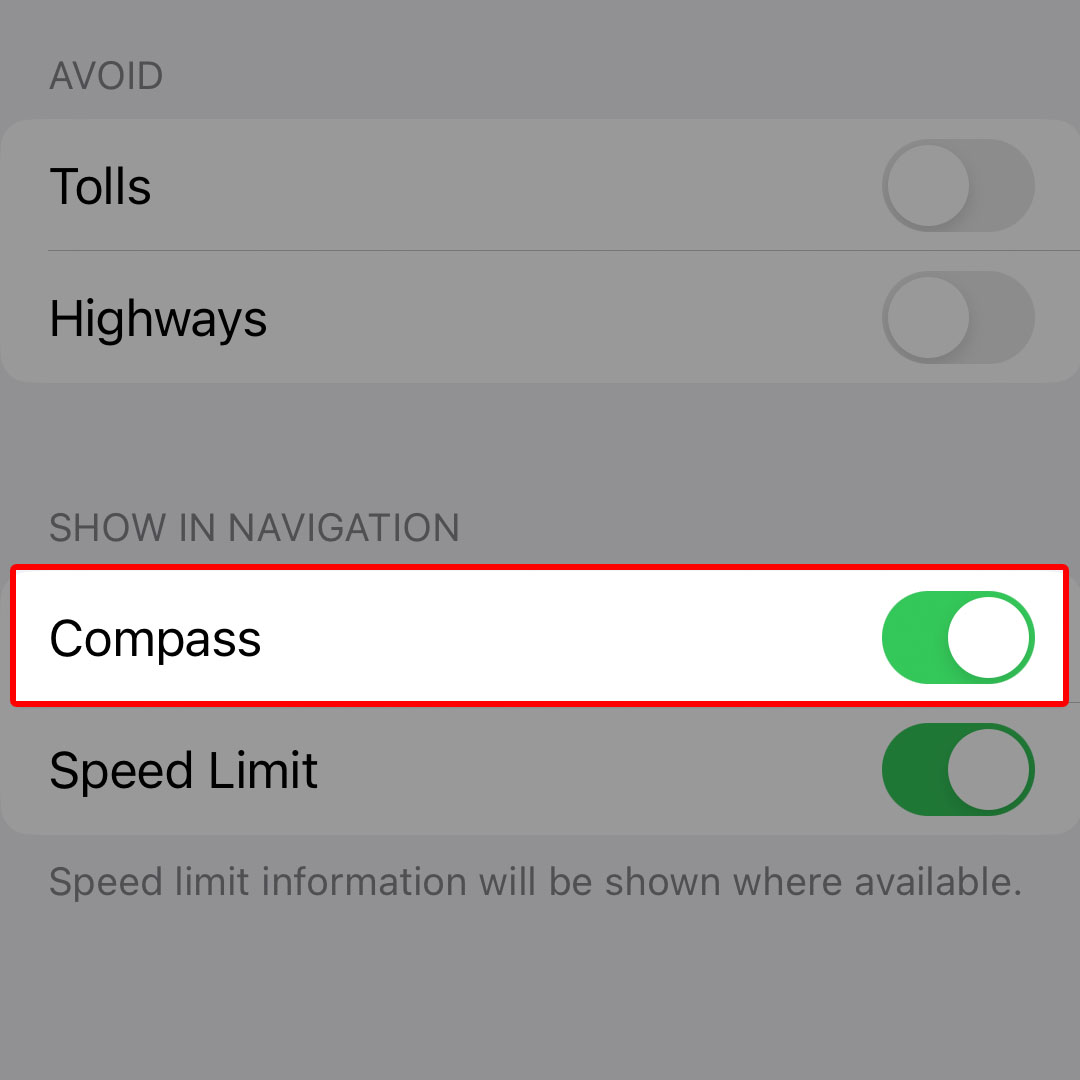
The Driving menu will load up on the succeeding window with another set of items.To continue, scroll towards the Show In Navigate section of the Driving menu. There, you will see two main options including Compass and Speed Limit. Simply tap to enable the Compass switch.

Doing so will activate the iOS function that enables and provides compass-related information when using the Maps app on your iPhone while driving.
Tools
- Settings
Materials
- Apple iPhone 14
Such is a handy feature to use whenever you’re driving in an unfamiliar place or location.
Compass and speed limit information will then be shown in the Maps app on your iPhone where available.
Using Compass Apps with Maps
Aside from the Maps app, you can also view your coordinates, bearings and elevation using the stock Compass app on your iPhone.
- To do so, simply launch the Compass app then read the information posted at the bottom of the screen.
As recommended, hold your iPhone flat to align the crosshairs at the center of the compass for accurate bearings. You can also lock your current direction by tapping on the compass dial.
The app can also tell when you’re off course by prompting a red band onscreen. To view and access your location in Maps, simply tap the coordinates at the bottom of the Compass screen.
For the Compass app to work as intended, be sure to grant the app permission to access your location.
If the Compass app is unable to see your location, verify and ensure that Location Services is enabled on your iPhone.
- To access and manage this setting, just head over to Settings-> Privacy & Security-> Location Services menu then turn on the Location Services switch. To continue, locate and then tap Compass from the list of apps and then select While Using the App from the given permission options.
Doing so will grant location access to Compass every time you use the app on your iOS device.
And that’s how you configure your iPhone 14 to show driving compass in Maps.


