
How to Reconnect iMessage on Mac: A Step-by-Step Guide
iMessage is a popular messaging service developed by Apple that allows iPhone, iPad, and Mac users to send messages, photos, videos and more between devices. It uses your WiFi or cellular data connection so you can avoid SMS text messaging fees. A key feature of iMessage is the ability to sync conversations between devices linked to the same Apple ID. However, sometimes iMessage can become disconnected or stop syncing properly on your Mac. If your iMessages are not syncing to your Mac as expected, there are several troubleshooting steps you can take to get iMessage working again. Here’s how to reconnect iMessage on Mac:
Sign Out and Back Into iMessage
One of the easiest ways to reconnect iMessage on your Mac is to simply sign out of the service, then sign back in. Here are the steps:
- Open the Messages app on your Mac.
- Click on Messages in the menu bar at the top of the screen.
- Select Preferences.
- Click on the iMessage tab.
- Under your Apple ID, click Sign Out.
- A confirmation box will appear. Click Sign Out again to confirm.
- You will now be prompted to sign in again. Enter your Apple ID email and password.
- Click Sign In.
This should refresh the connection and allow your iMessages to start syncing to the Mac again. Be sure to use the same Apple ID you normally use for iMessage. Signing in and out essentially resets the connection.
Check Your Internet Connection
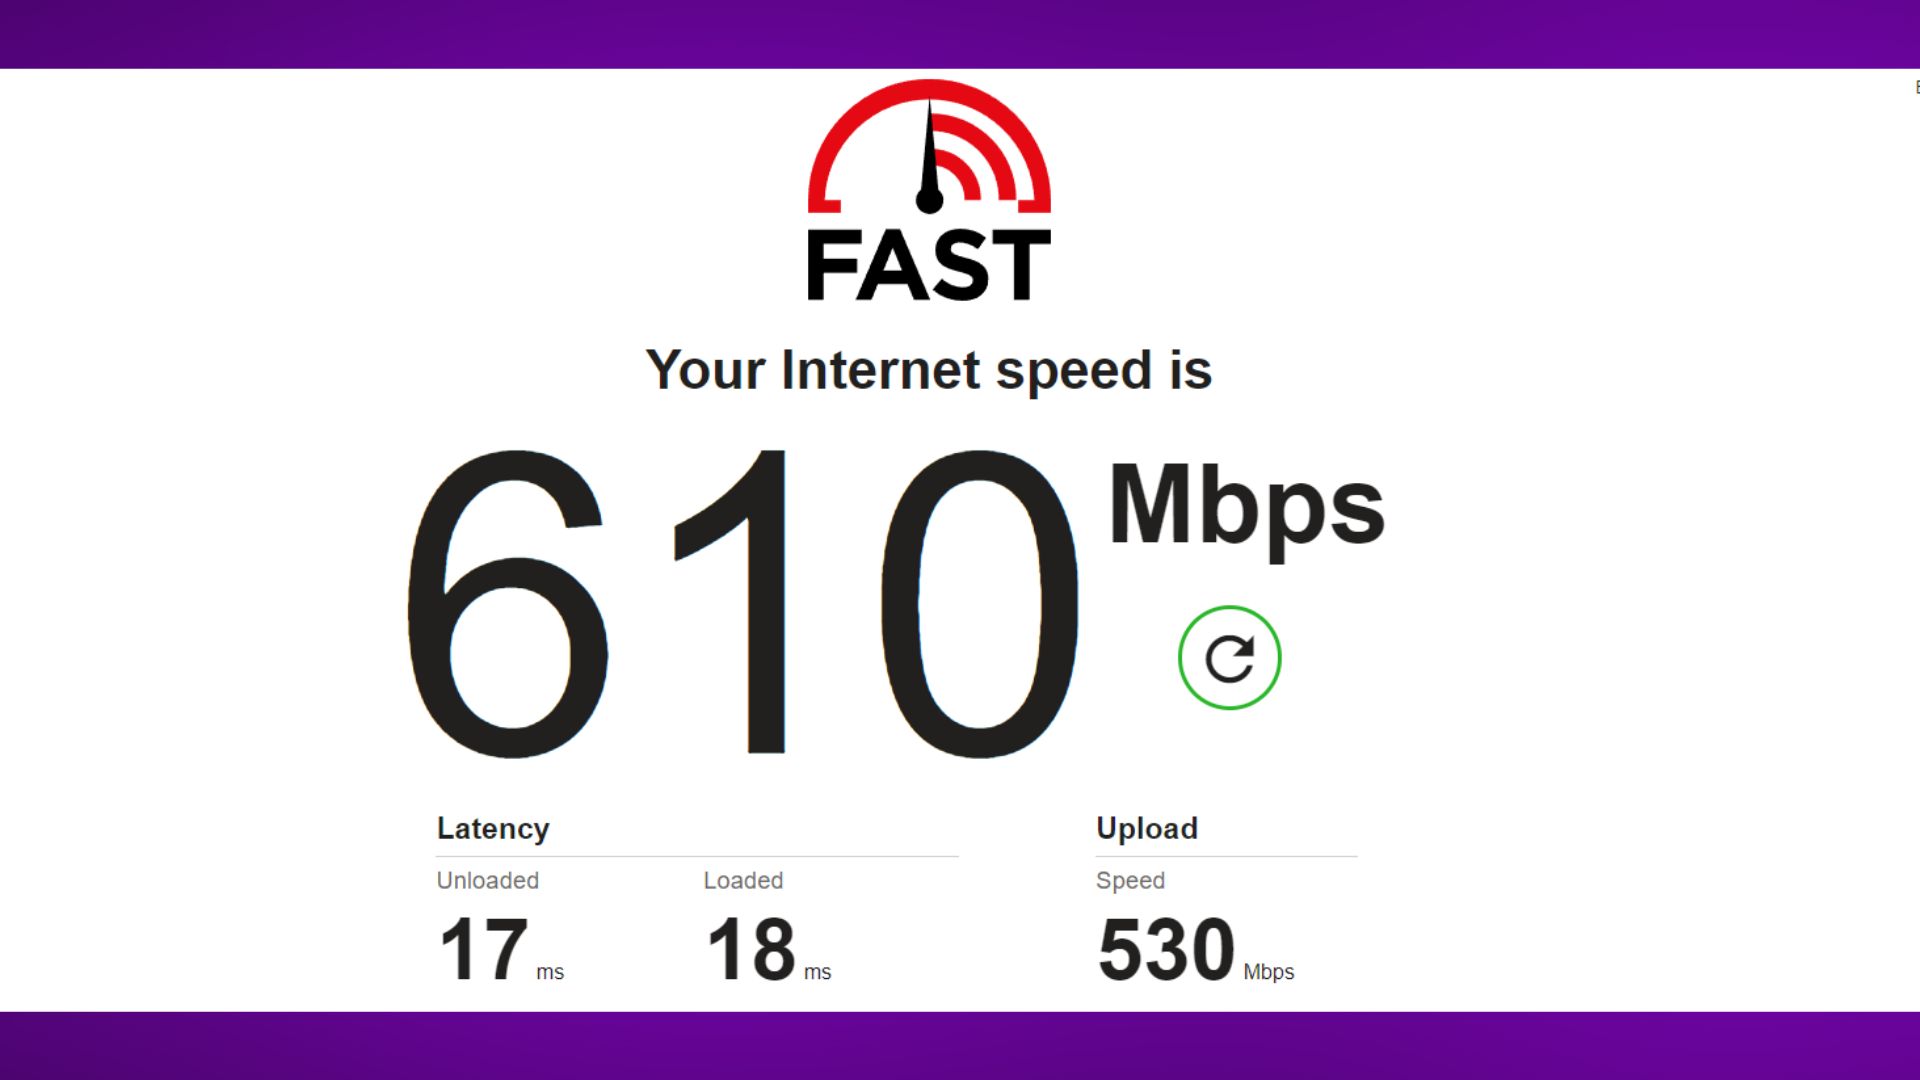
iMessage relies on having an active internet connection, either WiFi or cellular data on an iPhone. If the connection is spotty, it can disrupt the syncing process. Make sure your WiFi is working properly by connecting to a webpage. Also disable VPNs or other network extensions temporarily to test your normal network connection.
On an iPhone or iPad, enable Airplane Mode for a minute, then turn it back off to refresh the cellular connection. This will determine if the issue is with your WiFi or cell service.
Force Quit and Reopen Messages
Sometimes the Messages app itself can suffer a technical glitch that prevents proper syncing. Force quitting the app and reopening it may clear out any bugs.
To force quit Messages on Mac:
- Click the Apple logo in the top left corner.
- Select Force Quit.
- Choose Messages from the list of open apps.
- Click Force Quit.
- Reopen Messages and see if iMessage is reconnected.
This will fully reset the app and restart it from scratch. If you were having connection issues before, they may be resolved after a force quit.
Turn iMessage Off and Back On
If force quitting Messages didn’t work, more fully resetting iMessage itself in your settings may do the trick. Here is how to toggle iMessage off and on again on Mac:
- Open Messages.
- Click Messages in the menu bar.
- Select Preferences.
- Go to the iMessage tab.
- Uncheck the box next to Enable Messages.
- Quit Messages completely.
- Reopen Messages.
- Re-enable iMessage by checking the box again.
Toggling this on and off essentially disconnects and reconnects you to Apple’s iMessage system.
Check iPhone/iPad iMessage Settings
For iMessage sync to work properly between devices, the service needs to be set up correctly on all of your devices linked to your Apple ID.
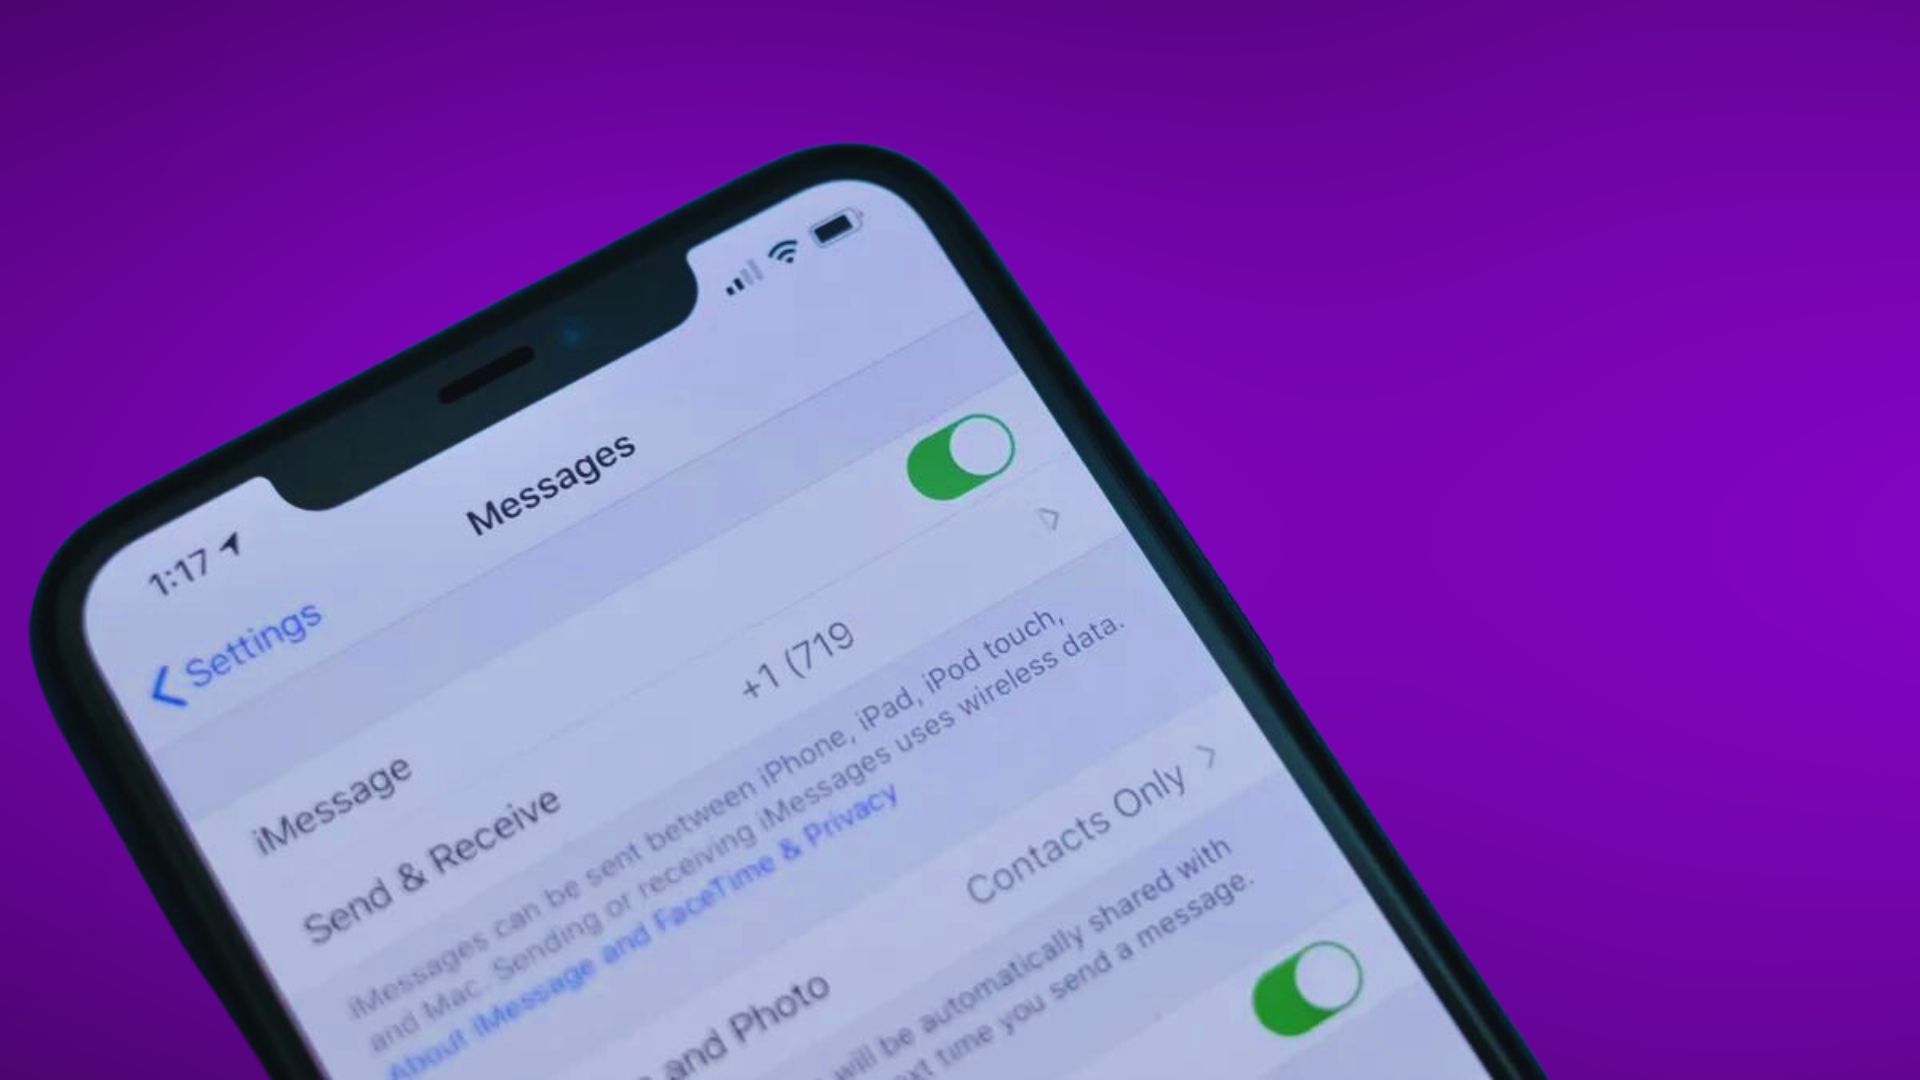
On your iPhone or iPad, open Settings > Messages and make sure:
- iMessage is enabled.
- Your phone number and email are checked under Send & Receive.
- Start New Conversations From is set to your phone number.
Having the same options enabled on all devices avoids potential conflicts that can disrupt syncing.
Update Software

Apple periodically releases software updates to fix bugs and improve performance. Updating to the latest macOS, iOS, or iPadOS version can potentially resolve an iMessage syncing issue if it was caused by a bug in an older version.
On Mac, go to > System Preferences > Software Update to check for the latest macOS. On iPhone or iPad, go to Settings > General > Software Update. Install any available updates and then check if iMessage reconnects.
Reset NVRAM/PRAM
Resetting the NVRAM (non-volatile random-access memory) can fix many system-related issues by clearing out saved settings and restarting your Mac from scratch. It’s worth trying for an iMessage problem. Here are the steps:
- Fully shut down your Mac.
- Power it back on.
- Immediately press and hold Command + Option + P + R.
- Keep holding until you hear the startup chime a second time.
- Let go and let your Mac finish booting up.
NVRAM will be reset back to default settings. Now restart Messages and see if iMessage syncs properly.
Contact Apple Support
If you still can’t reconnect iMessage on your Mac after trying these troubleshooting steps, reach out to Apple support for further assistance. They can run diagnostics, check server status, and determine if the issue is specific to your account or device.
Key Takeaways:
- Sign out then back into iMessage on the Messages app to refresh the connection
- Ensure you have a strong, stable internet connection on all devices
- Force quit and reopen the Messages app to clear any glitches
- Toggle iMessage off and back on in Settings
- Confirm iMessage is set up properly on other Apple devices too
- Update to the latest software version
- Reset NVRAM/PRAM to restart your Mac from scratch
- Contact Apple support if still not fixed
With the right troubleshooting steps, you should be able to resolve most iMessage connection issues that are preventing proper syncing to your Mac. Just be patient and methodical in working through these fixes. Consistent connectivity will ensure you never miss an important message from friends or family members again.