This post will walk you through altering the storage settings on an iPhone and set the default storage from iPhone to iCloud. Here’s a quick guide to move iPhone storage to iCloud.

Getting More iPhone Storage with iCloud
Every iPhone comes with a fixed storage capacity. That means that if you bought a 64GB iPhone, that would be all that you’ve got to utilize. Since iPhones don’t support microSD cards, the only way to get more storage is through iCloud storage upgrades. And since iCloud only gives 5GB of free storage for every valid Apple account, getting more storage also denotes a need to pay extra for your monthly iCloud storage (iCloud+) subscription. Just pick the iCloud storage plan that best suits your needs and budget.
Once you’ve secured your iCloud storage, you can start moving important files from your iPhone storage to your iCloud drive. You can also set iCloud Drive as the default storage for all your next iPhone downloads. All you have to do is configure your iPhone settings to make it work in this manner.
Steps to Move iPhone Storage to iCloud
In order to access your iCloud storage, you will need to enable iCloud backup on your iPhone beforehand.
For starters, here’s how it’s done on an iPhone running on the latest iOS version:
Step 1: To begin, tap Settings from the Home screen or Apps Library. Doing so will launch the main iOS settings menu.

Step 2: Tap on your Apple ID header/name on top.

Step 3: On the next screen, find and then tap iCloud.

Step 4: On the succeeding menu, tap iCloud Backup.

Step 5: Turn on iCloud Backup switch.

Doing so enables the automatic backup function in iOS, prompting your device to automatically back up your apps and data to iCloud whenever it’s locked, on Wi-fi and connected to power.
Moving Content from iPhone storage to iCloud with Files app
Now that iCloud Backup is already enabled on your iPhone, you should be all set to move important files and documents from your iPhone storage to iCloud. To make this happen, you will need to use the built-in Files application on your iOS device.
The Files app is Apple’s very own file manager tool that’s preinstalled on an iPhone or iPad. Through this app, you can manage external files from your iPhone storage such as photos, documents and other content and move any of them to your virtual storage like iCloud Drive.
Aside from iCloud Drive, you can also use the Files app to sync your iPhone with other file services including Google Drive, Dropbox and more, allowing you to keep your files in sync. Previewing of documents, using tags and file collaboration are also supported by the app.
Every iPhone that runs on iOS 11 and later comes with a pre-installed Files app. If you don’t find it in your iPhone, then you can just download it again straight from the App Store.
Once you’ve got the app ready, you may go ahead and start using the app to manage and move files from your iPhone storage to your iCloud drive.
Just follow these steps:
Step 1: Launch the Files app by tapping on its shortcut icon from the Home screen or Apps Library.

Step 2: In the Files app main screen, tap Browse at the bottom-right corner to view all available files and folders.

Step 3: Find the folder that stores the files that you want to move to iCloud. Once you find it, long-press (touch and hold) on the file/folder to access the quick menu options.

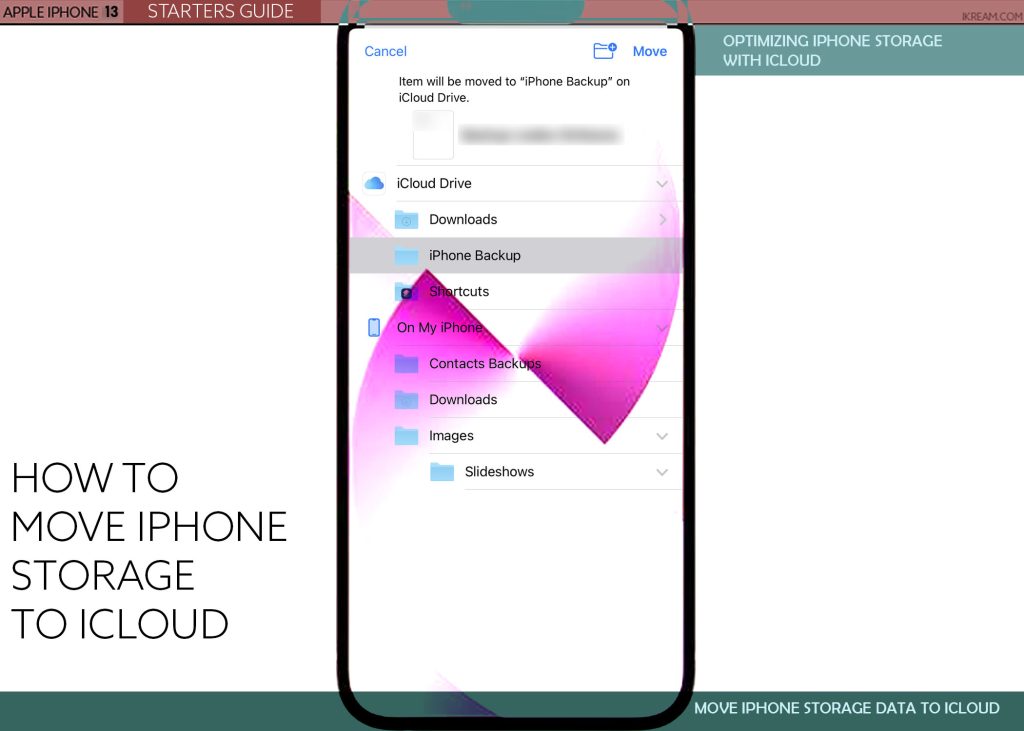
Step 4: Select Move from the menu options. On the succeeding menu, you will see your iCloud Drive and iPhone Storage directories.

Step 5: To move the selected file/folder to iCloud, tap iCloud Drive.

Step 6: Choose the desired iCloud folder where you want the selected file to be stored then tap Move on the top-right corner.

The selected file/folder will then be removed from its previous storage location (directory) and transferred to the selected iCloud drive folder.
Be sure to note where you save the file so you can easily access it anytime on your iPhone other devices using the same Apple account credentials.
Moving iPhone Photos to iCloud
Videos and images are apparently among the files that utilize the largest amount of storage on your iPhone. To optimize iPhone storage and minimize storage usage by photos on your iPhone, enabling iCloud Photos on your iCloud account is recommended.
Just follow these steps:
Step 1: Launch the iOS Settings menu.
Step 2: Tap Your Name (Apple ID banner).
Step 3: Select iCloud to proceed.
Step 4: Tap Photos on the next screen.
Step 5: Turn on iCloud Photo Library.
With iCloud Photos enabled, photos and videos taken with your iPhone camera will automatically be uploaded to iCloud and saved in your iCloud Photo Library.
Benefits of using iCloud Storage
Among the advantages of using iCloud storage your iPhone files and documents include accessibility, convenience, and security.
Files saved in your iCloud storage can be accessed through your other devices for as long as you’re logged into the same Apple ID account and your devices have internet access. This likewise results in convenience of use since everything you need can be acquired in an instant.
As for security, files you’ve stored in iCloud are highly secured and protected even when you lose your iPhone. With your iCloud backups, you would still be able to access and retrieve important data on your computer or other Apple devices.
And that’s all about moving iPhone storage to iCloud storage.
Please keep posted for more comprehensive iOS tutorials and troubleshooting guides on this site. Or you can check out this YouTube channel to view more comprehensive tutorial and troubleshooting videos including recent iOS devices.