
Why Your iPad Air 3 Touch Screen Not Working and How to Fix It
Is your iPad Air 3 touch screen freezing, becoming unresponsive, or just not working right? There are several potential causes and solutions for an iPad with touch screen problems.
This guide will walk you through the most common reasons an iPad Air 3 touch screen can fail and provide step-by-step instructions to get it working properly again. Here’s how to fix iPad Air 3 touch screen not working:
Software Glitches Causing Touch Screen Failure
Software bugs are a leading culprit behind touch screen issues on the iPad Air 3. An outdated OS, app conflicts, or background processes can all cause the screen to stop responding.
Try these software fixes:
- Force restart your iPad by holding the Power and Home buttons. This will reset any frozen apps.
- Update your iPad to the latest iOS version through Settings > General > Software Update. This fixes bugs.
- Reset your iPad to factory settings. This wipes all data but can clear any software gremlins.
Remove Cases and Screen Protectors
Thick cases or cracked screen protectors can interfere with the iPad touch screen and cause it to not register taps or swipes.
Try removing any case or protective coverings from your iPad Air 3. If the screen starts working properly again, the case is likely the issue.
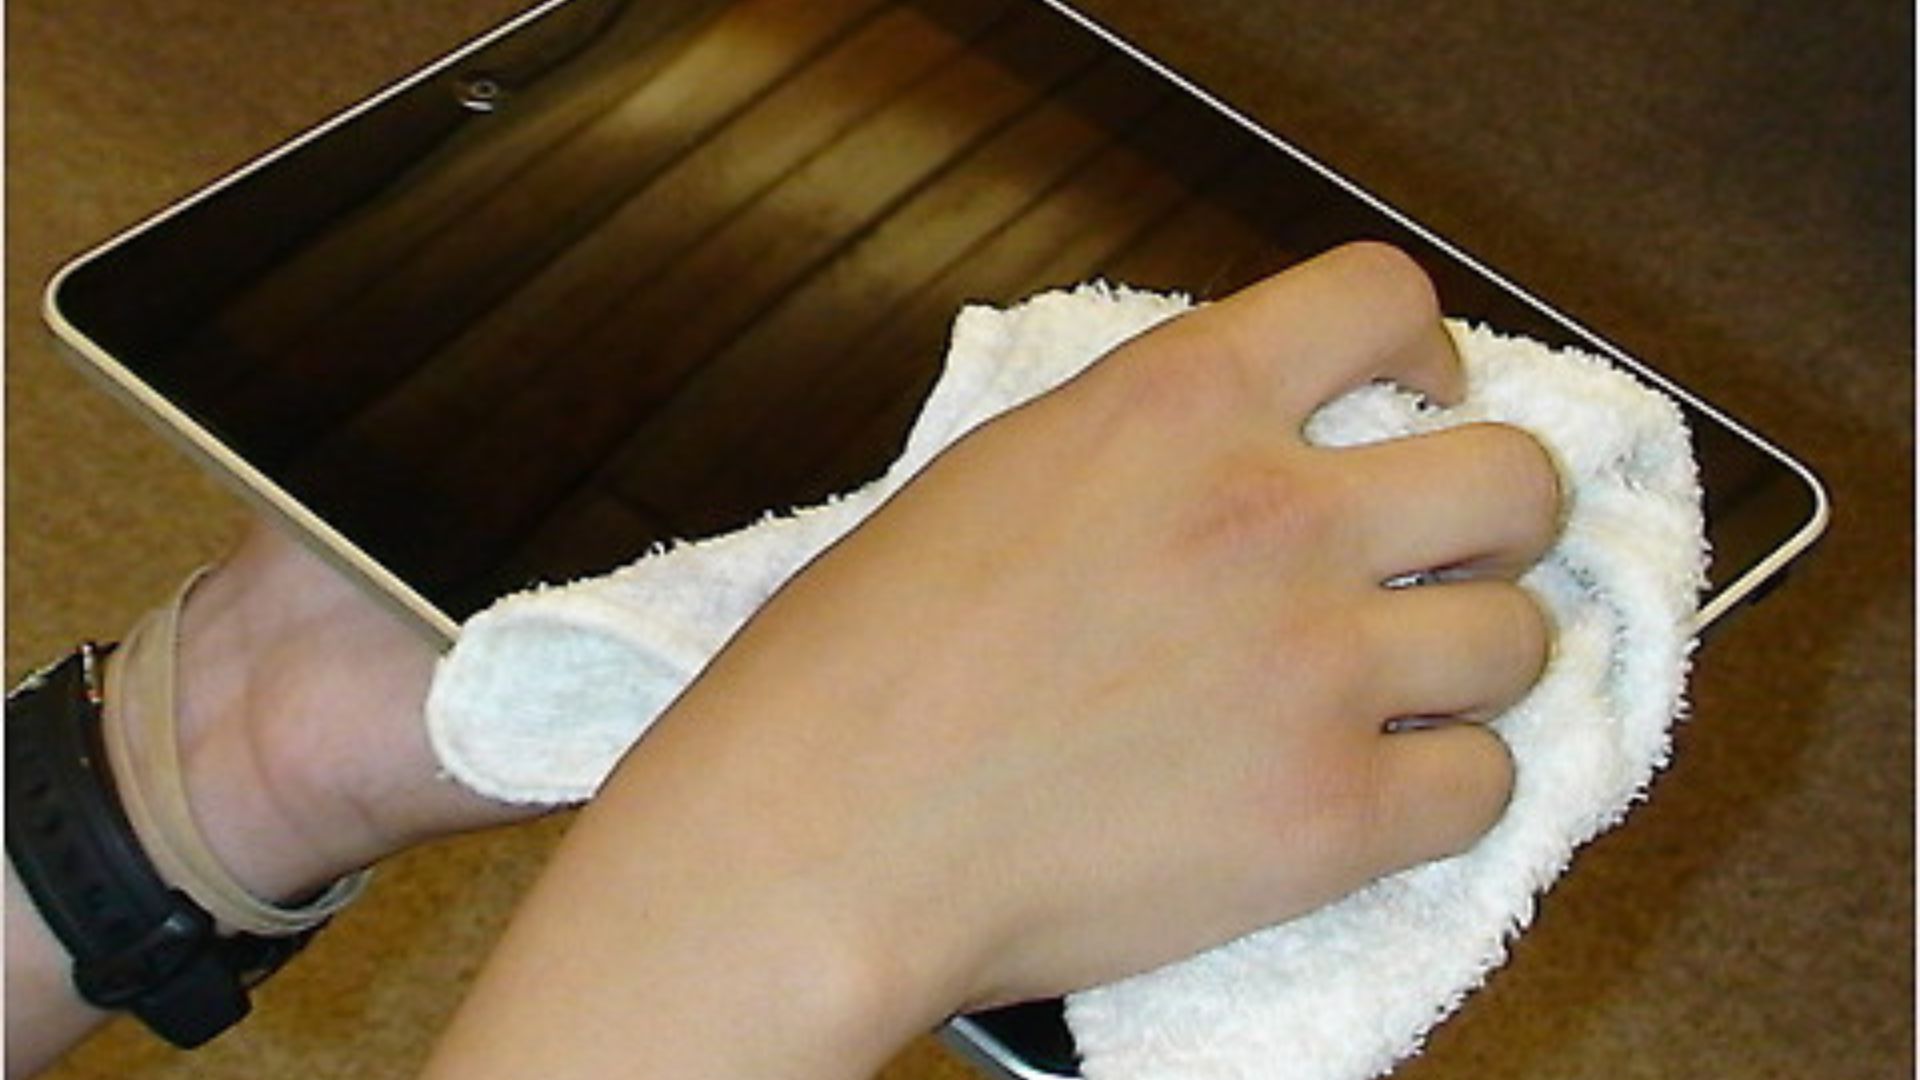
Screen Debris and Moisture

Dust, dirt, and debris can block the touch screen from functioning correctly. Also, moisture on your fingers when using the iPad can cause unresponsiveness.
- Wipe down the screen with a soft microfiber cloth to clean it.
- Make sure hands are dry before using the iPad.
Extreme Hot or Cold Temperatures
Temperature extremes can definitely cause an iPad touch screen to stop working properly or become unresponsive.
Avoid exposing your iPad Air 3 to very hot or very cold environments. If it displays an overheating message, let your device cool down before attempting to use it again.
Connectivity and Charging Issues
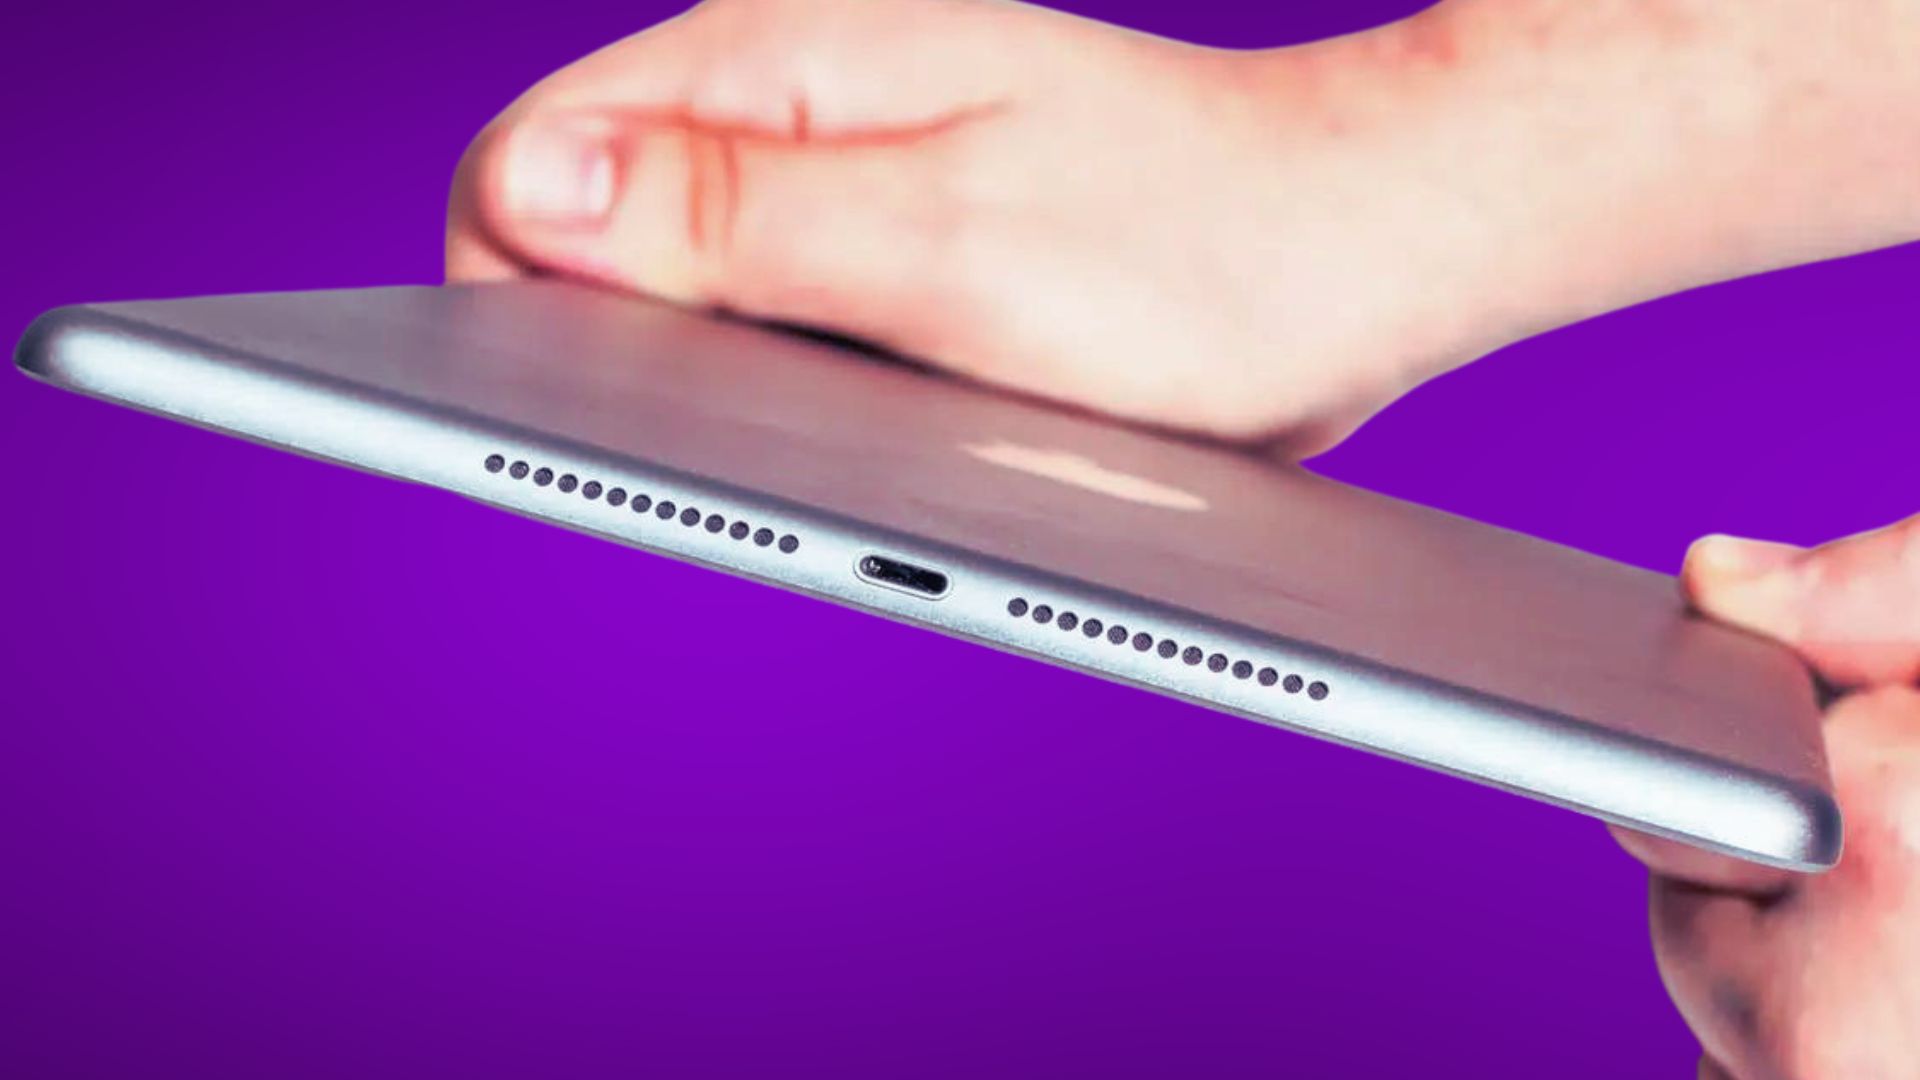
Faulty cables, chargers, and accessories can interfere with iPad touch screen functionality. Try these steps:
- Disconnect any charging cables, headphones, or other connected accessories.
- Test the screen without the problematic accessory attached.
- Replace damaged cables and wall adapters that may be causing conflicts.
Outdated or Damaged Touch Screen
If you’ve tried all other troubleshooting, the issue may lie with an outdated or malfunctioning touch screen digitizer.
Schedule a repair at an Apple Store or authorized service provider to have the iPad opened up and the touch screen examined and replaced if faulty.
Contact Apple Support

For any lingering touch screen problems not resolved by troubleshooting, reach out to Apple support:
- Set up a Genius Bar appointment at an Apple Store for in-person assistance.
- Contact Apple support by phone or chat for remote diagnostic testing.
- Send your iPad Air 3 to Apple for inspection and servicing if under warranty.
Apple can run deeper diagnostics to pinpoint hardware defects causing the touch screen malfunction and recommend next steps for repair.
Consider a Factory Reset
If you’ve exhausted all options, a last resort is performing a factory reset to wipe your iPad back to default settings.
Before resetting, make sure to backup your iPad to iCloud or iTunes. Then erase and restore it to clear any troublesome software bugs.
Get a Replacement iPad Air 3
In some cases of chronic touch screen failure, replacing the iPad Air 3 entirely may be the most cost-effective solution if out of warranty.
Consider upgrading to a newer model or purchasing a refurbished iPad Air 3 replacement unit. Transfer your data and enjoy a fully functional device again.
Final Thoughts of Fixing an Unresponsive iPad Touch Screen
To recap, these are the best troubleshooting tips for an unresponsive or intermittent iPad Air 3 touch screen:
- Update iOS software and reset to factory settings
- Remove cases and screen protectors
- Clean debris and moisture from screen
- Avoid temperature extremes
- Disconnect cables and accessories
- Replace touch screen digitizer if needed
- Contact Apple support for diagnostics
- Factory reset iPad to clear software issues
- Replace iPad Air 3 if all else fails
With some targeted troubleshooting, you should be able to get your iPad Air 3 touch screen working again in no time. The problem typically arises from an easily correctable software or hardware issue.