Has your iPhone 11 refused to install the latest iOS update? Don’t worry – you’re not alone. Many users face this frustrating issue. In this article, we’ll walk you through the top 10 fixes to try when your iPhone 11 won’t update. Here’s how to fix iPhone 11 won’t update:

Confirm Your iPhone 11 Model Supports the New iOS Version
The first step is ensuring your iPhone 11 model is actually compatible with the iOS version you’re trying to install. Apple periodically stops providing software updates for older iPhone models.
To check compatibility:
- Go to Settings > General > About on your iPhone 11
- Note down the Model Name (e.g. iPhone 11, iPhone 11 Pro, etc.)
- Visit Apple’s iOS support page and confirm your iPhone 11 model is listed for the iOS version you want to update to.
If your model isn’t supported, you’ll need to stick with your current iOS version or upgrade your iPhone 11.
Update Your iPhone 11 Wirelessly Over WiFi
If your iPhone 11 model supports the latest iOS, try updating wirelessly:
- Connect your iPhone 11 to a stable WiFi network. We recommend updating over WiFi instead of cellular data.
- Ensure your iPhone 11 battery has at least 50% charge before starting the update. Connect it to a charger if needed.
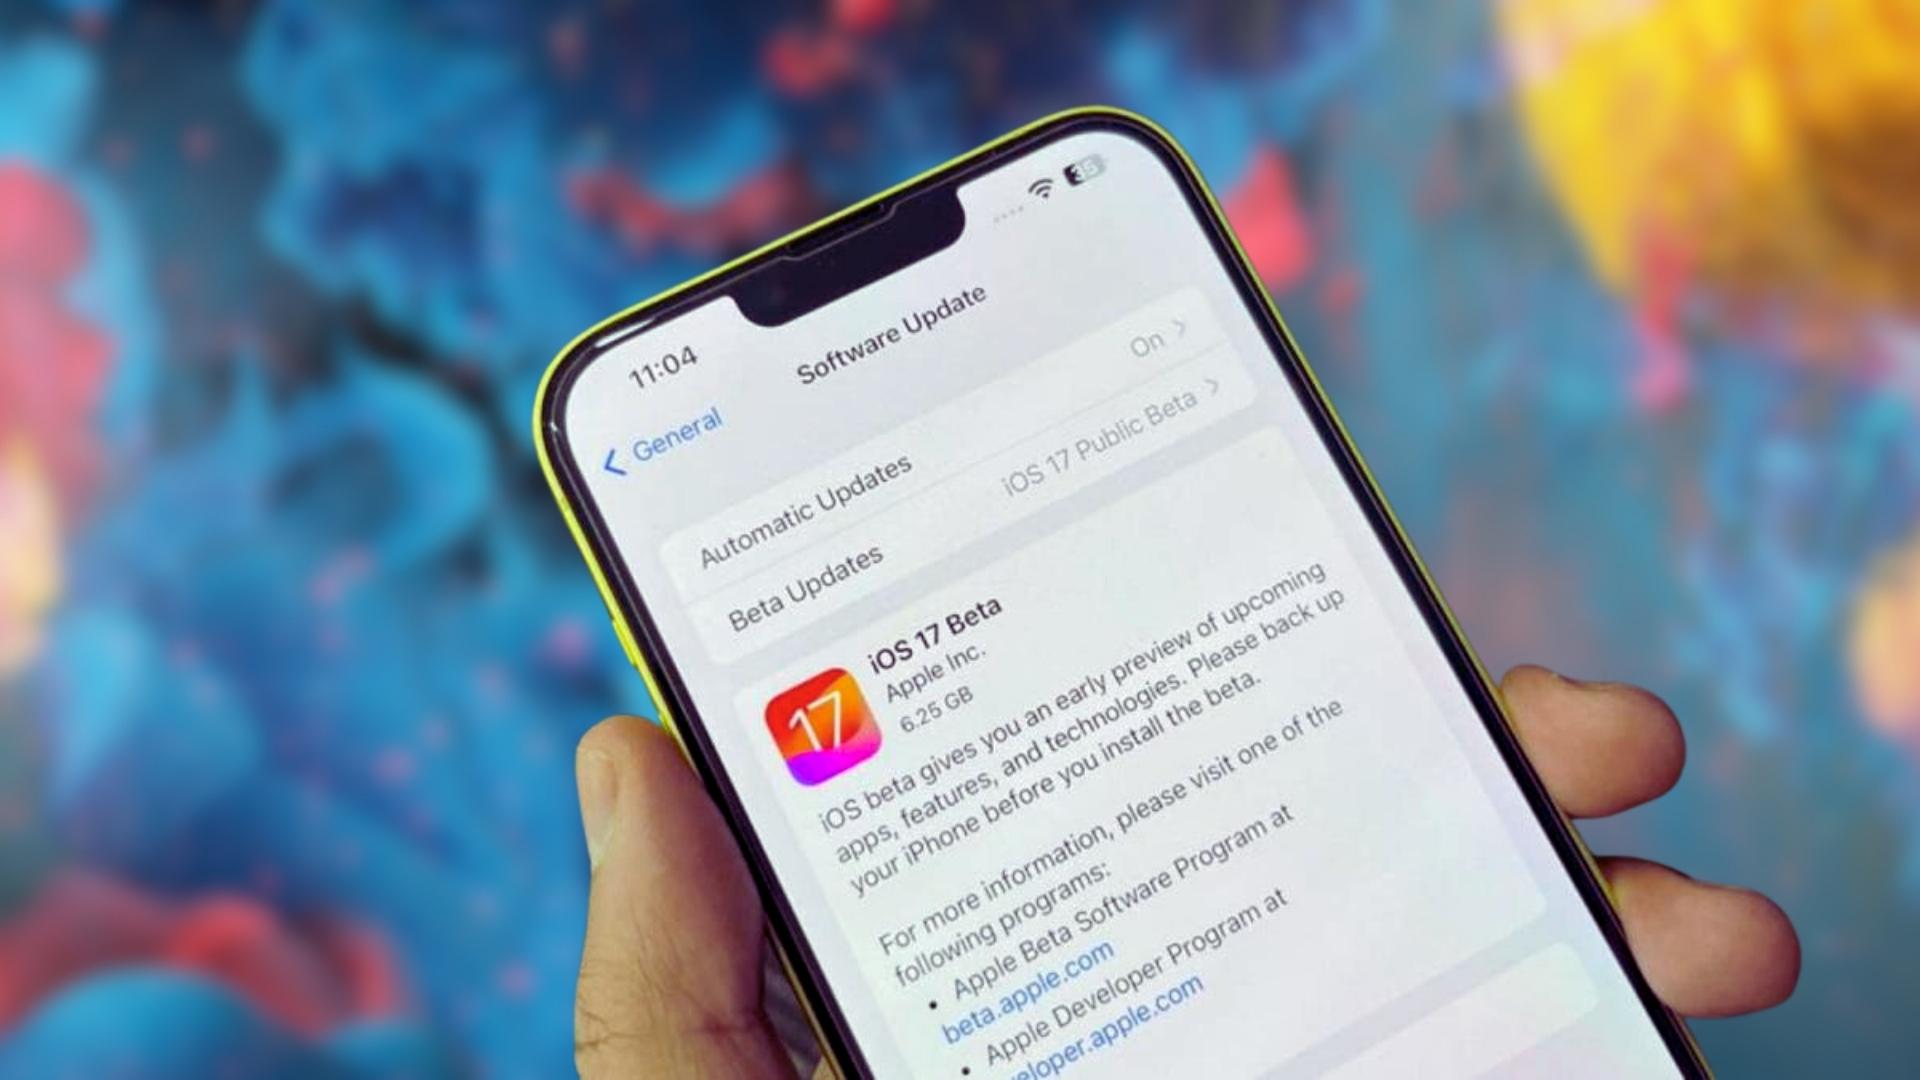
- Go to Settings > General > Software Update on your iPhone 11.
- Tap “Download and Install” to download the latest iOS version.
- Follow the on-screen prompts to install the update. Keep your iPhone 11 connected to WiFi and a charger during the process.
Be patient as downloading and installing major iOS versions can take time. Your iPhone 11 may reboot a couple times during the process.
Update Your iPhone 11 Using iTunes or Finder
If the wireless update fails, try updating through iTunes on Windows/Mac or Finder on Mac:
- Connect your iPhone 11 to your computer using a USB cable.
- Open iTunes (Windows/Mac) or Finder (Mac).
- Select your iPhone 11 icon in iTunes/Finder.
- Check for any available updates and click “Download” then “Install” to update your device.
- Keep your iPhone 11 connected until the update completes. Don’t unplug it during the process.

Updating through iTunes/Finder often resolves wireless update issues.
Reset Network Settings on Your iPhone 11
Network problems can prevent your iPhone 11 from updating properly over WiFi. Resetting network settings may fix this:
- Go to Settings > General > Reset on your iPhone 11.
- Tap “Reset Network Settings”. This will reset WiFi networks and passwords.
- Enter your passcode if prompted and confirm resetting network settings.
- Your iPhone 11 will reboot. Try checking for the iOS update again after it powers back on.
Resetting network settings often resolves connectivity issues that block updates.
Delete the iOS Update and Redownload It
If your iPhone 11 gets stuck while preparing to install the update, try deleting it and redownloading:
- Go to Settings > General > iPhone Storage on your iPhone 11.
- Find the iOS update file in the list and tap on it.
- Tap “Delete Update” to remove it.
- Now go back to Settings > General > Software Update.
- Download the iOS update again from scratch. Then try installing it.
Deleting and redownloading the update can fix issues with corrupted or incomplete files.
Force Restart Your iPhone 11
An easy first step is to force restart your iPhone 11. This clears out minor software glitches that may be preventing the update:
- Quickly press and release the Volume Up button.
- Quickly press and release the Volume Down button.
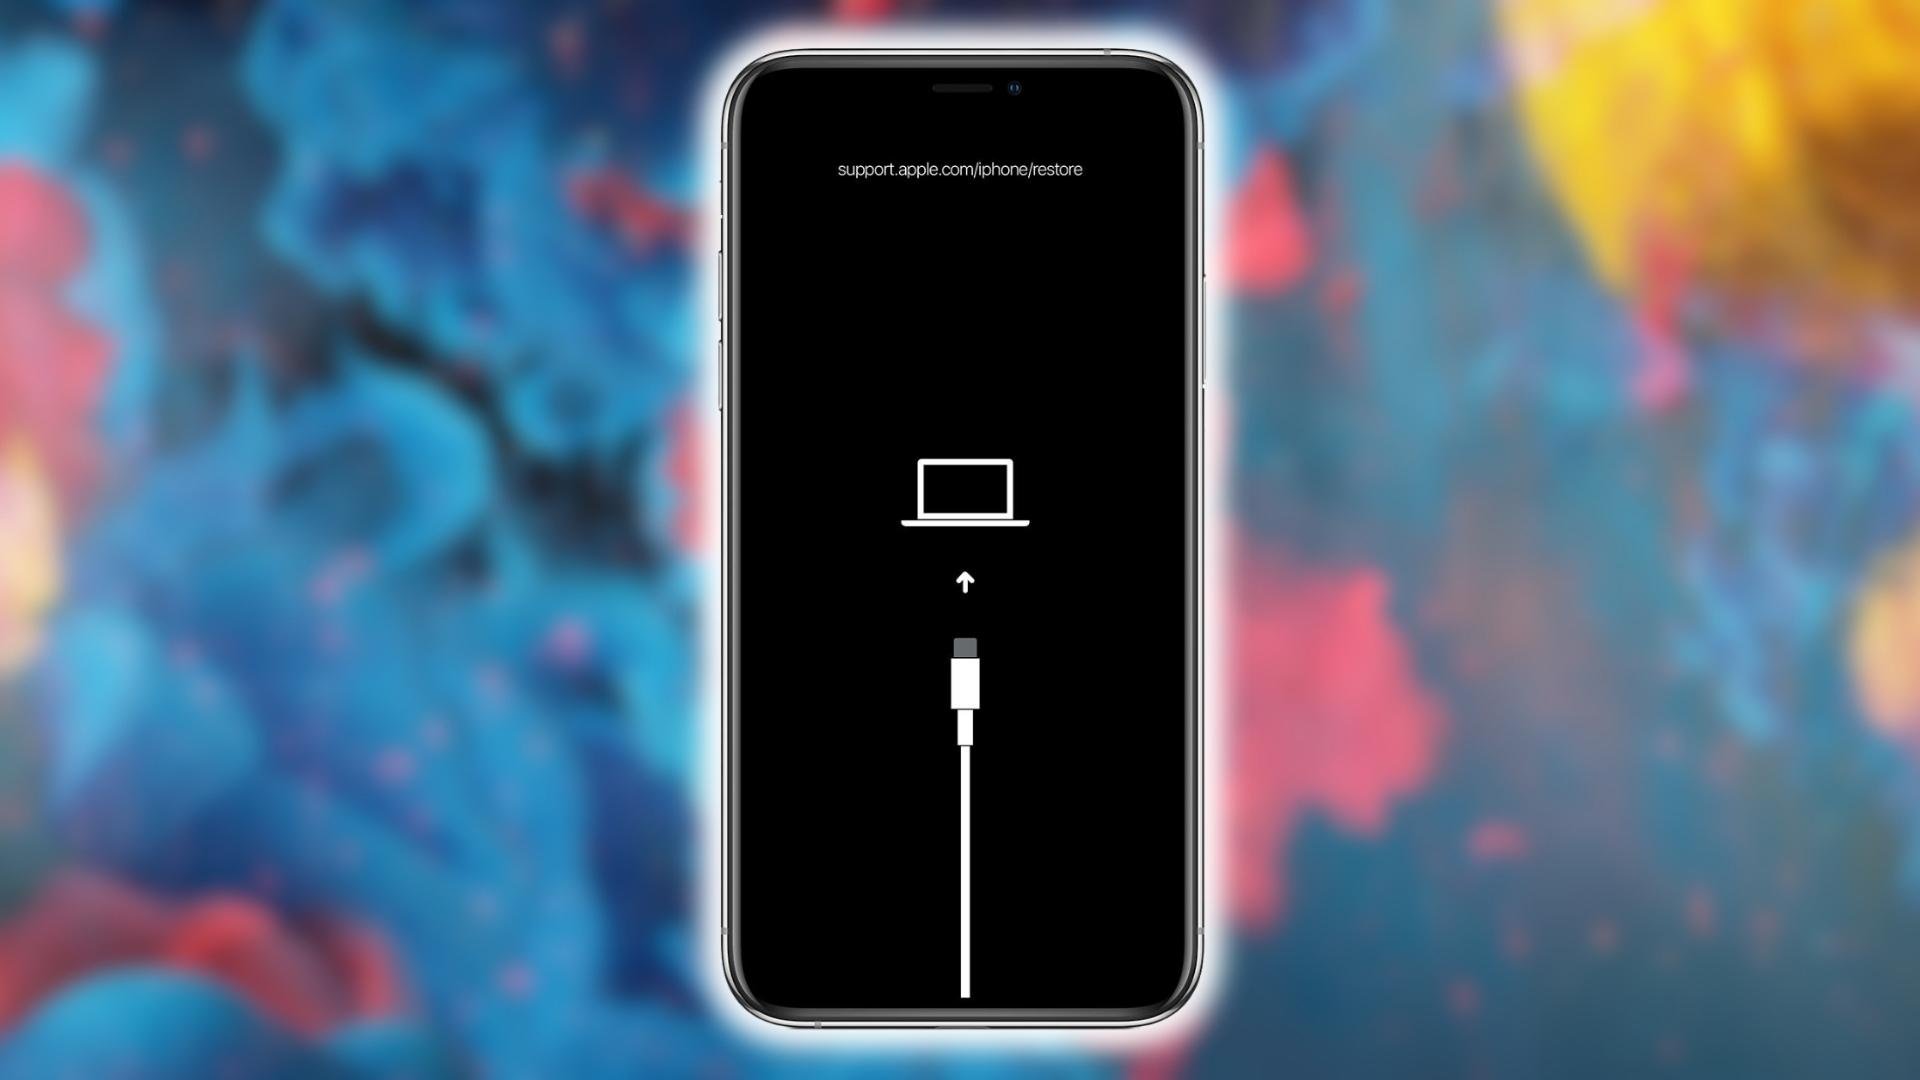
- Press and hold the Side button until you see the recovery mode screen.
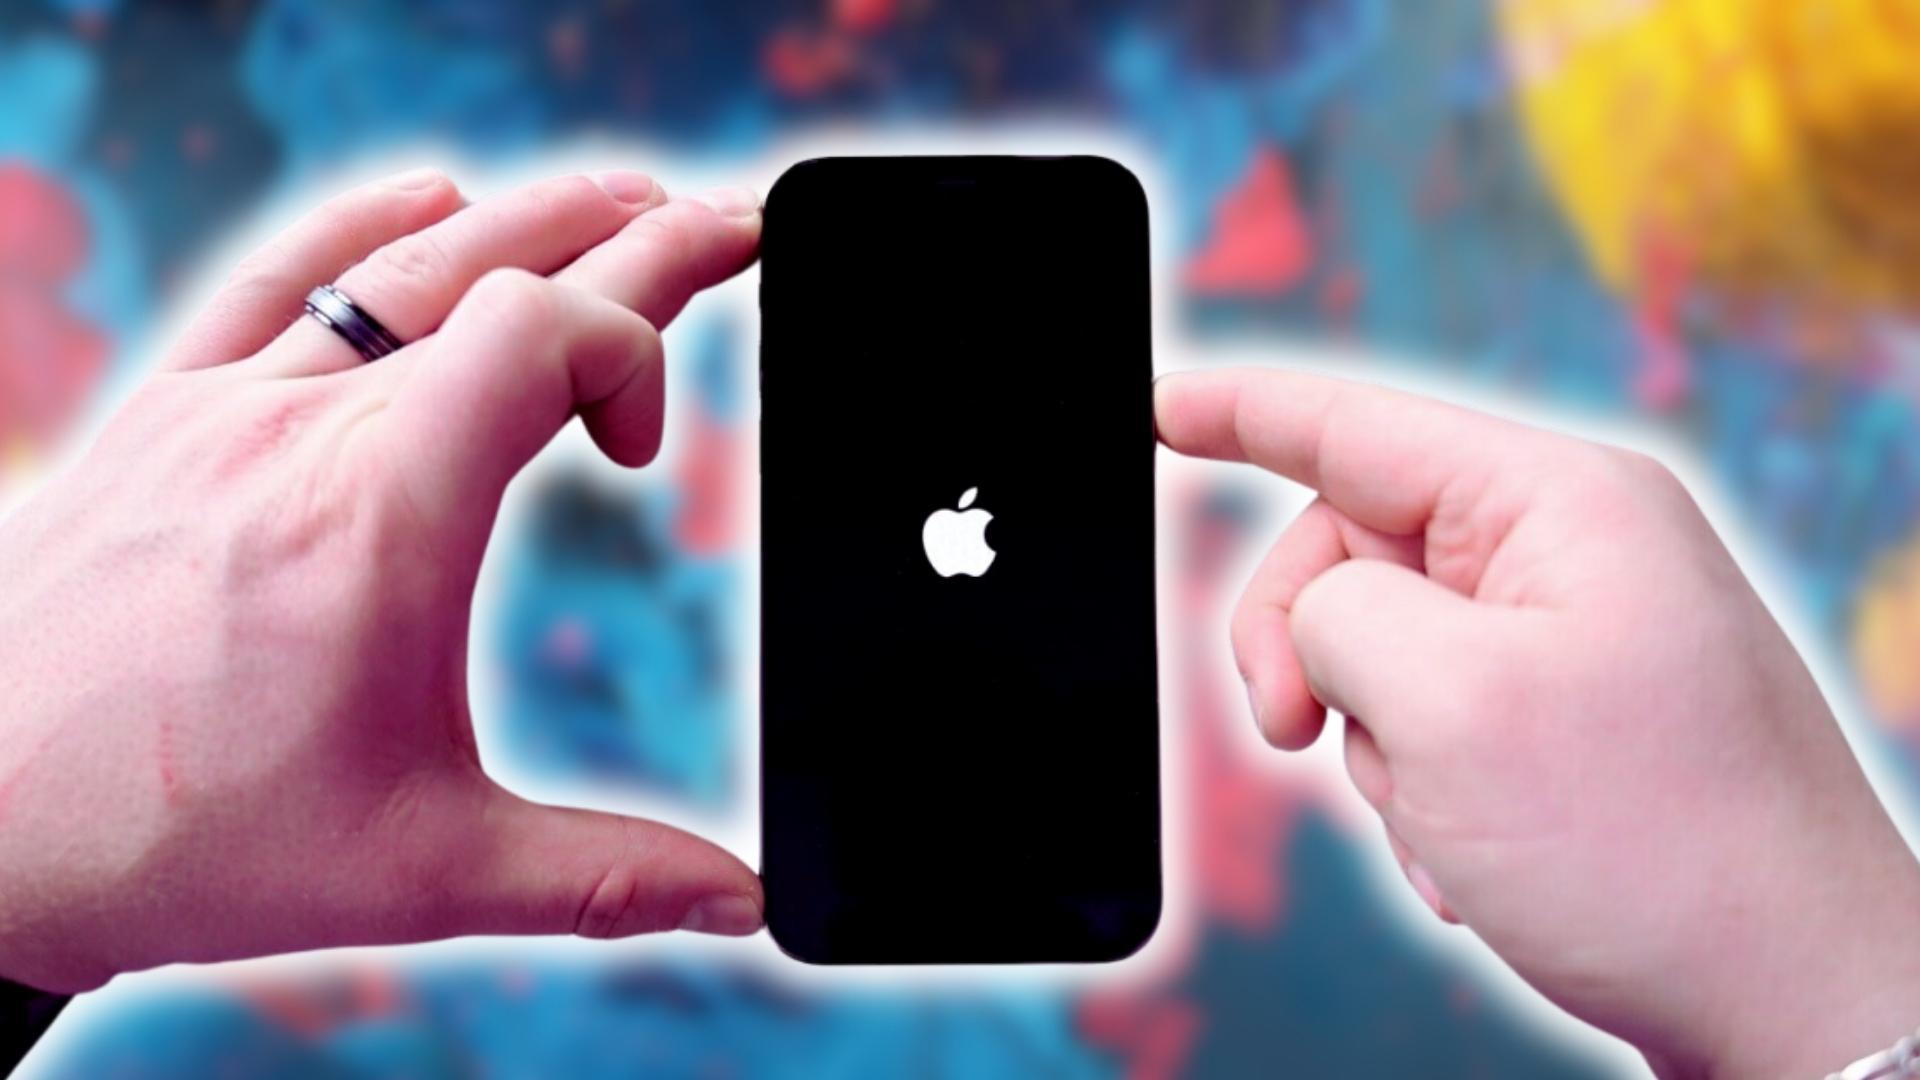
- Keep holding the Side button until the Apple logo appears.

Your iPhone 11 will restart, which often resolves temporary update issues.
Check for iOS Update Errors
If your iPhone 11 displays any error messages during the update, look up solutions online or contact Apple Support. Some examples:
- Error 4013 – Restore your iPhone 11 using iTunes/Finder
- Error 9 – Update again when iTunes/Apple servers are up
- Error 4005 – Not enough storage space on your iPhone 11
Searching the specific error code can help troubleshoot why your iPhone 11 won’t update.
Update Your iPhone 11 in Recovery Mode
You can force an update by putting your iPhone 11 into recovery mode and restoring:
- Connect your iPhone 11 to your computer via USB cable.
- Press and quickly release the Volume Up button.
- Press and quickly release the Volume Down button.
- Press and hold the Side button until you see the recovery mode screen.
- In iTunes/Finder click “Restore” to install the latest iOS version on your iPhone 11.

Recovery mode forces the update on an iPhone 11 by restoring the device.
Free Up Storage Space on Your iPhone 11
The iOS update needs enough free storage space on your iPhone 11 to download and install. Here are some tips to free up space:
- Offload unused apps – Go to Settings > General > iPhone Storage and tap “Offload Unused Apps.”
- Delete old messages – Open the Messages app, select a conversation, tap the Contact name, scroll down and tap “Delete All.”
- Manage iCloud storage – Enable iCloud Photos to move images/videos to the cloud.
- Delete music – Go to Settings > Music and switch “Show Apple Music” off. Now you can delete downloaded music.
Having plenty of free space is key for iOS updates to install correctly.
Update Your iPhone 11 at an Apple Store
As a last resort, schedule an appointment at an Apple Store and have an Apple technician update your iPhone 11 for you. Make sure to back up your device beforehand in case anything goes wrong.
Genius Bar technicians can directly install the latest iOS version on your iPhone 11 using advanced tools if you’re still experiencing issues updating on your own.
Final Thoughts
To recap, here are some effective troubleshooting tips when your iPhone 11 refuses to update:
- Check compatibility with the latest iOS version
- Update over WiFi and while plugged in
- Try updating through iTunes or Finder
- Reset network settings
- Delete and redownload the iOS update
- Force restart your iPhone 11
- Look up any error codes
- Update in recovery mode
- Free up storage space
- Visit the Apple Store for hands-on help
With some patience and working through these solutions, you should be able to get your iPhone 11 successfully updated to the latest iOS version. Let us know in the comments if you have any other tips for troubleshooting an iPhone that won’t update!