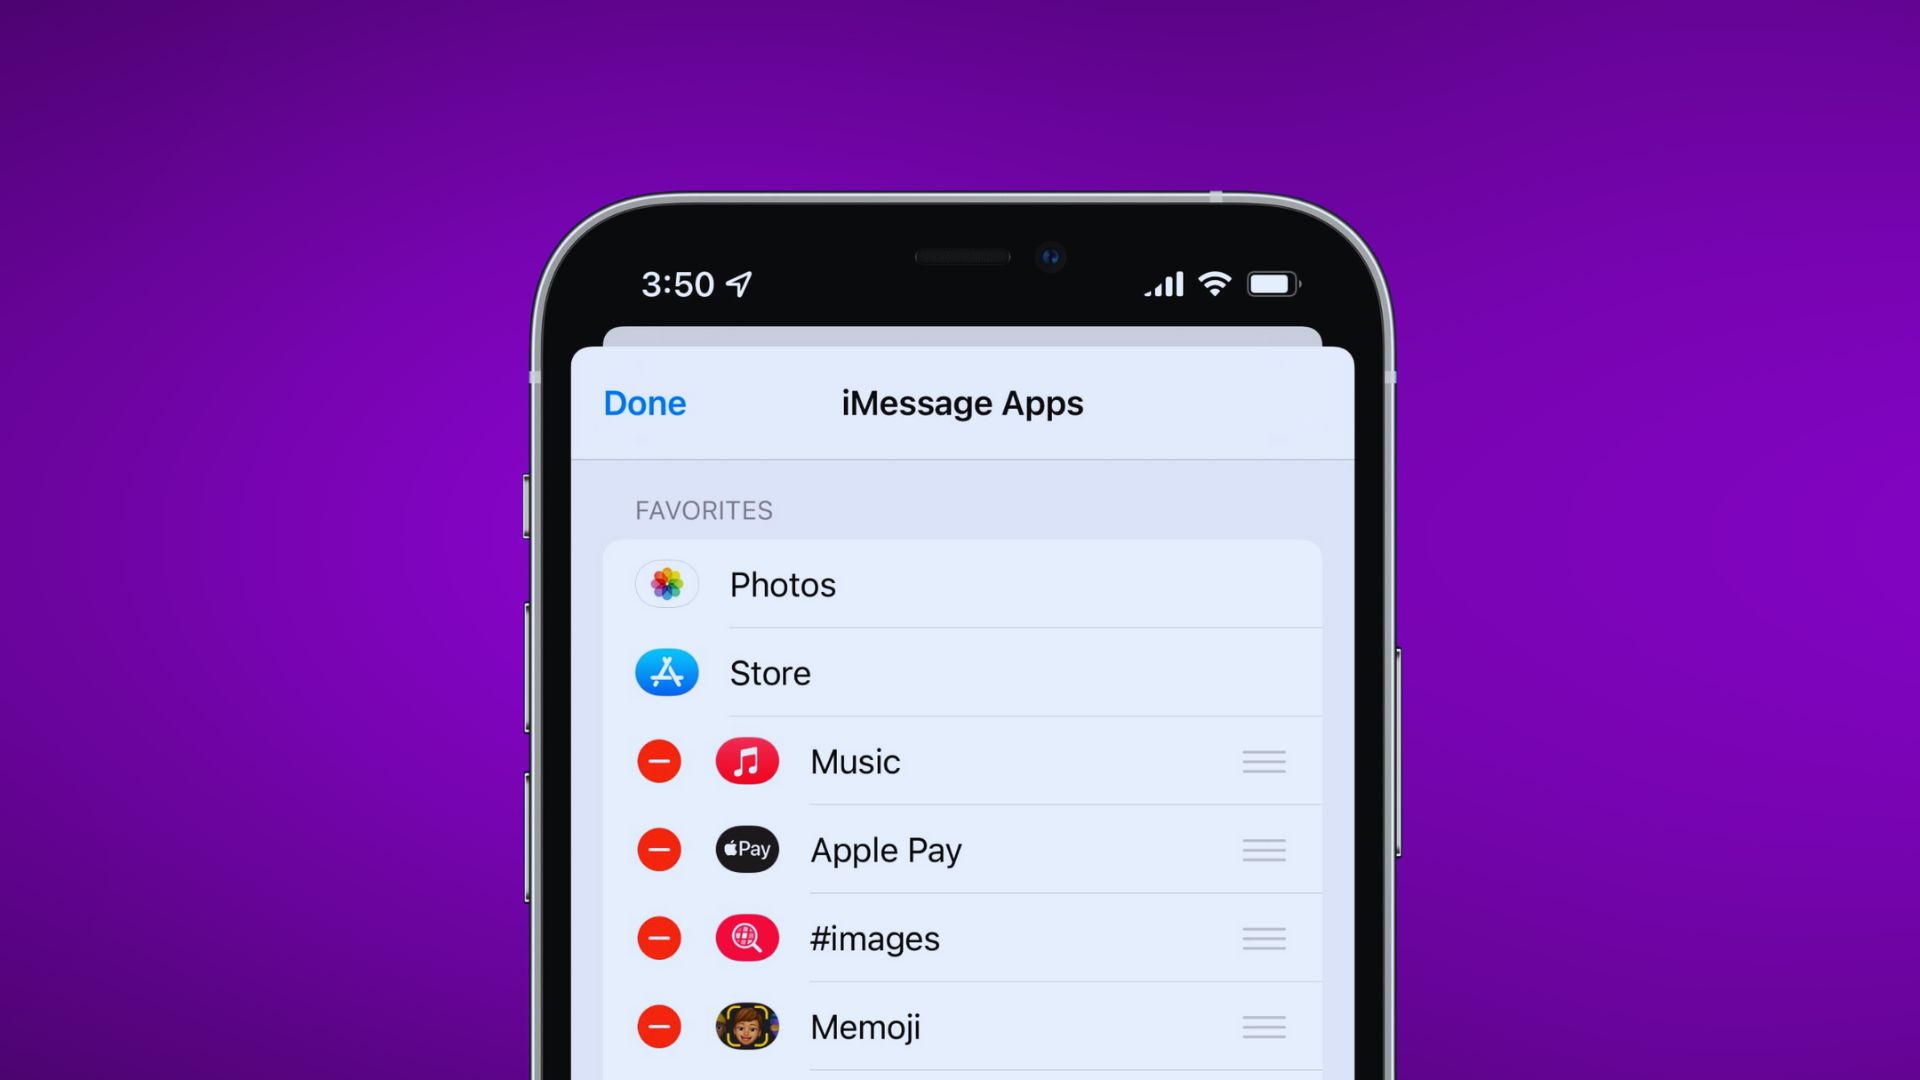
There are many reasons as to why your iPhone is unable to send text messages. Among the underlying causes are network problems, incorrect network settings on the phone, contact number issues, account-related issues, and bad updates. Tackled in this post is a relevant issue on the iPhone Messages app that is not sending SMS or cannot send text messages after iOS 13 update. Read on to learn what to do in case you’d bump into the same issue after updating your iPhone software to the latest version.
Now, before anything else, if you have other issues with your phone, make sure you drop by our troubleshooting page for we have already provided solutions to hundreds of problems reported by our readers. Odds are that we may have already provided a solution to the problem you currently have so try to find issues that are similar to yours on that page and feel free to use the solutions we suggested. If they don’t work or if you need further assistance, fill up our iOS issues questionnaire and hit submit to contact us.
Why iPhone messages won’t send after the iOS 13 update
Key attributes that you should consider looking into before troubleshooting software-related errors that caused your iPhone Messages to stop working after the iOS 13 update:
- Verify and ensure that the recipient’s contact number is correct or valid. You are likely to get an error sending text messages if the contact number you entered in the recipient’s field isn’t valid or does not exist.
- Make sure that your iPhone gets strong and stable network signal. At least 2 signal bars will be enough for text messaging functions to work.
- Make sure you have enough credits to send the message. Talk to your carrier account-related information and concerns.
If all the aforementioned requisites are met but you still cannot send text messages on your iPhone Messages app, you then can proceed and begin troubleshooting.
Don’t forget to create a sample text message to send to your iPhone after performing each procedure to determine whether or not the problem is fixed. Proceed to the next applicable solution if needed.
First solution: Force close Messages then restart your iPhone.
Like any other apps, the built-in Messages app can also get a bit shaky after a major platform transition. This usually happens as the app tries to adapt with the recent system changes. The same thing can happen if you’ve left the app suspended or running in the background during the update. To fix the problem, restarting the app is recommended.
- Navigate to the Home screen to begin.
- Then, swipe up from the bottom of the screen and pause slightly in the middle of the screen.
- Swipe right or left to navigate through app previews.
- Then, swipe up on the App Store app’s preview to close it.
- Do the same to clear all the rest of your background apps to prevent them from causing conflicts to your iPhone Messages.
If you’re using an iPhone with a physical Home button, follow these steps to end all or force close background apps instead:
- Go to your Home screen and press the Home key twice to view recent applications.
- Swipe up on the App Store app preview to close it.
- Do the same to close other background apps.
- Then tap anywhere on the Home screen or press the Home key to go back to the Home screen.
To clear cache and to refresh the phone memory, perform a soft reset on your iPhone. A soft reset not only gives a breather to your iPhone but also eliminates random errors and glitches inflicted by minor firmware crashes. There are different ways to perform a soft reset and the steps vary from iPhone to iPhone. To soft reset later iPhones from iphone x, XS, XS Max and XR, follow these steps:
- Press and hold the Top button and either Volume button until the Power Off slider appears.
- Drag the slider to power off your device completely.
- After 30 seconds, press and hold the Top button again until the Apple logo appears
To restart/soft reset iPhones with physical Home buttons, follow these steps instead:
- Press and hold down the Power/Top button for a few seconds until the Power off slider appears.
- Drag the slider to power off your device.
- After a few seconds, press and hold the Power/Top button until the Apple logo appears.
Performing a soft reset does not affect any saved information from the iPhone storage. With that said, creating backups won’t be necessary.
ALSO READ: How to fix iPhone notifications that are not working after iOS 13 update
Second solution: Toggle Airplane Mode on and off.
The next thing you should rule out are network-related errors. It’s possible that your iPhone’s network functions had obtained some minor glitches following the iOS 13 update. And the simple solution to this is the so-called Airplane Mode trick. It works by simultaneously turning wireless functions off and then back on again. So it’s like a simultaneous restart on your iPhone’s wireless network functions, including cellular services. Here’s how it’s done:
- Start by heading on to the Home screen of your phone.
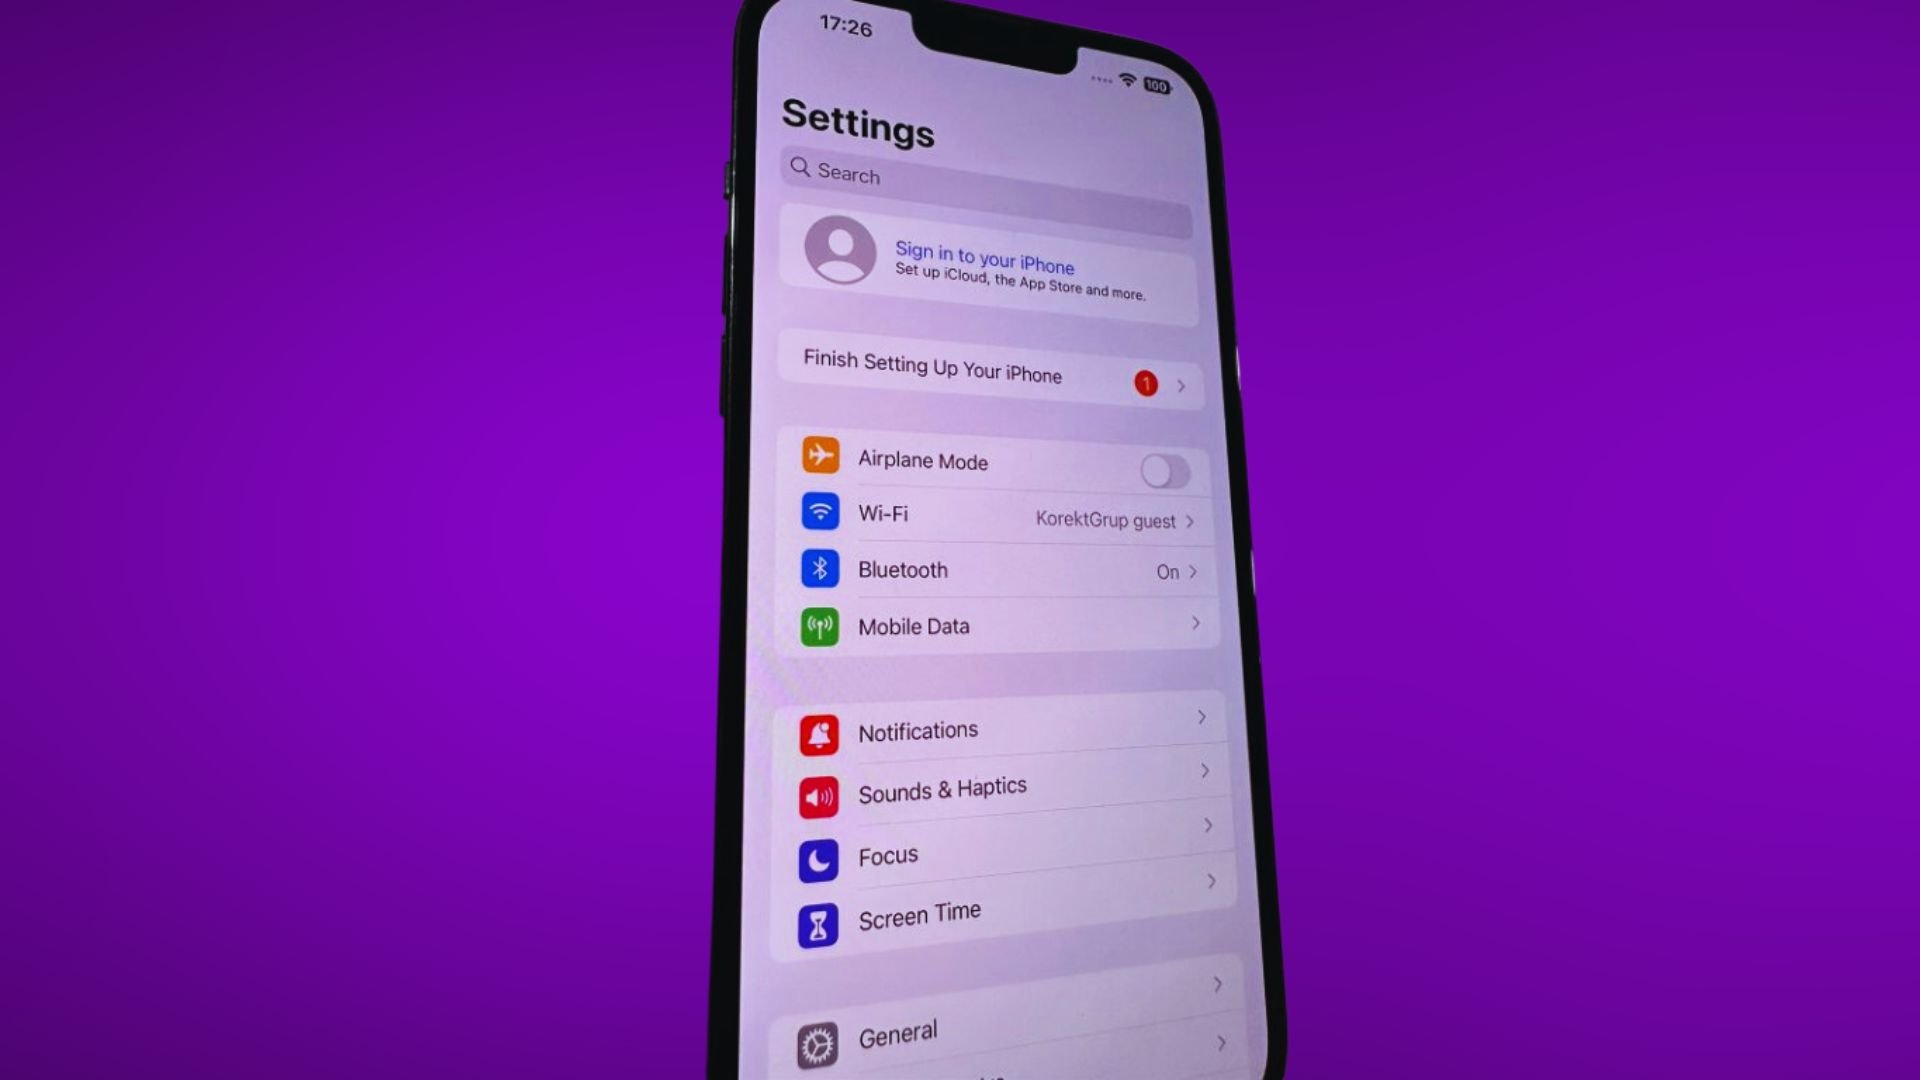
- From the Home screen, tap Settings.
- Select Airplane Mode.
- Then toggle the switch to turn Airplane Mode on. Doing so disables wireless radios and relevant features simultaneously.
- While Airplane mode is turned on, reboot/soft reset your iOS device to clear out junk files and any corrupted temporary network data.
- Wait for the device to finish booting up.
- Once the reboot is finished, go back to Settings-> Airplane Mode menu.
- Then toggle the Airplane Mode switch to turn the feature OFF again. This will re-enable the wireless radios and functions on your iPhone.
Allow your iPhone to re-establish network signal and once the signal has stabilized, open the Messages app and create a sample text message to send to your own number. See if the problem is fixed.
Third solution: Reset network settings on your iPhone.
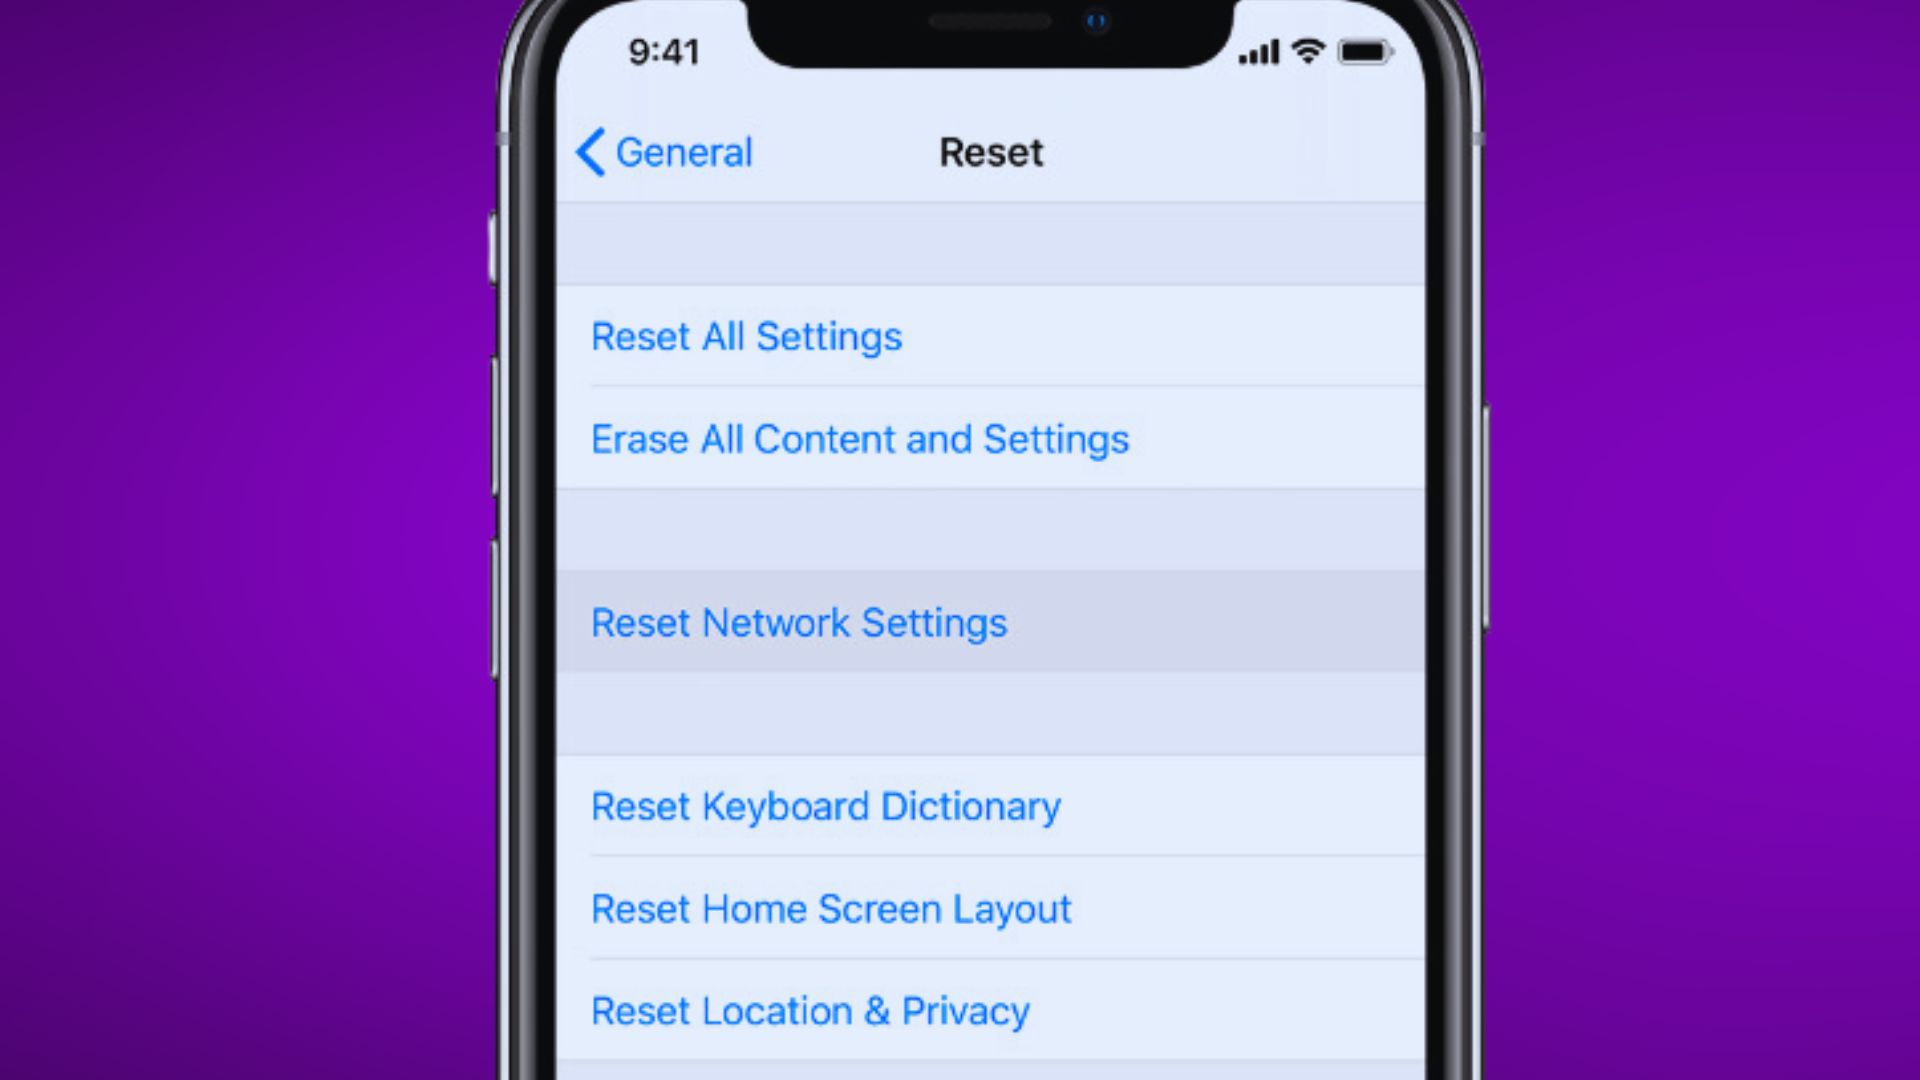
If the previous tweak doesn’t solve the problem, you can try performing a network setting reset. This reset will erase all your current network configurations including saved Bluetooth connections and Wi-Fi networks. Network-related settings and information are likewise restored to their original values, thus eliminating any associated errors. If you wish to give it a try, then here’s how it’s done:
- From the Home screen, tap Settings.
- Select General.
- Scroll down to and tap on Reset.
- Choose the option to Reset network settings.
- Enter your device passcode when asked to proceed.
- Then tap the option to confirm that you want to reset network settings on your iPhone.
Your phone should restart automatically when the reset is finished. To use online apps and services, you need to re-enable Wi-Fi, set up Wi-Fi network like the first time, and then join or connect. To use cellular data services, be sure to enable Cellular Data from your iPhone settings.
ALSO READ: Fix WhatsApp that’s not working on your Apple iPhone after iOS 13 update
Fourth solution: Reset all settings on your iPhone.
Incorrect or invalid customizations as well as iOS update overrides can also cause conflicts to Messages app and thus your iPhone can’t send text messages. To clear this out, you can reset all the settings on your iPhone to erase all customized settings and then restore the original values and options. Here’s how it’s done:
- Tap Settings from your Home screen.
- Tap General.
- Scroll down and tap on Reset.
- Choose Reset all settings from the given options.
- Enter your passcode when asked to proceed.
- Finally, tap the option to confirm all settings reset.
This reset does not require backup creation beforehand since it doesn’t affect internal data that are stored on your iPhone memory.
After the reset, you will need to re-enable the features that are disabled or turned off by default so that you can use them again on your phone.
Fifth solution: Erase your iPhone and set it up as new.
This can be regarded among the last option if all else failed to resolve the issue. As the process denotes, this will erase everything including saved contacts, downloads, and customized settings from your iPhone. Any associated errors are likewise eliminated. If you wish to proceed, don’t forget to back up all your critical data, otherwise you’d end up losing them permanently. A faster way to factory reset an iPhone is through settings and it’s done through these steps:
- From the Home screen, tap on Settings.
- Tap General.
- Tap Reset.
- Select the option to Erase all content and settings.
- Enter your passcode to proceed.
- Tap the option to confirm full system reset or factory reset.
After the reset, the phone will load up its factory default settings. To use your phone again, you need to set it up as new. Just use the start-up wizard to automatically set up key features of your iPhone.
Last resort: Restore your iPhone from a previous iOS backup (recovery mode restore).
If a factory reset failed to resolve the issue, then this is when you should consider downgrading or restoring from a previous iOS backup. This however is only possible if you’ve got the most recent iOS backup available. Performing an iOS restore in recovery mode through iTunes is done in various ways depending on which iPhone is in use.
To restore early iPhones like the iPhone 7, 7 Plus or earlier models, follow these steps:
- On your computer, launch or open iTunes. Be sure to use the latest version of iTunes app on your device to avoid facing system conflicts.
- Then connect your iOS device to the computer using the original USB cable while pressing and holding down the Home button.
- Release the Home button when the Connect to iTunes screen appears.
- At this point, iTunes will prompt you with a message saying that it has detected your iOS device in recovery mode and that you can restore your device. If you see this message, just click the Restore [Device name] button to instigate recovery mode restore through iTunes.
To restore an iPhone 8, 8 Plus or later iPhones like the iPhone X, XS, XS Max, and XR, simply follow these steps:
- Connect your iOS device to the computer using the USB/Lightning cable.
- When your device is connected, open iTunes on your computer.
- Then on your iOS device, quick-press and release the Volume Up button.
- Now, quick-press and release the Volume Up button.
- Finally, press and hold the Power button until the Recovery Mode screen (Connect to iTunes screen) appears.
Follow the rest of the commands prompts and screen controls to restore your iPhone in iTunes. The entire restore process could take several minutes to complete so be sure to keep your iPhone connected to the computer until it’s finished restoring. Otherwise, you could end up corrupting the operating system.
Major system issues that are attributed to complex post-iOS update bugs would usually require advanced solutions including a full system wipe out or iOS restore. With that said, sending of text messages via iPhone Messages app should now be working as intended.
The deepest type of iOS restore you can do in case a recovery mode restore still failed to fix the issue is the so-called DFU mode restore. It puts your device in a state that lets iTunes access it’s system even without activating the boot loader. This can be considered as the very last resort to deal with fatal system errors that require in-depth iOS repairing and restoration. A comprehensive guide on how to perform a DFU mode restore can be found on this site’s tutorial section. Just visit the troubleshooting pages for more details.
ALSO READ: How to fix Bluetooth that is not working on your iPhone after iOS 13 update
Still unable to send text messages on your iPhone Messages app after iOS 13 update?
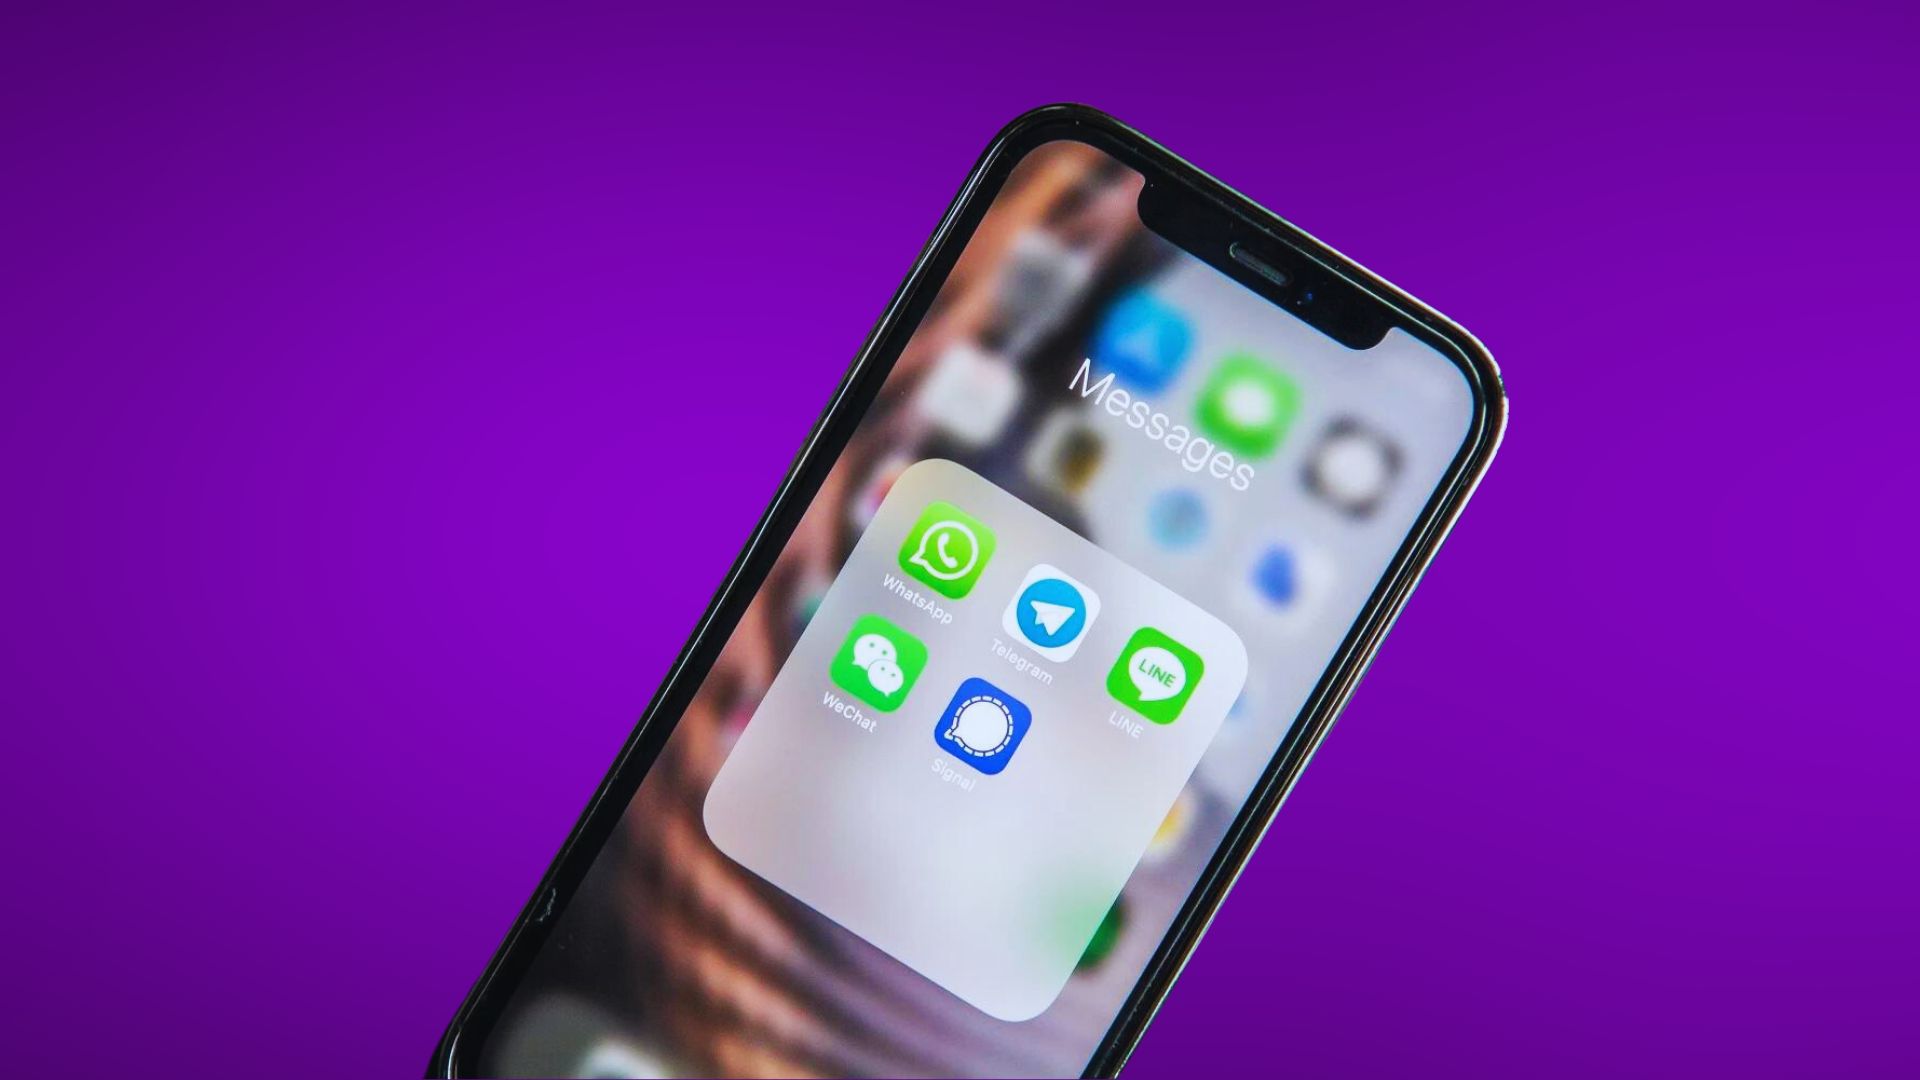
To rule out the possibility that the problem is only affecting the stock Messages app, you can try using a different messaging application. You can download and install your preferred messaging app and then see if you can send text messages through that app. Among the most popular messaging apps for iOS include but not limited to Viber, WeChat, WhatsApp, BBM, Signal, and GroupMe, to name some.
If none of that works, contact your network service provider/carrier to report the problem. The fact that you still cannot send text messages on your iPhone up to this point is an indication that the problem isn’t rectifiable on your end. There might be some unexpected technical difficulties on your carrier’s end that affect SMS messaging services. This is most likely the case if all your devices are experiencing the same problem or unable to send SMS or text messages. If the problem only occurs to your iPhone Messages and that you’ve already performed all possible solutions, then you should escalate it to Apple Support already. A dedicated fix patch is likely what’s needed to get your iPhone Messages to work properly again.
Connect with us
We are committed to helping our readers fix the problems with their phones as well as learn how to properly use their devices. So, if you have other issues, you may visit our troubleshooting page so you can check by yourself the articles we’ve already published that contain solutions to common problems. Also, we do create videos to demonstrate how things are done on your phone. Visit our Youtube Channel and please subscribe to it. Thanks.