This post will walk you through adding an email account for the pre-installed iOS Mail application. Here’s a quick guide to set up mail on iPhone based on the latest iOS version.
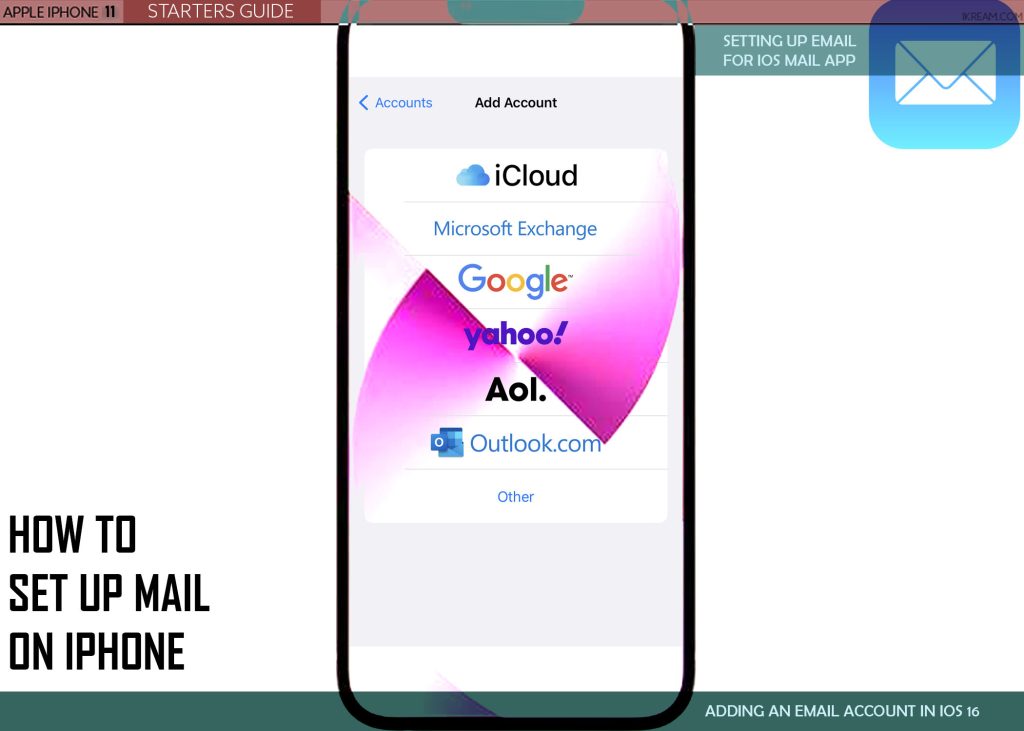
iOS 16 Mail Setup
One of the first things that you need to set up on your new smartphone is your email account regardless of which type of device you’ve got.
This is imperative in order for you to make full use of all features and services offered by the device manufacturer.
In iPhones for instance, a valid email account is needed for you to use the in-built email services and other iOS applications.
Setting up an email account can be done during the initial setup process (the first time you turn on and use your phone). While the process is skippable, setting it up at the soonest time possible is recommended.
Adding and setting up mail on an iPhone is straightforward. It can be carried out automatically and manually.
Depicted below is the actual process of adding and setting up an email account on an iPhone running on the latest iOS version.
Feel free to refer to this guide if ever you need some input on how to get this done on your new iPhone.
Steps to Set Up Mail on iPhone
Before you begin, make sure that all your email account credentials are ready especially if you go for a manual account set up.
Also ensure that your phone has a stable internet connection and sufficiently charged.
Once you’ve got everything set, you may go ahead and proceed with these subsequent procedures.
A. Automatic Email Account Setup
Performing the following steps sets up your email account automatically. This means you don’t need to manually enter the required email account information including email servers as the Mail app automatically scans and verifies your account information based on your selected email service provider and email credentials.
Start whenever you’re all set to add your email account.
Step 1: Tap Settings from the Home screen or Apps Library to begin. Doing so launches the ios settings app with a list of all built-in features and services.
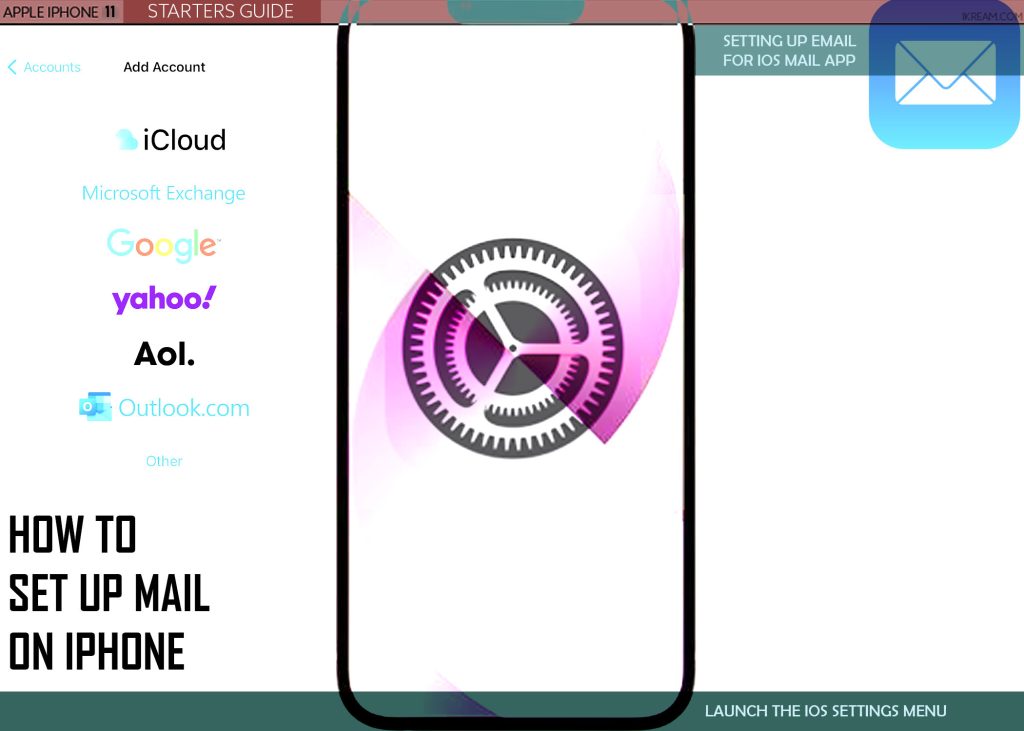
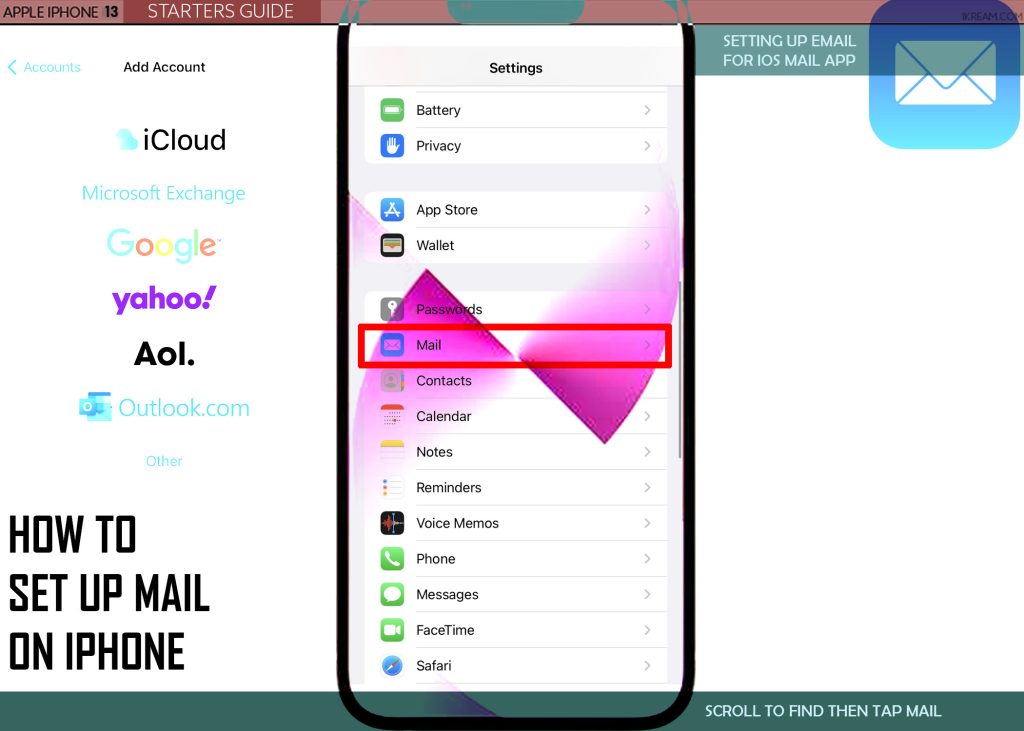
Step 2: while In the settings app menu, find and then tap Mail. the mail app settings menu will load up next. here, you will find different options and settings you can manage for the mail app.
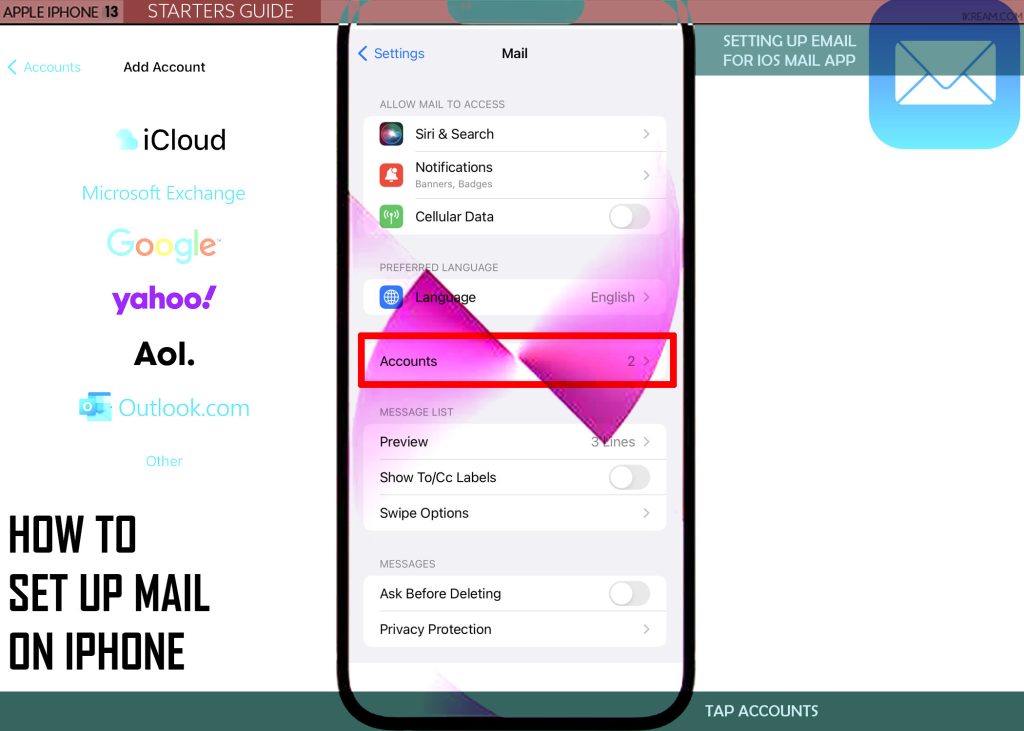
Step 3: To continue, tap Accounts on the succeeding menu.
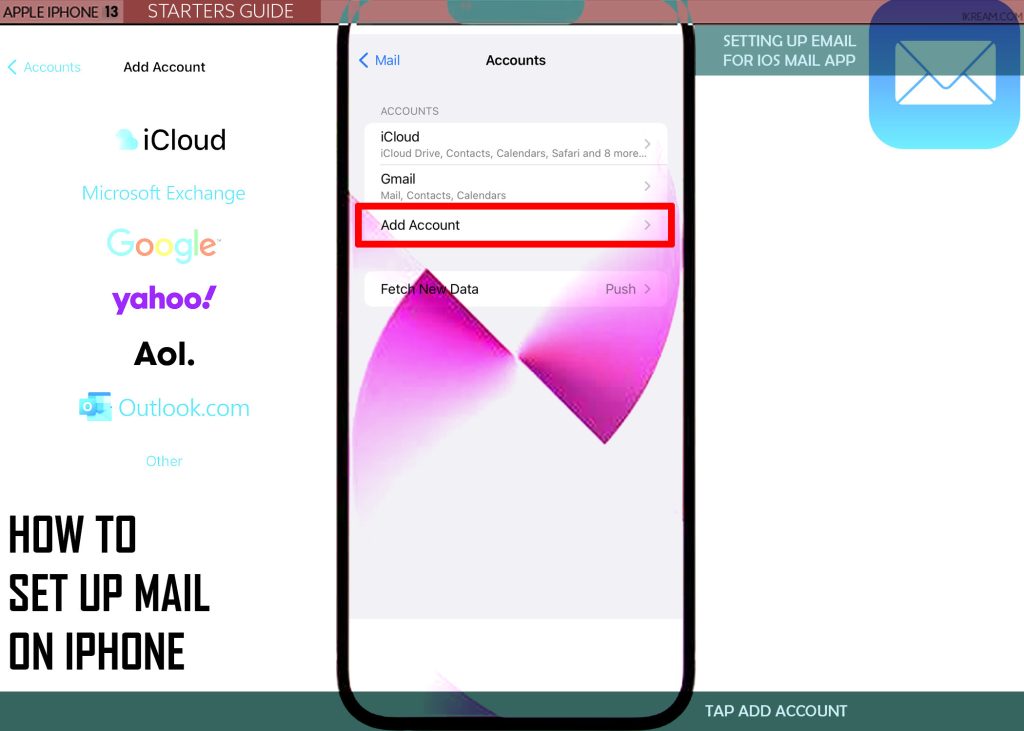
Step 4: on the following screen, Select the option to Add Account.
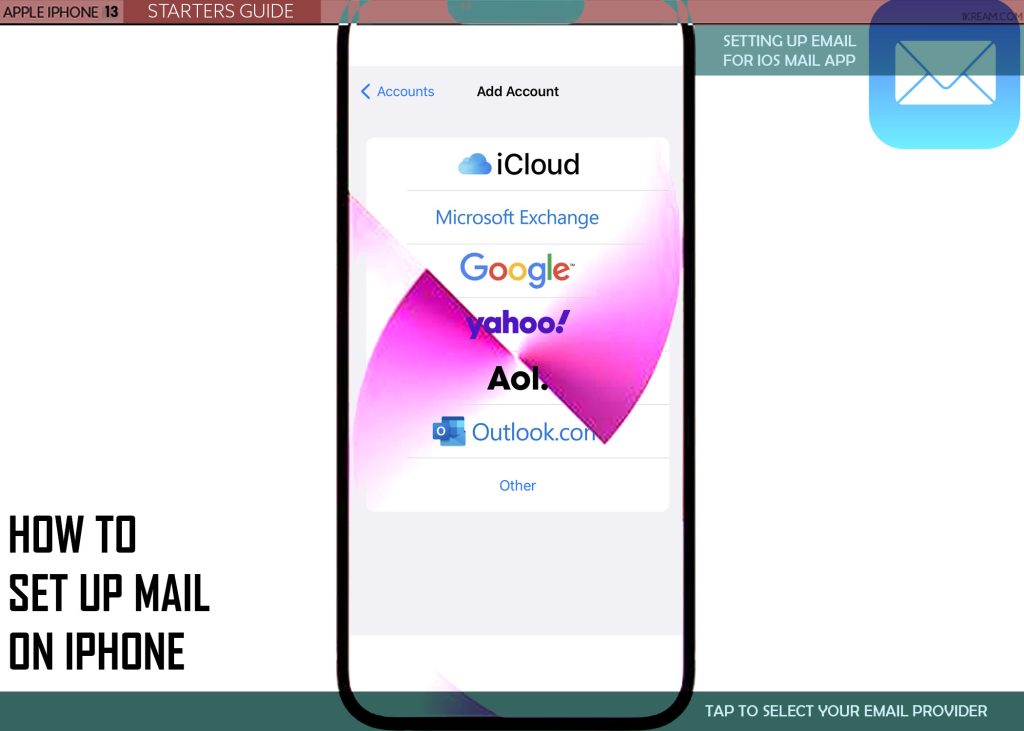
Step 5: On the next screen, you’ll see a list of all email service providers. Tap to choose your email provider.
Note:
- If you don’t see it in the list, tap Others then follow the rest of the onscreen instructions to manually set up your email account in iOS Mail. Otherwise, skip to the next step.
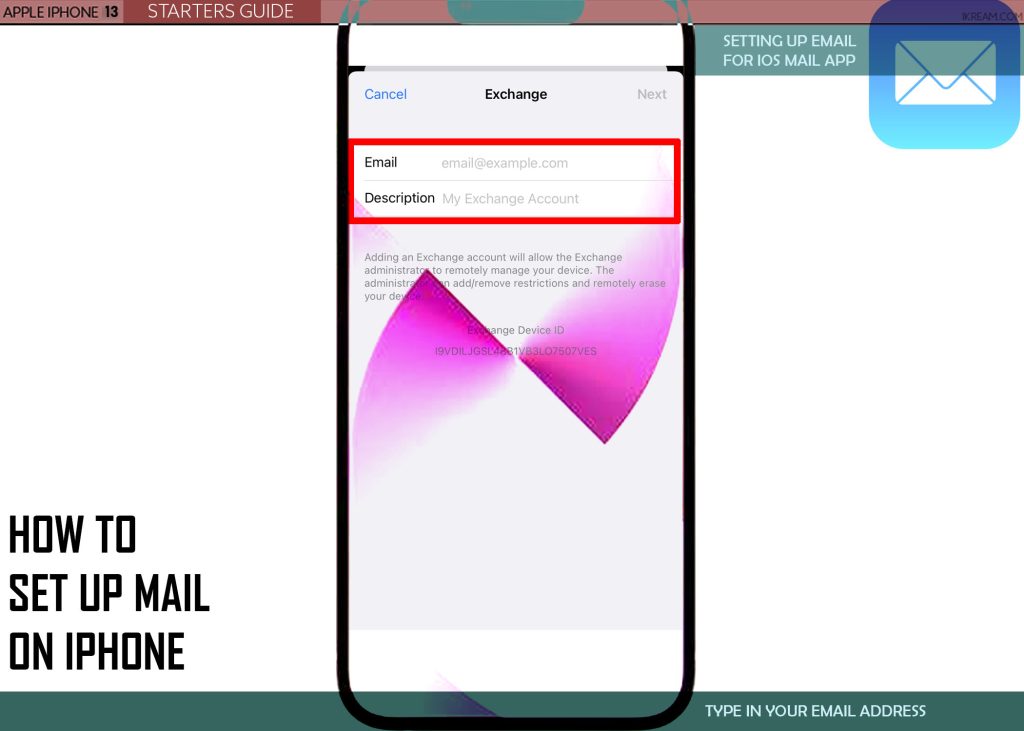
Step 6: Enter your email account information (email address and password).
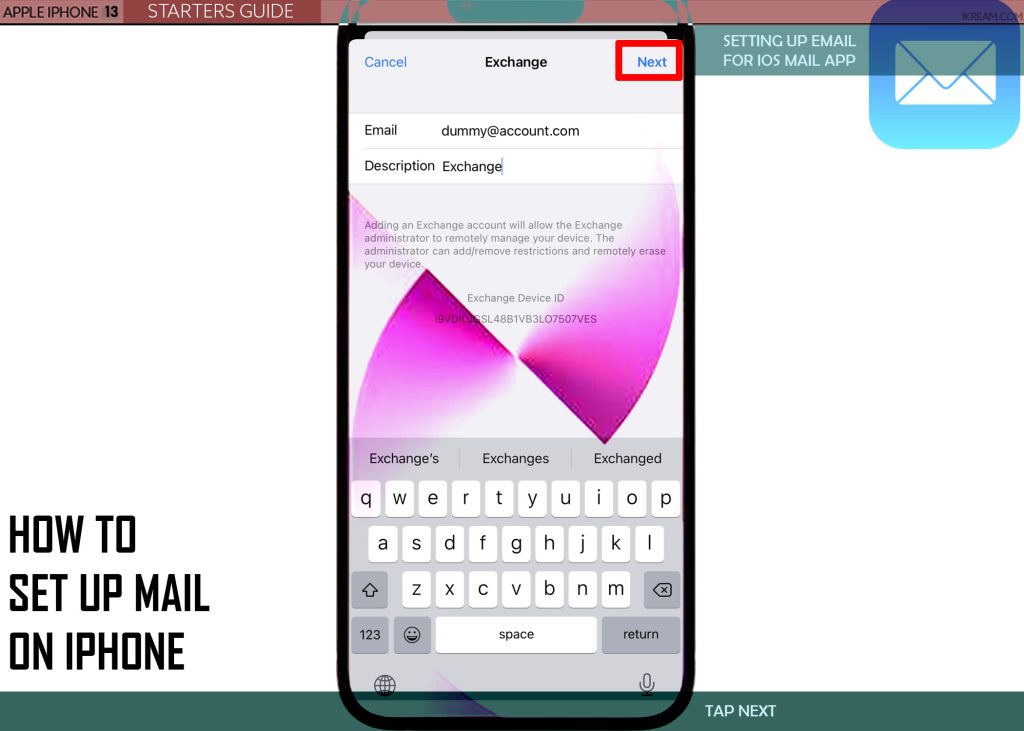
Step 7: On the succeeding menu, tap Next then wait for Mail to verify your account information.
Step 8: If successfully verified, tap Save.
Your email account details will then be added and all set for use in the iPhone Mail app.
B. Manual Email Account Setup
Manually setting up your email account is usually recommended if the automatic setup fails due to unexpected errors. In order to do this, you will need to secure the email settings for your account.
You can look this information up or contact your email service provider for further assistance.
Once you’ve got your email settings ready, follow these steps:
Step 1: Launch the iOS settings app.

Step 2: From the Settings menu, find and then tap Mail.

Step 3: On the next screen, tap Accounts.

Step 4: Then, tap Add Account to proceed.

Step 5: Scroll down then tap Other from the list of email providers.

Step 6: On the following menu, tap Add Mail Account then tap Add Mail Account on the succeeding menu to proceed.
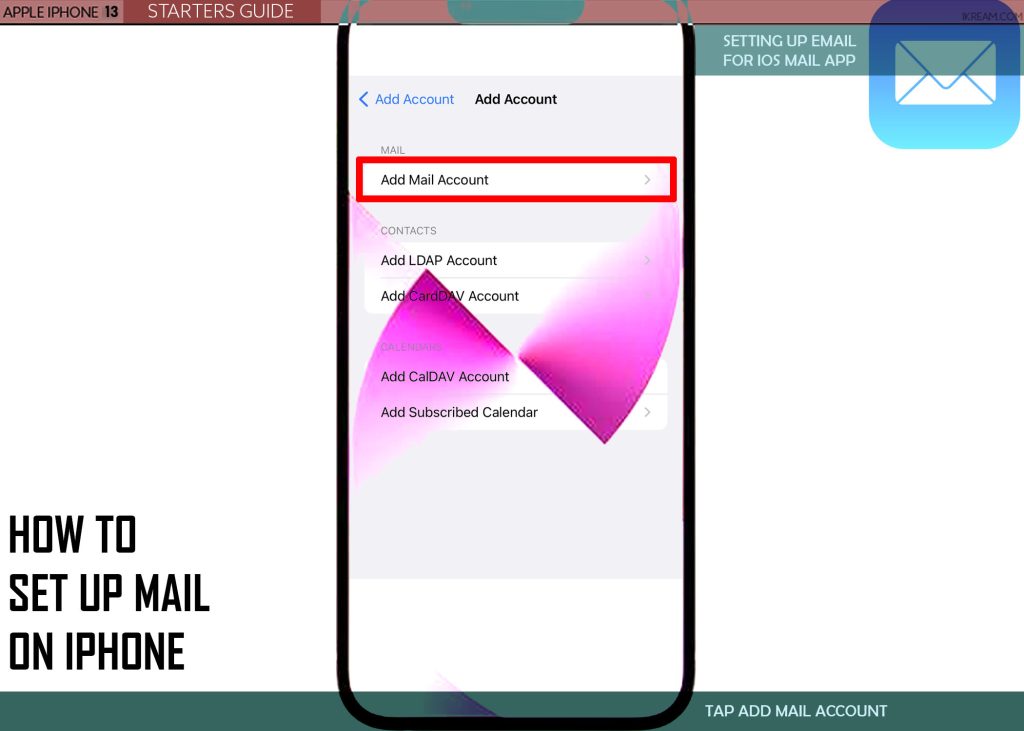
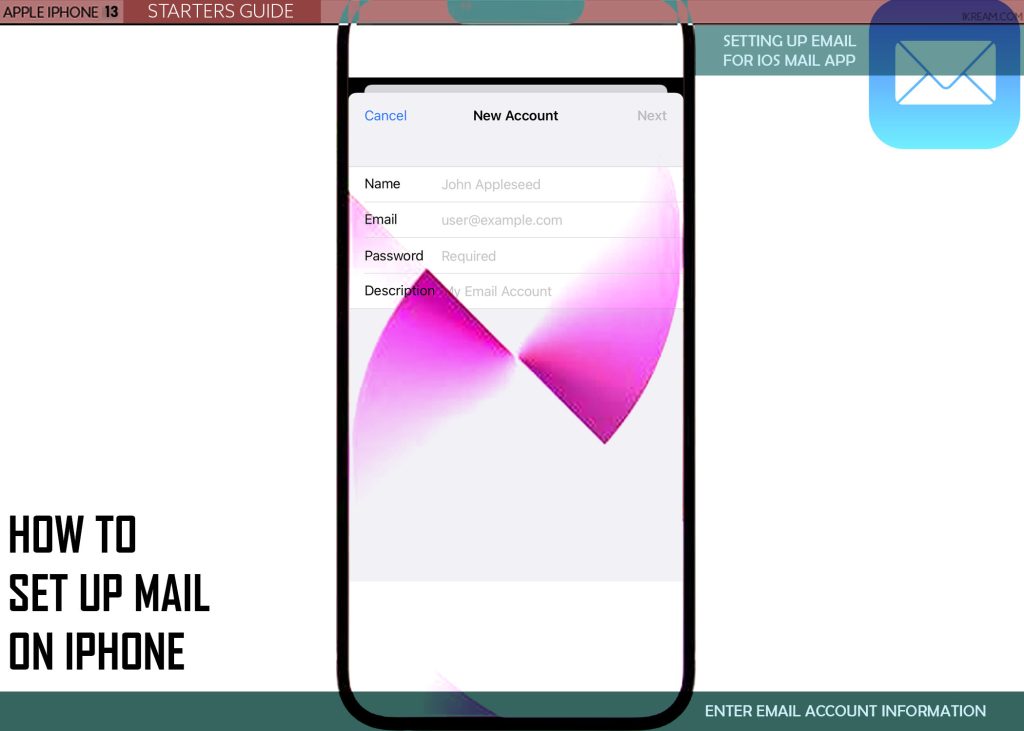
Step 7: Enter all the required information for new account setup including your name, email address, password and description to label or describe your account.
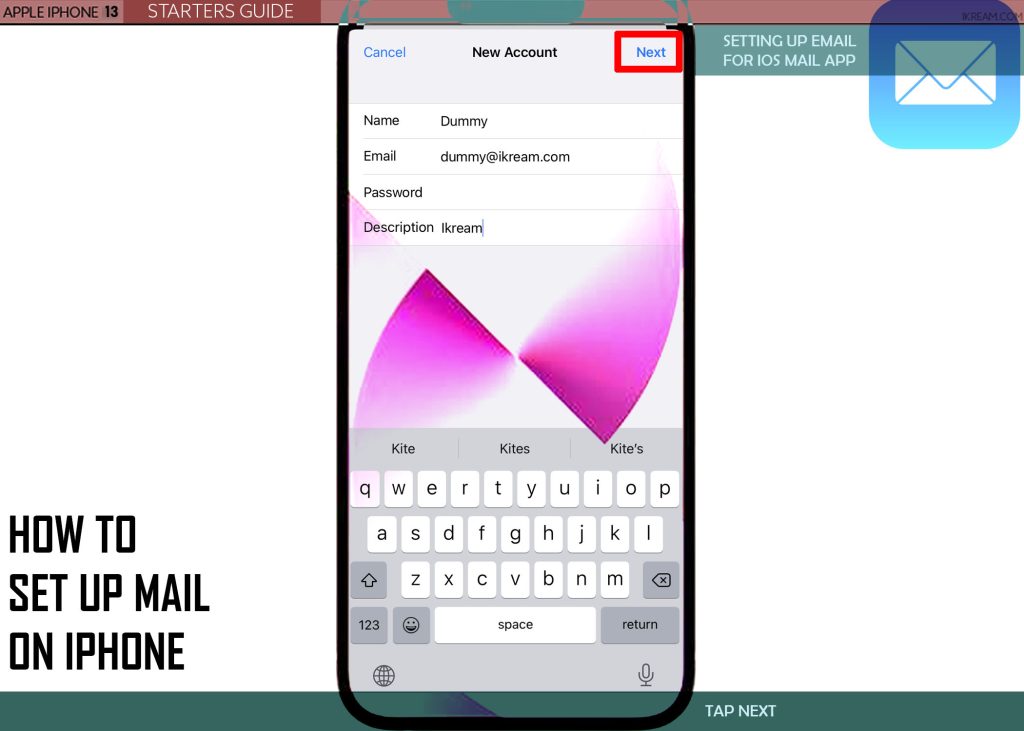
Step 8: On the following menu, tap Next then wait for the Mail app to finish finding your email settings and complete your account setup.
Step 9: If the Mail app successfully finds your email settings, tap SAVE.
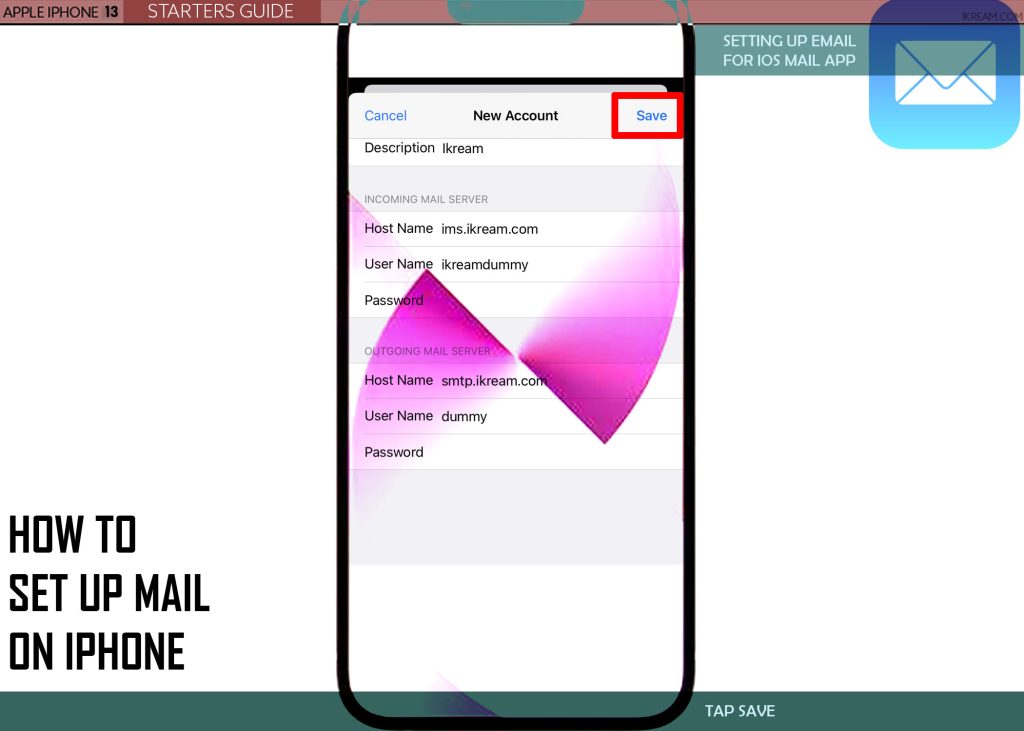
Your email account will then be added and ready for use in Mail.
Manually Entering Email Account Settings
If for some reason, the iOS Mail app is unable to find your email settings, manually entering them would be necessary.
To do this, simply tap Next then choose IMAP or POP on the New Account window. Enter the Incoming Mail Server and Outgoing Mail Server then tap Next.
You can get this information from your email service provider or use the lookup tool from your provider’s official site.
After entering all the required information for your email account, tap Save.
The Mail app will then start validating your email settings. If something is wrong, you will be prompted to edit them.
Don’t hesitate to contact your email provider for further assistance if you couldn’t get to set up your email account due to incorrect email settings.
And that’s how you set up an email account on the iOS Mail app on an iPhone.
Please keep posted for more comprehensive iOS tutorials and troubleshooting guides on this site. Or you can check out this YouTube channel to view more comprehensive tutorial and troubleshooting videos including recent iOS devices.