Tired of the same old default fonts on your iPhone 13? One great way to customize your device and apps is by downloading new fonts. Adding custom fonts lets you personalize font styles for everything from messaging and social media to notes and photos. It’s a simple way to make your iPhone 13 feel more unique.
In this guide, we’ll look at why custom fonts are useful along with a step-by-step process for finding and installing new fonts on your iPhone 13.
Why Download Custom Fonts
Here are some great reasons to install custom fonts on your iPhone 13:
- Personalizes look of device
- Fun way to style text in social media posts
- Makes notes, calendars, and photos more aesthetic
- Adds variety beyond the standard system fonts
- Lets you match fonts used on other platforms
- Makes your iPhone feel more customized to your style
With the right new fonts, you can give your iPhone 13 a whole new vibe and flair.
Different Ways to Download and Install Fonts
You can download new fonts for your iPhone 13 either through browser search or using App Store. If you opt to get new fonts through Google search, you will need to download the iOS-compatible font in .zip file format. This denotes the need for you to extract the file prior to using.
A. Downloading Font for iPhone via Google Search
Here is the complete process for finding and installing custom fonts on your iPhone 13 using Google Search (browser):
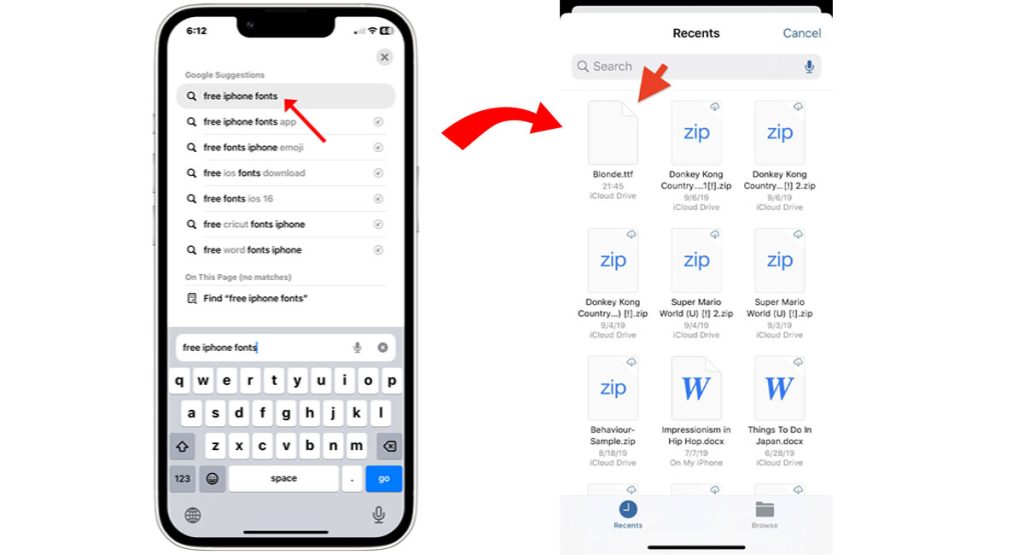
Step 1: Find Fonts Online
- Use Google to search for “free iPhone fonts” to find good sites offering iOS-compatible fonts. Some popular sources include DaFont, FontSpace, and 1001Fonts.
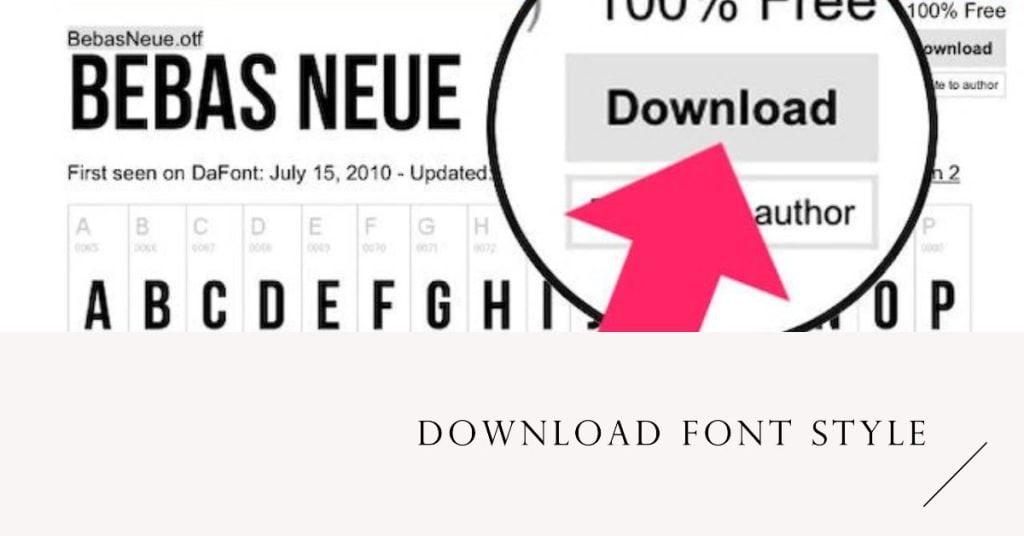
Step 2: Download Font Files
- Once you find fonts you like, download the files. Make sure they are in .ttf or .otf format. These work best on iOS.
Step 3: Unzip Downloads
- If the fonts are in a zip folder, extract and unzip them first. This gives you access to the raw font files.
Step 4: Open Files App
- On your iPhone, open the Files app. This lets you access downloaded font files.
Step 5: Copy Fonts to iCloud Drive
- In Files, copy or move the font files to your iCloud Drive for storage.
Step 6: Tap Each Font File
- Tap on each font file in iCloud Drive to open font previews.
Step 7: Tap Install
- For any fonts you want added, tap the Install button in the top right corner.
Step 8: Enable Fonts
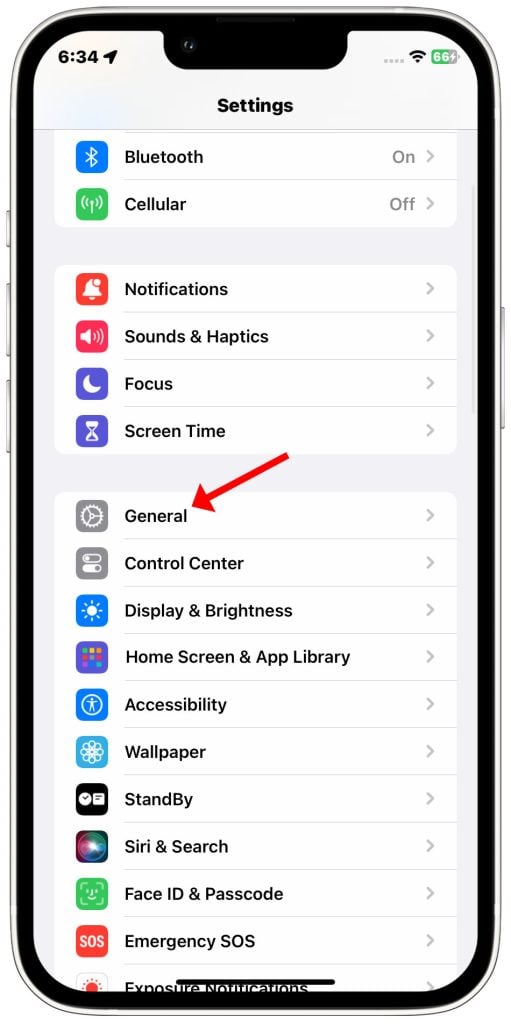
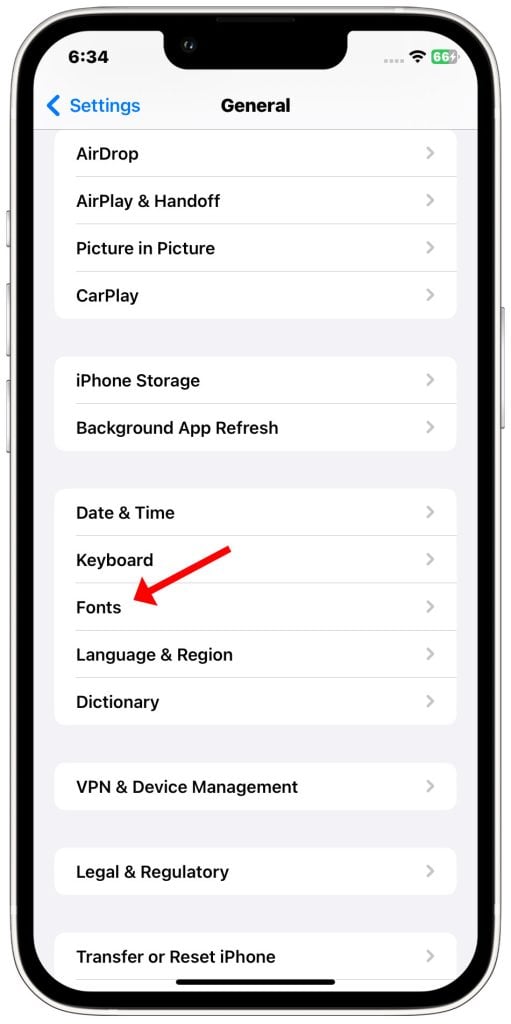
- Go to Settings > General > Fonts to ensure your newly installed fonts are enabled.
B. Downloading New iPhone Fonts via App Store
If you prefer to use a simpler method of adding new fonts to your iPhone 13, then you can use App Store instead. To download new fonts on iPhone 13 using the App Store, follow these steps:
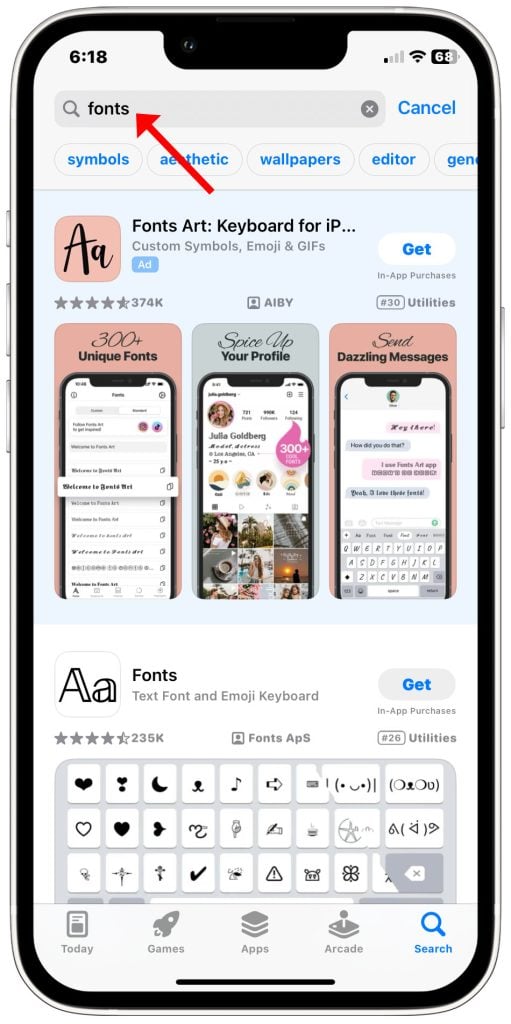
- Open the App Store app.
- Tap the Search icon.
- Enter “fonts” in the search bar.
- Browse the list of font apps and select one that you like.
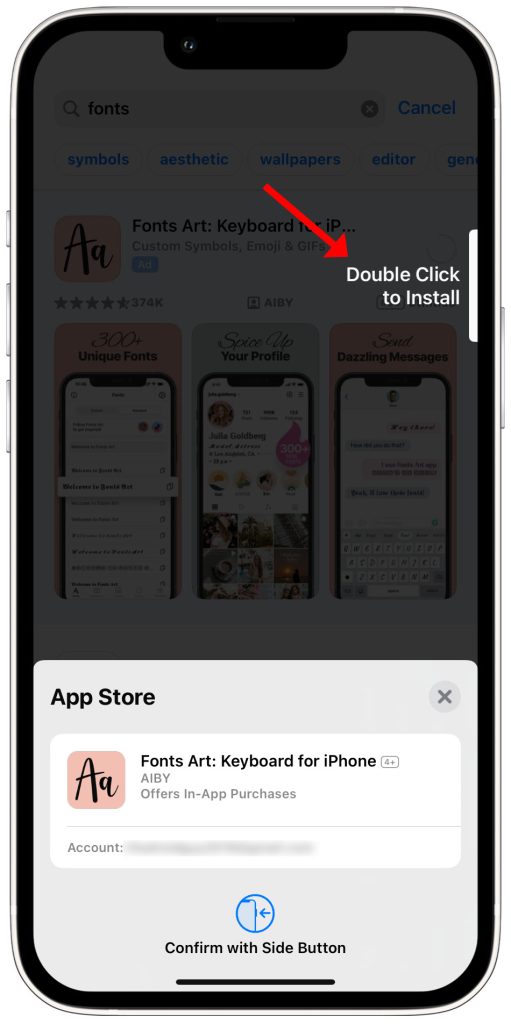
- Tap the Get button to download the app.
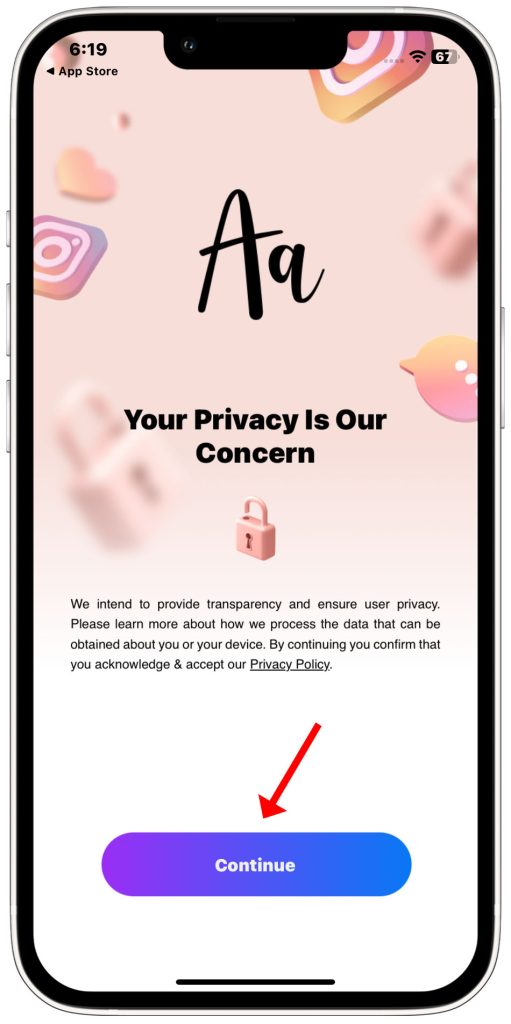
- Once the app is downloaded, open it.
- Follow the instructions in the app to install the fonts.
Once the fonts are installed, you can use them in any app that supports custom fonts. To do this, open the app and go to its settings menu. Look for a setting called “Fonts” or something similar. From there, you can select the fonts that you want to use.
Here are some popular font apps for iPhone:
- AnyFont
- iFont
- Font Generator – Fonts App
- Keyboard Fonts Pro
- Monograms for Cricut
- Fontasy – Font Browser
Please note that some font apps may require a subscription or in-app purchase to access all of their features.
Additional tips:
- Only download fonts from reputable developers.
- Be careful not to install too many fonts, as this can slow down your iPhone.
- If you are not sure how to use a particular font app, consult the app’s documentation or support website.
That’s it! You can now use your cool new fonts in many apps. Enjoy making your iPhone 13 look amazing with custom fonts tailored exactly to your style.