The home button on the iPhone SE serves multiple functions but can become unresponsive due to wear, debris, or software glitches. For a quick fix, try a force restart to rule out software issues. If the problem continues, consider cleaning the button or seeking professional hardware repair.
If the issue is physical, like damage or debris, gently clean around the button with a lint-free cloth or use compressed air to remove any obstructions.
Here’s the full troubleshooting methods if iPhone SE home button not working:
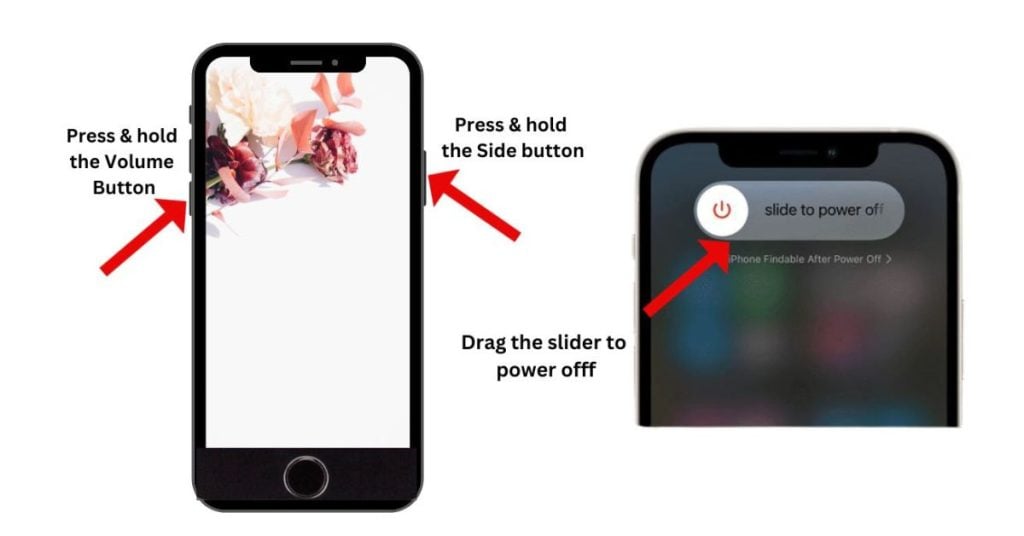
1. Restart your iPhone SE (Soft Reset).
Software glitches are among the common factors that can cause a device to malfunction. Running of corrupted apps, downloading of broken files, or installing faulty updates can trigger your iPhone to misbehave. Associated symptoms would include random apps crashes, boot loops, and frozen or unresponsive screens. Often times, these problems rectified by a soft reset on the device. Should the Home button issue you have on your iPhone is triggered by certain types of software malfunctions, then it will likely be remedied by a soft reset. Here’s how it’s properly done:

- Press and hold the Sleep/Wake (Power) button for a few seconds until the Slide to Power Off screen appears.
- Drag the slider to completely power off your device.
- Wait for about 30 seconds.
- After the elapsed time, press and hold the Sleep/Wake (Power) button again until the Apple logo appears.
Wait for your iPhone to boot up completely then try to check if the Home button is already working properly.
In the case where the usual reboot or soft reset is not possible, you can do a force restart on your iPhone SE instead. Refer to the steps indicated in the second method.
2. Force restart your iPhone SE
A force restart is a recommended solution to unresponsive devices. It is possible that your iPhone Home button stopped working due to some software malfunctions. It doesn’t always mean that it’s physically damaged or broken. Just like with frozen iPhone displays inflicted by bad apps or corrupted files are often resolved by this method. Here’s how to perform a force restart on your iPhone SE.

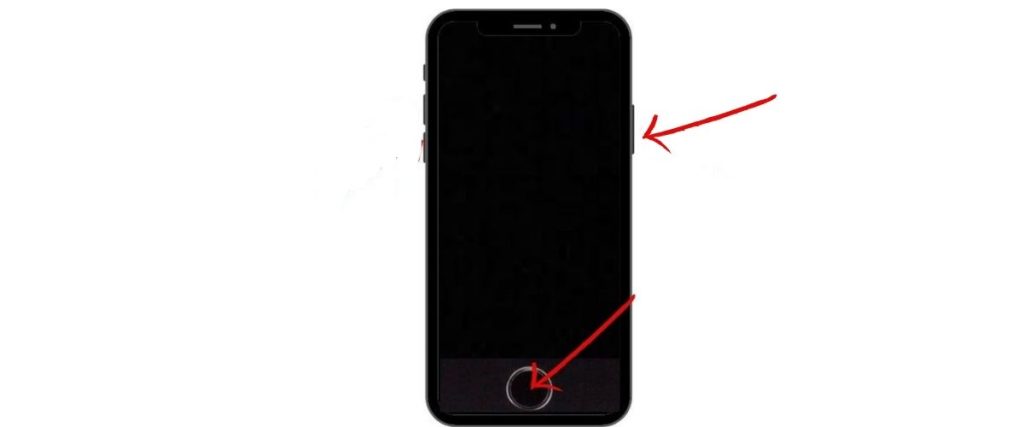
- Press and hold the Sleep/Wake (Power) button and the Home button simultaneously for about 10 seconds until the Apple logo appears. Release both buttons when the logo shows up on the screen.
Once your iPhone SE boots up, test and see if the Home button is already working as intended.
Similar to a soft reset, a force restart won’t affect any data on your iPhone, thus it’s a safe process to try on.
3. Enable Assistive Touch on your iPhone SE.
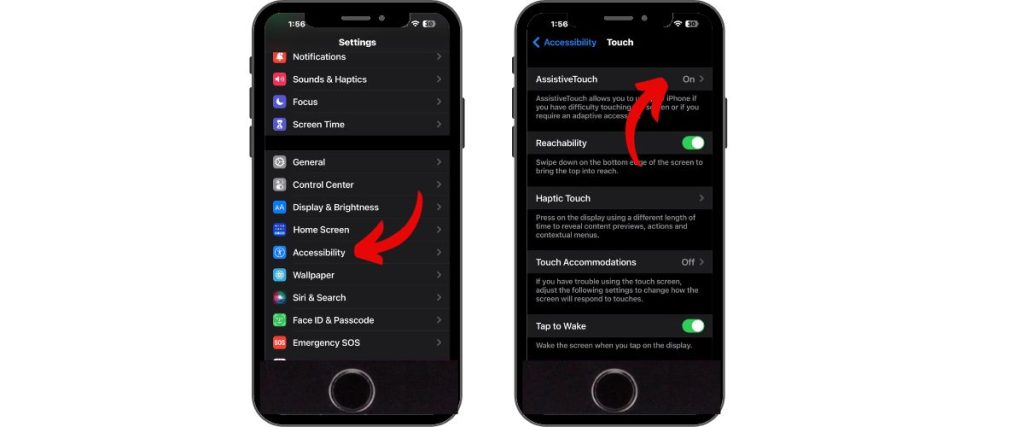
Some iPhone SE users who have encountered the same problem on the Home button that is not working have found remedy by turning on AssistiveTouch on their iPhone. It’s been considered a temporary solution by many, so you might as well consider giving it a shot and then see what happens. Here’s how:

- Tap Settings from the Home screen.
- Tap Accessibility.
- Tap AssistiveTouch.
- Toggle the AssistiveTouch switch to turn the feature ON.
- To use the Home button, tap the AssistiveTouch button on the screen then tap Home.
You can move the AssistiveTouch button anywhere on the screen with your finger.
If this won’t do any good to you, then consider the next method.
4. Backup and Restore your iPhone SE with iTunes.
Other software problems are more complex and couldn’t be rectified by a soft reset or force reboot on the device. In this case, you may resort to a more advanced solution which is iOS restore. The process will erase and reload the software on your device thus, creating a backup is recommended beforehand. Performing a system restore is also one way to ensure that the problem you are dealing with is not related to the software. In fact, technicians would usually attempt to restore your iPhone before initiating a hardware repair. You can backup your iPhone SE to iCloud or iTunes and then follow these steps to restore your iPhone through iTunes:

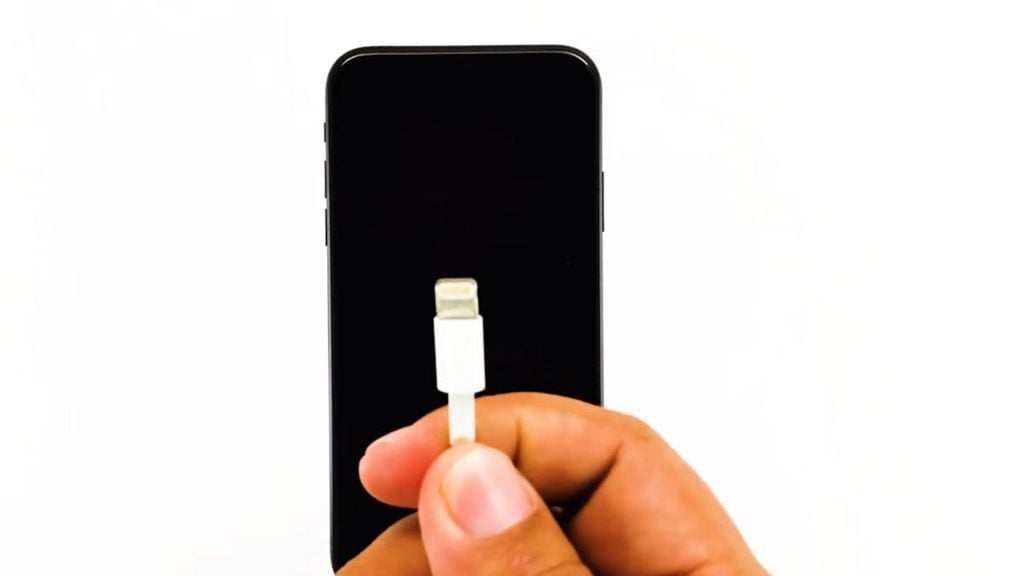
- Connect your iPhone SE to the computer using the supplied USB cable or Lightning cable.
- Open iTunes on the computer and then wait for it to recognized your device. Be sure to use the latest version of iTunes software.
- If prompted, tap the option to Trust This Computer on your device to proceed.
- Select your iPhone SE from the list of available devices in iTunes.
- Select the option to Restore your iPhone.
- You may opt to restore from a previous backup or restore to factory defaults.
Follow the onscreen instructions to complete the iOS restore process and then proceed with your iPhone setup.
5. Perform a DFU Mode restore.
If the usual restore won’t work, then you may proceed with the deepest type of system restore using DFU mode. Major software issues affecting certain iPhone components including the Home button can be fixed by restoring iOS. However, not all the time that the typical iPhone restore through iTunes is able to provide ultimate solution. As another alternative, you may opt to put your iPhone in DFU mode and then try a DFU mode restore instead.
DFU stands for Device Firmware Update, a deepest type of restore you can do on your iPhone. In most cases, more complex software problems are fixed by performing a DFU restore so you might as well consider this option, if needed.
Important Note: Never attempt to perform a DFU restore if your iPhone has physical or liquid damage as you will likely end up having a totally useless device afterwards. Physical or liquid damage on the iPhone can interrupt the process and when this happens, your iPhone gets bricked.
Before you proceed, be sure to backup your iPhone SE to iCloud or iTunes for safekeeping. Then, follow these steps to put your iPhone SE in DFU mode and perform a DFU restore:
- Connect your iPhone to the computer using the supplied USB or Lightning cable.
- Open iTunes on the computer. Be sure to use the latest version of iTunes app.
- Press and hold the Sleep/Wake button and Home button on your iPhone SE simultaneously for 8 seconds.
- After 8 seconds, release the Sleep/Wake button but keep holding down the Home button until you see the “iTunes has detected an iPhone in recovery mode” message prompt.
- Release the Home button. If you have successfully entered DFU mode, your iPhone screen will become completely black. You may then restore your iPhone using iTunes. Otherwise, try again from the very start.
Please note that timing is required when entering DFU mode on your iPhone SE, so if you don’t get it on your first try, don’t be afraid to try again.
Once the DFU restore is finished, you will be able to reload your personal information from your iTunes or iCloud backup, and most importantly you’ll get the Home button problem fixed for good.
6. Test the Home button.
Click the Home button and then see if it feels stuck. Also check if the Home button is loose by gently moving your finger from the side to side. If it doesn’t feel the way it should then most likely what you are dealing with is a hardware problem. Another indication of a hardware problem on the Home button is when it only works in certain spots.
For example, when you click the Home button on the very top and then it’s not working but when you try the far left side or the bottom, it works. Should this be the case, you need to take your device to a technician for service or Home button repair.
7. Remove Protective Cover or iPhone Cases.
Some iPhone cases or protective covers, particularly non-Apple variants won’t fit and caused the Home button to get stuck. If you suspect that this is the culprit, try to remove any protective cover or case from your iPhone SE and then test the Home button without them on.
Escalate the problem to your iPhone carrier or Apple Support if none of these methods is able to fix the problem on your iPhone SE Home button. Unless your iPhone is still under warranty, you may consider setting up a repair appointment or go for an upgrade to a newer iPhone.